Essential Steps to Prepare Before Painting Interior Trim
|
Time to read 10 min
|
Time to read 10 min
Embarking on a trim painting project can breathe new life into your home's edges, but the real magic happens in the groundwork. From my countless weekends spent transforming worn trim, I've come to appreciate that preparing before painting interior trim is what separates a decent job from one that wows.
It's those meticulous steps, like scrubbing away years of grime or filling tiny cracks, that ensure your paint adheres smoothly and endures everyday knocks. This detailed walkthrough will equip you with the know-how to ready your trim effectively, whether you're sprucing up a single window casing or overhauling an entire hallway. By investing effort here, you'll not only save on future fixes but also enjoy a finish that's as durable as it is delightful.
Preparation isn't just a prelude; it's the foundation for longevity and beauty in your paint work. Rushed setups often result in bubbling or chipping, turning what should be a quick refresh into ongoing maintenance. Through trial and error in my own home flips, including a challenging Victorian with ornate molding that demanded extra care, I've honed these steps to minimize mess and maximize results.
We'll explore everything from workspace setup to final inspections, infused with practical insights to make the process approachable for novices and seasoned DIYers alike. Get this right, and your trim will frame your rooms with precision and polish.
Once your prep is complete, transition seamlessly to the painting phase with our expert guide.
Learn to clean, prime, and paint trim with eco friendly paint for neat, crisp lines. Get sustainable painting tips to make window and door frames pop with this step-by-step guide.
The adage "fail to prepare, prepare to fail" rings especially true for trim painting. Without thorough groundwork, paint can peel from greasy residues or crack over unfilled dents, leading to unsightly touch-ups that disrupt your home's harmony.
In my experience revamping a rental property's scuffed doorways, skipping cleaning meant repainting twice, a lesson in time wasted. Proper prep ensures adhesion, hides imperfections, and protects adjacent surfaces, resulting in a crisp, professional appearance that withstands scuffs from furniture or playful pets.
Beyond aesthetics, it safeguards health by containing dust and fumes, particularly in older homes where lead might lurk. It also streamlines the actual painting, allowing you to focus on technique rather than fixes. For intricate crown molding in high-ceilinged rooms, solid prep prevents ladders from becoming hazards.
Ultimately, this phase boosts efficiency, reduces costs by minimizing waste, and delivers satisfaction from a job well done, turning ordinary trim into a standout feature.
Learn how to do house interior painting for ceilings. Use eco friendly paints and sustainable painting tips to brighten rooms with this step-by-step guide.
Assemble your arsenal thoughtfully to avoid mid-project runs. Essentials include degreasing cleaners for stubborn buildup, assorted sandpapers for smoothing, wood filler for repairs, caulk for seams, painter's tape for masking, and drop cloths for protection.
Don't overlook a sturdy putty knife, tack cloths for dust, and a vacuum with attachments for crevices. In one basement redo, having extra rags on hand saved the day during unexpected spills.
Organize in a portable caddy for mobility between rooms. Quality over quantity, cheap tape peels paint, while good sandpaper lasts longer. If dealing with glossy old paint, include deglosser. This curated kit not only speeds prep but ensures consistency, setting a calm tone for the work ahead.
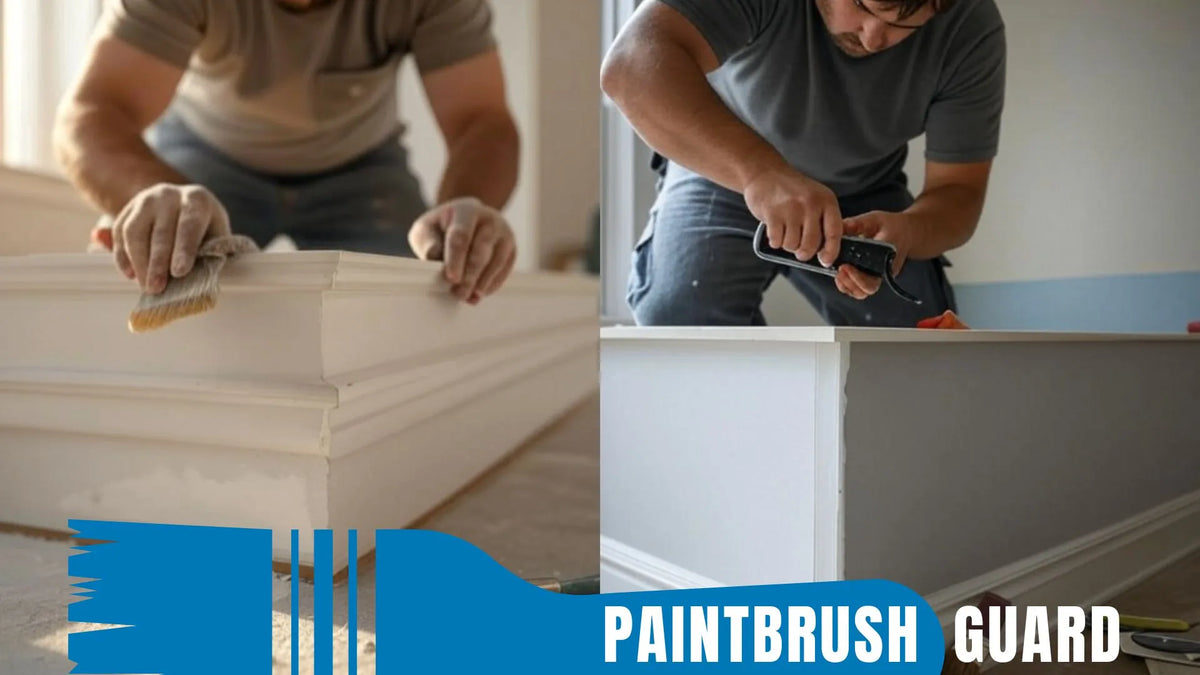
Start by relocating furniture to create ample space, covering immovable pieces with plastic sheeting to shield from dust. Lay canvas drop cloths, they absorb better than plastic and stay put underfoot. Tape off walls, floors, and ceilings adjacent to trim, using low-tack varieties to prevent residue.
Remove hardware like hinges or knobs for even coverage, bagging and labeling for reassembly. Open windows and set up fans for ventilation, especially in enclosed areas where fumes linger. In a recent hallway project, this setup prevented paint from migrating to carpets, saving cleanup hours. A clear, protected area minimizes accidents and lets you move freely, enhancing precision.
If you are planning to paint your house interior, in this article you will learn easy steps to make your home interior feel new again with step-by-step guides for all interior surfaces.
Grime is paint's enemy, so scrub diligently. Mix warm water with a mild detergent or TSP alternative, applying with a sponge in circular motions to lift oils and dirt accumulated over years. Pay extra attention to high-touch spots like around doorknobs, where fingerprints build up invisibly.
Rinse with clean water to remove soap residue, then dry with lint-free cloths or allow air-drying overnight. For stubborn stains, a magic eraser works wonders without damaging. I've found that in kitchens, degreasing first prevents bubbling from cooking splatters. This clean slate ensures paint bonds tightly, avoiding future flaking and maintaining vibrancy.
Scan for imperfections: Nail holes from old pictures, dents from moved furniture, or cracks from settling. Fill small divots with wood putty, pressing firmly and smoothing with a putty knife for flush results. For gaps where trim meets walls, squeeze in flexible caulk, wiping excess with a damp finger for seamless lines.
Allow fillers to cure per instructions, rushing leads to shrinkage. In an older home's window casings, caulking prevented air leaks while prepping for paint. These fixes create a uniform surface, ensuring your final coats look impeccable and professional.
Sanding roughens for grip and evens repairs. Begin with 120-grit to remove gloss or bumps, progressing to 220-grit for finesse, always following the grain to prevent gouges. Use blocks or sponges for contours, keeping pressure even.
Vacuum debris, then wipe with a tack cloth to capture fine particles, leftover dust creates gritty textures under paint. In my garage workshop tests, proper sanding reduced visible brush strokes dramatically. This step, though dusty, is pivotal for a silky finish that feels as good as it looks.
Learn how to prep, prime, and paint doors with eco friendly paint for a strong, pretty finish. Discover sustainable painting tricks for smooth, drip-free doors in this step-by-step guide.
Primer seals porous wood and blocks stains, especially on raw or dark trim. Choose based on paint type, latex for water-based. Apply thinly with a brush, covering evenly and letting dry fully.
For previously painted trim, spot-prime repairs. Skipping can cause uneven absorption, but in well-prepped cases, it's optional. Primer evens the playing field for topcoats.
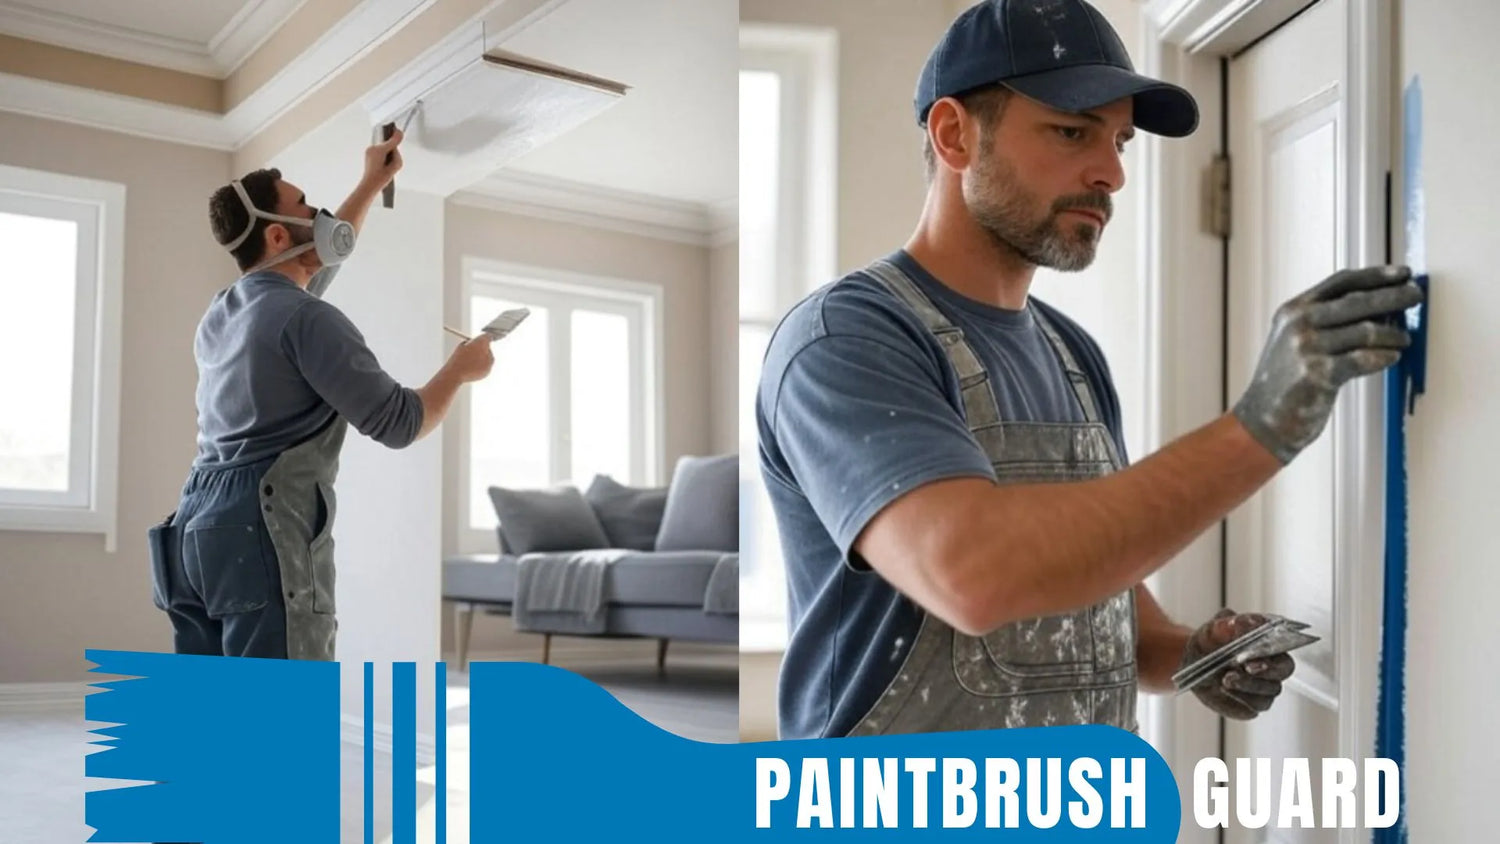
Precision taping protects boundaries. Apply along trim edges, pressing with a putty knife for seals that block bleed. Cover outlets and switches if nearby.
For floors, weigh down cloths. This barrier system, honed in tight bathroom spaces, keeps overspray contained, yielding tidy outcomes.
Inspect for missed dust or wet spots, paint won't adhere. Confirm ventilation and lighting for spotting issues. Gather paint supplies nearby.
A quick walkthrough ensures readiness, building momentum for painting.
Learn how to prep, prime, and paint baseboards with eco friendly paint for clean room edges. Find sustainable painting tricks for a neat finish in this step-by-step guide.
Veterans advise working in sections to stay organized, and using microfiber for final wipes. Patience during drying avoids smudges.
Reddit users share:
Masterful prep unlocks stunning trim painting. Embrace it as the cornerstone of your project's success, your home will thank you with enduring beauty.
Preparation for painting interior trim typically takes 2 to 4 hours per room, though this can vary based on the room's size, the condition of the trim, and any unexpected issues like extensive damage or multiple layers of old paint that need addressing. For instance, in an average bedroom with minimal repairs, you might wrap up in the lower end of that range, focusing on cleaning, light sanding, and masking. However, if you're dealing with ornate crown molding in a larger living area or discovering cracks that require filling and drying time, it could extend closer to a full day, professional painters often dedicate an entire session to prep alone to avoid rushing, which can compromise adhesion and lead to peeling later. Factors like humidity can slow drying between steps, so plan accordingly and break it into phases if needed to ensure everything sets properly for a durable finish.
No, skipping the cleaning step is a risky shortcut that can severely undermine your paint job's quality and longevity. Dirt, dust, grease from fingerprints, or even subtle residues like cooking oils in kitchens create an invisible barrier on the trim, preventing the paint from bonding effectively and leading to issues like bubbling, flaking, or premature wear within months. Even if the surface appears spotless, everyday buildup can cause adhesion failure, resulting in costly touch-ups or full repaints. Always use a mild detergent mixed with warm water or a TSP substitute to scrub thoroughly, rinsing and drying completely, this simple habit ensures a smooth, professional result that holds up to daily life and maintains your home's polished look over time.
The best sandpaper grit for sanding interior trim before painting starts with 120-grit for the initial pass to remove gloss from old paint, knock down rough spots, or improve adhesion by creating a slight texture without damaging the wood. Follow up with 220-grit for the finishing touches, which smooths the surface to a fine, even consistency ready for primer or paint, this finer grit helps eliminate any scratches from the coarser one and prevents visible marks under the final coats. Avoid starting too aggressively with something like 80-grit unless handling heavy buildup, as it can gouge the trim; always sand along the grain and wipe away dust afterward with a tack cloth. This progression not only enhances paint grip but also contributes to a sleek, professional appearance that lasts.
Caulk generally requires at least 1 hour to dry before painting over it on interior trim, but always consult the product's label for precise guidelines, as times can differ based on the type, acrylic latex caulks are often paintable in 2 to 4 hours under ideal conditions like moderate temperature and low humidity. Full curing, which provides maximum flexibility and prevents cracking, typically takes up to 24 hours or more in cooler, damper environments. Painting too early can trap moisture, leading to bubbling or poor adhesion along the seams where trim meets walls. To be safe, apply in thin beads, smooth immediately, and test dryness by touch before proceeding, this patience ensures seamless integration and a durable seal that enhances the overall finish.
The recommended order of preparation steps for painting interior trim begins with cleaning to eliminate dirt, grease, and residues that could interfere with adhesion, using a detergent solution and allowing full drying. Next, repair any damages by filling holes with putty and caulking gaps for a smooth base, letting these set according to product instructions. Then, sand the surfaces, starting coarse and finishing fine, to even out repairs and promote paint grip, followed by wiping away all dust. Finally, apply primer if the trim is bare, stained, or transitioning colors, ensuring it dries completely. This logical sequence builds a stable foundation, with each step enhancing the next, and can be adjusted slightly for specific scenarios like priming before caulking in some cases, sticking to it minimizes errors and delivers a flawless result.
If your home dates back before 1978, handling lead paint during interior trim preparation demands careful testing and adherence to safety protocols to avoid health hazards, start by using an EPA-approved lead test kit on the surfaces, as lead-based paint was common then and can pose risks like neurological issues, especially for children or during pregnancy. If positive, never dry sand or scrape, as this generates toxic dust; instead, employ wet methods to minimize airborne particles, use HEPA-filtered vacuums for cleanup, and wear protective gear including respirators and gloves. Follow the EPA's 2025 lead-safe work practices, which emphasize containment with plastic sheeting and proper disposal, or hire a certified lead renovator for compliance. Ignoring these steps can lead to contamination, priorities safety by isolating the area and cleaning thoroughly post-work to protect your household.
For painting interior trim in tight spaces, such as narrow corners behind furniture or around fixtures, angled brushes in 1 to 2-inch sizes offer excellent control and reach, allowing you to cut in precisely without overspill. Pair them with small sanding sponges or detail sanders for prepping confined areas, as their flexible shapes conform to curves and crevices better than standard blocks. Mini rollers (4-6 inches) are great for even coverage on slightly wider sections, while extension poles with adjustable heads help access high molding without ladders in cramped spots. These tools, combined with good lighting like headlamps, ensure efficiency and quality even in challenging layouts, opt for quality synthetics for latex paints to minimize shedding and achieve a smooth, professional edge.

Learn about eco-friendly painting, tips and tutorials on house interior and exterior surfaces, so you can get started with your project without any surprices during or after your painting.

Learn how interior house paint colors influence mood with expert tips on room preference so you can pick the best colors for a harmonious home environment.
We focus on the most popular shades for each interior colors, so you don't miss no matter what color you pick.

Learn how this innovative tool allows you to store paintbrushes without the need for immediate cleaning, offering significant advantages in time savings, water conservation, reduced chemical pollution, and lower costs for supplies.