Ultimate exterior wood painting guide: Prep to finnish
|
Time to read 13 min
|
Time to read 13 min
Exterior wood painting transforms the look of your home’s siding, fences, or trim while protecting wood surfaces from moisture, UV rays, and wear.
Proper preparation is essential for a durable, professional-quality exterior wood painting result, preventing issues like peeling, cracking, or fading.
This in-depth guide explores every aspect of preparing for exterior wood painting, ensuring success for DIY homeowners or those hiring professionals.
Click on this link to find house painting guides and innovative tools to help you with your home improvement painting project.
Wood is highly susceptible to environmental damage, making meticulous preparation critical for exterior wood painting. Without it, paint may fail to adhere, leading to premature wear or costly repairs.
Thorough prep ensures the paint bonds securely, withstands the elements, and maintains a polished appearance, enhancing your home’s value.Mastering these steps sets the foundation for a successful exterior wood painting project.
Learn how long paint lasts on wood outside and factors like paint type, prep, and climate, plus tips to extend durability on exterior wood.
Before starting exterior wood painting, inspect all wood surfaces to identify issues. Check for peeling or flaking paint, indicating moisture or poor prior prep. Look for cracks, rot, or splintering, common in older siding or fences.
Examine for mildew, algae, or insect damage, especially in shaded areas. For homes built before 1978, test for lead paint with a certified kit, as it requires special handling.
Learn how to paint old exterior wood and how to do It right. Discover why preparation prevents peeling, risks of skipping it, and tips for a professional finish.
A detailed inspection ensures effective exterior wood painting by addressing problems early.
If lead paint is present, follow EPA guidelines, using wet sanding and HEPA vacuums to minimize dust. Hiring a lead-safe certified contractor may be necessary for safe exterior wood painting.
Soft, discolored, or crumbling wood signals rot. Probe with a screwdriver to assess depth, as extensive rot may require replacement before exterior wood painting.
Clean surfaces are vital for exterior wood painting to ensure paint adhesion. Dirt, mildew, or grease can cause peeling or uneven finishes.
Use a pressure washer at with a 25-degree nozzle to remove dirt, algae, and loose paint, keeping the wand at a 45-degree angle to avoid gouging wood.
For mildew, apply a solution of one part bleach to three parts water, scrub with a stiff brush, and rinse thoroughly.
For stubborn stains, use a wood cleaner. Allow 48-72 hours for drying, depending on weather. Thorough cleaning is essential for a smooth exterior wood painting result.
Removing loose paint and smoothing surfaces is crucial for exterior wood painting. Use a paint scraper to gently remove peeling paint, avoiding damage to the wood.
Sand rough or scraped areas with 80-120 grit sandpaper for initial smoothing, followed by 150-220 grit for a finer finish, working along the grain.
Discover 6 fixes for peeling before exterior wood painting. Learn how to scrape, sand, and prime wood for a smooth, durable painted finish.
For intricate trim or fences, use a sanding sponge. After sanding, wipe with a damp cloth or tack cloth to remove dust, as particles can ruin the finish. Proper scraping and sanding ensure a seamless exterior wood painting outcome.
For trim or carved details, hand sand with a sanding block to maintain shape, ensuring a polished surface for exterior wood painting.
Fixing damage is essential for exterior wood painting to achieve a uniform look and prevent further deterioration. Fill cracks or small holes with exterior-grade wood filler or caulk, smoothing with a putty knife.
For deeper damage or rot, use epoxy-based filler or replace affected sections. Sand repairs smooth once cured (typically 24 hours).
What type of paintbrush is best for painting your home’s exterior with tips on bristles, sizes, and prep for a professional finish. Home exterior painting tips.
Ensure knots are sealed with a knot sealer to prevent resin bleed. These repairs create a stable base, enhancing exterior wood painting durability.
Remove rotted sections with a chisel or saw, then install new wood, matching the grain and profile for a seamless exterior wood painting prep.
Priming seals the wood and ensures paint adhesion, a must for exterior wood painting. Use a high-quality latex or oil-based primer designed for exterior wood, like Zinsser Cover Stain or Kilz Premium.
Apply a thin, even coat with a 2-3 inch angled brush for trim or a ½-inch nap roller for siding, covering all surfaces, including edges. For cedar or redwood, use a stain-blocking primer to prevent tannin bleed.
Let the primer dry fully (6-8 hours) for a solid base. Priming prevents peeling and boosts exterior wood painting longevity.
New or bare wood requires two primer coats to seal pores, ensuring optimal paint adhesion for exterior wood painting.
Unlike painting, which creates a solid surface layer, staining penetrates the wood, offering a rich, organic look with robust defense against the elements.
Learn if you can paint pressure-treated wood with our step-by-step guide. Learn techniques, best paints, and tips for durable, stunning results.
Protecting adjacent surfaces simplifies cleanup during exterior wood painting. Use painter’s tape to mask off windows, brick, or concrete near the wood.
Cover plants, patios, or walkways with canvas drop cloths, which are durable and slip-resistant.
Trim back vegetation to prevent paint from sticking to leaves. Proper protection keeps your exterior wood painting project tidy and efficient.
Apply tape in short sections, pressing firmly with a putty knife for a tight seal. Remove tape before paint dries to ensure crisp edges for exterior wood painting.
Weather significantly impacts exterior wood painting quality. Paint applied in extreme heat, cold, or humidity may bubble or peel. Aim for 50°F to 85°F with low humidity, ideally in spring or fall.
Avoid rain or high winds, which disrupt drying or carry debris. Check the 5-day forecast and paint early in the day to allow drying before evening dew. Smart timing ensures top exterior wood painting results.
Use a weather app to track humidity and temperature. A hygrometer confirms low humidity, ideal for exterior wood painting success.
Learn how to prep exterior wood painting during rainy seasons with these 5 essential tips. Ensure a durable, professional finish despite wet weather challenges.
Safe access is key for exterior wood painting, especially for high siding, trim, or multi-story fences. Use a stable ladder for low areas or scaffolding and extension poles for higher ones.
Wear safety gear like gloves, goggles, and a mask, particularly when sanding or handling chemicals. Ensure good lighting to spot imperfections.
extensive projects, consider professional help for safety. A secure setup enhances exterior wood painting quality.
Use a respirator for sanding or spraying and non-slip shoes on wet surfaces, ensuring a safe exterior wood painting process.
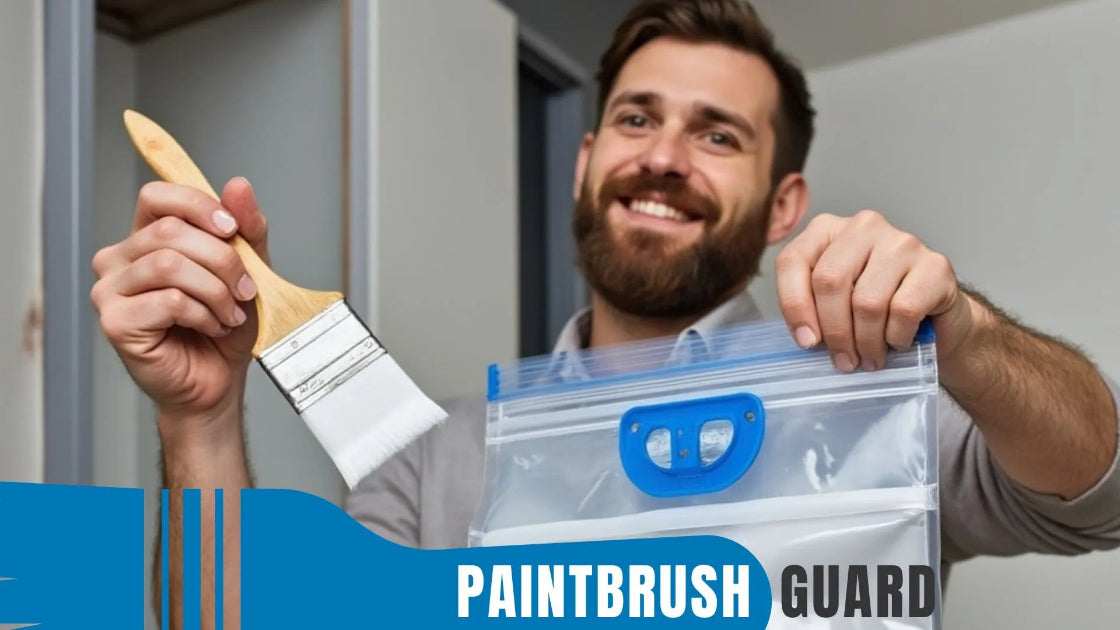
Discover the best tools for exterior wood painting projects, including the Paintbrush Guard. Learn sustainable painting to save time and reduce waste.
With preparation complete, you’re ready to paint your exterior wood surfaces, siding, fences, or trim for a professional, long-lasting finish that protects against the elements.
Follow this step-by-step guide to ensure a flawless exterior wood painting process from start to finish.
Selecting the appropriate paint is critical for exterior wood painting durability and aesthetics.
Pro Tip: Check the paint’s label for application temperature (50°F to 85°F) and humidity recommendations to ensure optimal exterior wood painting results. Choose paints with mildew-resistant additives for damp or shaded areas.
From understanding your home’s architecture to testing shades, this guide covers everything you need to know to get it right.
Having the right tools ensures efficiency and precision during exterior wood painting.
Discover the best paint types for exterior deck painting in high traffic areas. Learn about acrylic latex, oil-based, epoxy, and urethane-based paint.
Stir the paint thoroughly with a stir stick to ensure uniform color and consistency. For multiple cans, mix them in a 5-gallon bucket to avoid slight color variations, a common issue in exterior wood painting.
Test the paint on a small, inconspicuous area (e.g., a corner of siding or a fence post) to confirm color, adhesion, and finish. Let it dry fully to ensure it matches your vision and adheres well to the primed surface.
Begin painting with careful technique to achieve a smooth, durable exterior wood painting finish.
Allow the first coat to dry fully, typically 4-6 hours for acrylic latex paints, per the manufacturer’s instructions. Check for tackiness before proceeding.
This in-depth guide breaks down the components of exterior house painting cost and provides practical tips to manage your project effectively.
Once the first coat is dry, inspect the surface for missed spots, drips, or uneven areas. Lightly sand any imperfections with 220-grit sandpaper, following the wood grain to avoid scratches.
Wipe away dust with a tack cloth or damp rag to ensure a clean surface for the second coat.
This step is essential for achieving a polished exterior wood painting finish, especially on visible areas like siding or trim.
A second coat ensures rich color, added protection, and enhanced durability for your exterior wood painting project.
Allow the second coat to dry for at least 24-48 hours, or longer in humid conditions, to ensure a fully cured, durable finish.
Avoid touching or cleaning the surface for at least 72 hours (or as specified by the paint manufacturer).
Once the paint is fully dry, carefully remove painter’s tape at a 45-degree angle to avoid lifting the paint.
Inspect the painted surface for any touch-ups needed, using a small brush for minor fixes.
Store leftover paint in a sealed, labeled container (noting the date and area painted) for future touch-ups. Keep containers in a cool, dry place away from freezing temperatures.
Regular maintenance extends the life of your exterior wood painting project.
With no cleanup required after a painting session, you can take a short break mid-project or wrap up your painting for the day, your brush stays ready without the need to clean.
By following these steps, choosing the right paint, gathering tools, applying careful coats, and maintaining the finish, you’ll achieve a professional-grade exterior wood painting result that transforms your home’s siding, fences, or trim while protecting them from the elements.
Combined with the thorough preparation outlined earlier, these steps ensure a durable, stunning outcome tailored to wood’s unique properties.
Preparation is essential for exterior wood painting because wood is prone to environmental damage like moisture and UV rays. Thorough prep, including cleaning, scraping, sanding, and priming, ensures paint adheres properly, prevents peeling or fading, and delivers a durable, professional finish that enhances your home’s value.
Inspect wood for peeling paint, cracks, rot, mildew, or insect damage, and test for lead paint in pre-1978 homes. Clean with a pressure washer (25-degree nozzle) or scrub with a bleach-water solution (1:3) for mildew, then rinse and dry for 48–72 hours to ensure a clean, adhesive surface for exterior wood painting.
Scrape loose paint with a paint scraper, sand rough areas with 80–120 grit sandpaper, then 150–220 grit for smoothness, and wipe away dust. Fill cracks or holes with wood filler or caulk, use epoxy for deeper damage, or replace rotted wood, ensuring a stable, smooth base for exterior wood painting.
Priming seals wood pores, enhances paint adhesion, and prevents peeling, especially for new or bare wood requiring two coats. Use a latex or oil-based primer (e.g., Zinsser Cover Stain) with a 2–3-inch brush for trim or ½-inch nap roller for siding, drying 6–8 hours for a durable exterior wood painting foundation.
Paint in 50–85°F with low humidity, ideally in spring or fall, to avoid bubbling or peeling, checking a 5-day forecast. Use stable ladders or scaffolding, wear gloves, goggles, a respirator, and non-slip shoes, and protect areas with tape and canvas drop cloths to ensure a safe, high-quality exterior wood painting process. more on priming techniques exterior metal painting tips

Learn about eco-friendly painting, tips and tutorials on house interior and exterior surfaces, so you can get started with your project without any surprices during or after your painting.

Learn how interior house paint colors influence mood with expert tips on room preference so you can pick the best colors for a harmonious home environment.
We focus on the most popular shades for each interior colors, so you don't miss no matter what color you pick.

Learn how this innovative tool allows you to store paintbrushes without the need for immediate cleaning, offering significant advantages in time savings, water conservation, reduced chemical pollution, and lower costs for supplies.


