Avoid These Mistakes When You Paint Your Interior Trim
|
Time to read 7 min
|
Time to read 7 min
Tackling interior trim painting promises a fresh, updated look, but it's easy to stumble into traps that turn excitement into exasperation. From my early DIY days, where a hasty brush led to drips on cherished hardwood, to more recent triumphs in refinishing window frames without a single smudge, I've navigated the pitfalls firsthand.
This piece spotlights mistakes to avoid when you paint your interior trim, offering hard-won wisdom to help your baseboards and moldings shine flawlessly.
By sidestepping these errors, you'll save time, materials, and sanity, ending with trim that enhances your rooms' elegance rather than detracting from it.
Errors often arise from enthusiasm overriding caution, resulting in uneven finishes or quick wear. Understanding them empowers better planning, turning potential disasters into seamless successes. We'll dissect common blunders in prep, application, and finishing, with corrective tips drawn from practical encounters.
Arm yourself with this knowledge for a smoother process and superior outcomes.
For the full painting walkthrough, explore our step-by-step resource.
Learn to clean, prime, and paint trim with eco friendly paint for neat, crisp lines. Get sustainable painting tips to make window and door frames pop with this step-by-step guide.
Hastily diving in without proper setup is a recipe for regret. Neglecting to clean or sand means paint flakes off soon after, as residues repel adhesion. In a rush job on kitchen casing, I overlooked grease, leading to bubbling within weeks, a fix that doubled my effort.
Take time to wash, fill, and smooth; it's the bedrock for longevity. Rushing also misses hidden damage, like cracks that widen post-paint. Slow down, meticulous prep, from taping edges to dusting crevices, ensures a base that holds strong against daily life.
Selecting ill-suited paint invites trouble. Flat finishes on trim attract dirt and scuff easily, while oil-based over latex causes cracking. I've learned the hard way in a bathroom where matte paint mildewed quickly; semi-gloss would've resisted moisture better.
Match to environment, high-traffic calls for durable gloss, low-key areas allow eggshell subtlety. Check compatibility with existing layers to prevent reactions. Right choice yields washable, vibrant trim that endures.
Discover the best paint for exterior trim, key factors for durability, and expert tips for choosing and applying paint to ensure a long-lasting finish.
Dipping too deep floods the brush, spawning runs and splatters that mar surfaces. Excess paint drips unpredictably, especially on vertical door frames, creating messes that harden fast.
Load modestly, third of bristles, then tap sides for even distribution. This control allows precise application, reducing waste and cleanup. Practice on cardboard mimics real scenarios, building technique for drip-free results.
Fumes accumulate in closed spaces, causing dizziness or worse. Skipping masks exposes lungs, particularly with solvent-based paints.
Open windows, use fans for circulation, and don protective gear. In older structures, test for lead, disturbing it without precautions risks health. Safety measures, like gloves for skin protection, make the task sustainable and enjoyable.
Dim settings conceal misses and streaks, only revealed in daylight. Shadows mask uneven edges, leading to patchy corrections later.
Illuminate with task lamps or natural light, positioning to highlight textures. Painting during day hours lets you catch flaws in real time, ensuring uniformity that looks great under any condition.
Impatience here merges layers into tacky messes, prone to fingerprints or pulls. Humidity extends dry times, so factor weather.
Adhere to can guidelines, 2-4 hours typically, testing tackiness before recoating. This patience builds robust, even films that resist chipping.
This guide tackles the top 20 questions about storing paintbrushes, from quick breaks to long-term care, and even challenges like humid coastal areas.
Paint-encrusted knobs or hinges look sloppy and function poorly. Forgetting to unscrew leads to tedious scraping.
Remove where possible, tape meticulously otherwise. This preserves hardware and yields clean, functional trim.
Inconsistent pressure creates laps or thin spots. Omitting inter-coat sanding leaves nibs, roughening the surface.
Apply steadily, sand lightly with fine grit for smoothness. This ritual refines each layer, culminating in a glass-like finish.
Ignoring drips hardens them into eyesores. Post-paint, skips become glaring.
Wipe promptly, inspect dry for touch-ups with small brushes. Thorough finale polishes the project.
Forums reveal shared struggles, like over-brushing causing marks.
Reddit discussions:
Evading these pitfalls unlocks beautiful, resilient trim. Learn, adapt, and relish the transformation, your spaces deserve the best.
When painting interior trim like baseboards, doors, or window frames, the right conditions ensure a smooth finish and strong adhesion.
Aim for dry weather with temperatures between 50 and 85 degrees Fahrenheit, as this range works best for most latex paints used on trim, below 50°F can make paint too thick, while above 85°F might cause it to dry too fast and show brush marks. Keep humidity low, ideally under 50 percent, to prevent slow drying, bubbling, or mildew growth. If conditions aren't ideal, wait or use fans and dehumidifiers to control the environment, and always check your paint label for specific guidelines.
For interior trim, a high-quality angled brush, like a 2-inch sash brush, offers precision for cutting in edges, corners, and detailed moldings, helping avoid drips and ensuring clean lines. Rollers are better for larger flat surfaces, such as doors or wide trim, using a small foam roller to apply paint evenly without brush strokes. A common pro tip is to roll on the paint first for quick coverage, then "lay off" or smooth it with a brush for a flawless look, this combo minimizes lap marks and texture. Choose synthetic bristles for latex paint to hold more product and release it smoothly.
After painting trim, allow at least 24 hours for drying and a full week for curing before heavy use to prevent chipping or sticking. Clean gently with a soft, damp cloth and mild soap for dust or fingerprints, avoid abrasive cleaners or scrubbers that could scratch the finish. For tougher spots, use a magic eraser sparingly. Dust regularly with a microfiber cloth to maintain shine, and touch up scuffs with leftover paint using a small brush. In high-traffic areas like doors, consider a semi-gloss finish for easier wiping. Proper care keeps trim looking fresh for years.
High humidity can cause paint on trim to dry slowly, leading to runs, poor adhesion, or mold risks. To handle it, extend drying times between coats, wait up to twice as long as usual, and use a dehumidifier to lower moisture levels to below 50 percent before starting. Paint in thin layers for faster evaporation, and choose mildew-resistant paints for damp areas like bathrooms. Improve airflow with fans, but avoid directing them at wet surfaces. If humidity exceeds 85 percent, postpone the job. Monitoring with a hygrometer ensures optimal results.
If you've applied the wrong color or type of paint to trim, start by lightly sanding the surface with 150-220 grit sandpaper to remove gloss and create a rough texture for better adhesion, wear a mask to avoid dust. Clean thoroughly, then apply a fresh coat of primer to seal the old paint and prevent bleed-through, especially for dark to light changes. Repaint with your correct choice in thin, even layers, allowing full drying between coats. For small errors, spot-treat; for larger areas, remove as much as possible with a scraper first. Testing samples beforehand avoids this issue.
The most common mistake is rushing the cleaning process, which leaves grease, dust, or residue on trim, causing poor paint bonding and eventual peeling or flaking. Always wash with TSP or mild detergent, rinse well, and dry completely, skipping this leads to adhesion failures. Other errors include not sanding glossy surfaces for grip or forgetting to fill holes and caulk gaps, resulting in uneven finishes. Neglecting to tape off adjacent areas causes messy edges. Thorough prep, like degreasing and priming, is key to a professional look and longevity.
To fix dried drips on painted trim, gently scrape off excess with a putty knife or razor, then sand the area smooth with 220-grit sandpaper in light circular motions until level, clean away dust with a tack cloth. Apply primer if the drip exposed bare wood, then repaint carefully with a brush in thin coats, feathering edges to blend. For wet drips, immediately smooth with a dry brush or roller. Prevent them by not overloading your tool and working in small sections. Multiple light coats yield better results than one thick one.

Learn about eco-friendly painting, tips and tutorials on house interior and exterior surfaces, so you can get started with your project without any surprices during or after your painting.

Learn how interior house paint colors influence mood with expert tips on room preference so you can pick the best colors for a harmonious home environment.
We focus on the most popular shades for each interior colors, so you don't miss no matter what color you pick.

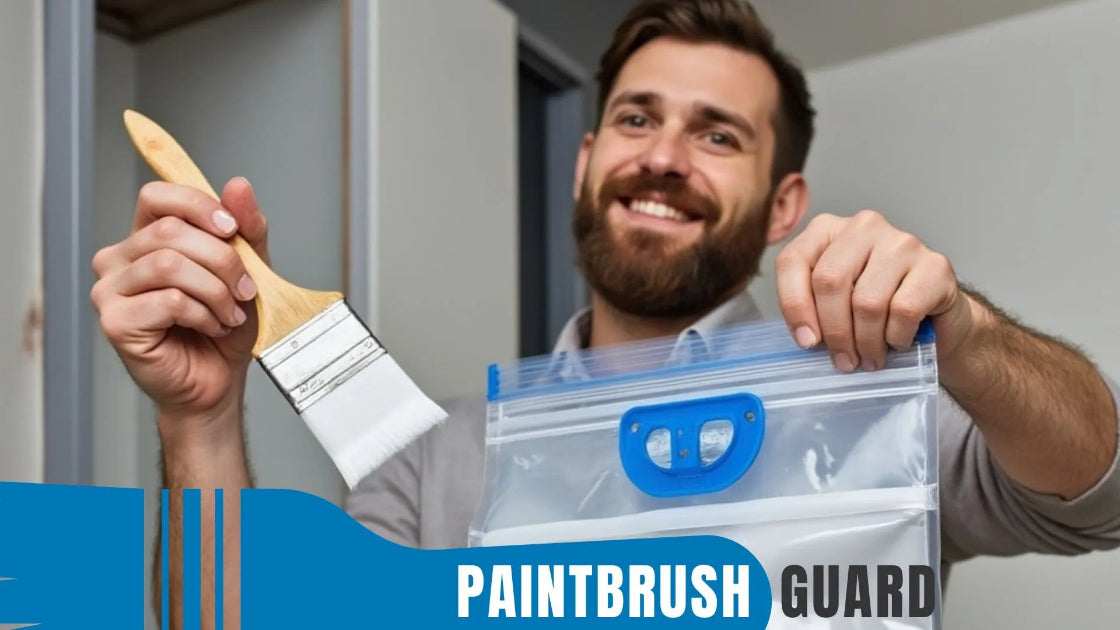
Learn how this innovative tool allows you to store paintbrushes without the need for immediate cleaning, offering significant advantages in time savings, water conservation, reduced chemical pollution, and lower costs for supplies.