How to Paint Interior Trim Like a Pro: Step-by-Step Guide
|
Time to read 8 min
|
Time to read 8 min
Painting interior trim isn't just about aesthetics; it's also about protection. A good coat of paint shields wood from moisture, dust, and wear, extending its life and maintaining your home's value. But rushing the job can lead to drips, uneven coverage, or peeling paint down the line.
That's why preparation is key, spending time on prep can save hours of fixes later. This step-by-step tutorial is designed for beginners and intermediates alike, with practical tips drawn from real-world experience. By the end, you'll have the confidence to tackle any trim painting project, whether it's a single door frame or an entire room's worth.
Before we dive in, a quick note: Always work in a well-ventilated area, wear protective gear like gloves and masks, and if your home was built before 1978, test for lead paint using EPA-approved kits. Safety first! Now, let's get started on how to paint interior trim like a pro.
For related projects, check out our guide on how to different interior surfaces in our complete house interior painting guide.
If you are planning to paint your house interior, in this article you will learn easy steps to make your home interior feel new again with step-by-step guides for all interior surfaces.
Painting interior trim offers more than a cosmetic upgrade, it's a smart investment in your home's longevity. Fresh paint can make rooms feel larger and cleaner, hide imperfections like dings or discoloration, and coordinate with your wall colors for a cohesive design. In fact, according to home improvement experts at sites like The Spruce, well-painted trim can increase perceived home value by making spaces look meticulously maintained.
But when should you paint interior trim? Ideally, before painting walls if you're doing both, as it allows for easier cleanup of any trim drips. If your trim is chipping, faded, or doesn't match your decor, it's time. Seasonal changes, like spring cleaning or post-holiday refreshes, are popular times, but avoid high-humidity periods to prevent bubbling. For best results, choose low-VOC paints to minimize odors and health risks, especially in homes with kids or pets.
One key benefit is durability: Semi-gloss or high-gloss finishes resist scuffs and are easy to wipe clean, perfect for baseboards in busy areas. Matte options work for less-trafficked crown molding, offering a subtle elegance. Whatever your choice, painting interior trim can transform dated woodwork into a modern focal point, boosting curb appeal from the inside out.
Learn how to do house interior painting for ceilings. Use eco friendly paints and sustainable painting tips to brighten rooms with this step-by-step guide.
Gathering the right materials is crucial for a smooth process when you paint interior trim. Skimping here can lead to frustration, so invest in quality items. Here's a detailed list:
Budget around $50-100 for supplies if starting from scratch.
Pro tip: Test paint on a small section first to confirm color and sheen under your lighting.
Learn how to prep, prime, and paint doors with eco friendly paint for a strong, pretty finish. Discover sustainable painting tricks for smooth, drip-free doors in this step-by-step guide.
Preparation is 80% of the job when you paint interior trim. Start by clearing the area: Move furniture away from walls, remove hardware like door knobs if possible, and cover floors with drop cloths. Tape off adjacent surfaces, walls, ceilings, and floors with painter's tape, pressing firmly for clean lines.
Ventilate the room by opening windows and using fans. If dust is an issue, vacuum trim thoroughly. For safety, don old clothes, gloves, and a mask. If lead is present, follow EPA guidelines for containment.
This step sets the foundation for flawless results, preventing messes and ensuring paint adheres properly.
Clean trim is non-negotiable for a lasting finish. Mix a solution of warm water and mild detergent (or TSP for greasy areas) and scrub with a sponge, working top to bottom. Rinse with clean water and let dry completely, overnight if needed.
Inspect for damage: Fill nail holes or dents with wood putty, using a putty knife to smooth. For cracks, apply caulk, feathering edges for seamless blending. Once dry (follow product times), sand lightly with 220-grit paper to create a smooth surface. Wipe away dust with a tack cloth.
Repairing now avoids visible flaws under paint, saving time on touch-ups later.
Sanding ensures paint sticks and looks even. Use 120-grit sandpaper for rough spots, then switch to 220-grit for finishing. Sand in the wood grain direction to avoid scratches. For curved trim, use flexible sanding pads.
After sanding, vacuum and wipe with a damp cloth to remove all particles. This step is vital for professional results, as unsanded trim can show brush strokes or peel prematurely.
Priming seals the surface and promotes even paint absorption. Stir primer well, then use an angled brush to apply in long, smooth strokes. Start at the top (crown molding) and work down to baseboards.
For bare wood, one coat suffices; stained trim may need two. Allow 1-2 hours drying time per coat. Primer hides imperfections and reduces the number of topcoats needed, making your paint job more efficient.
Selecting paint is key to durability and style. For interior trim, semi-gloss or gloss finishes are ideal, they reflect light, hide wear, and clean easily. Low-sheen eggshell works for a subtler look but is less forgiving. Use water-based latex for easy cleanup and low odors.
Colors: White or off-white for classic appeal, or match walls for a monochromatic vibe. Test samples on trim to see how they dry. Quality matters, premium paints level better, covering in fewer coats.
Cutting in creates crisp borders. Load your brush with paint, tapping off excess to avoid drips. Paint along edges where trim meets walls or ceilings, using steady strokes.
Work in sections, feathering edges to blend with rolled areas if needed. For intricate molding, use a smaller brush. This technique ensures no visible lines, giving a pro finish.
With edges cut in, apply the first coat. Use light pressure to avoid bubbles, painting in the grain direction. For long stretches like baseboards, work in 3-foot sections to keep a wet edge.
Allow 2-4 hours to dry. Thin coats are better than thick ones to prevent runs. This base coat sets up for a smooth second layer.
Light sanding between coats (220-grit) removes imperfections like dust nibs. Wipe clean after. This step is often skipped but crucial for ultra-smooth trim that looks factory-finished.
The second coat builds depth and coverage. Apply like the first, ensuring even application. After drying, inspect for misses and touch up with a small brush.
Two coats usually suffice; three for high-contrast changes.
While paint is tacky, peel tape at 45 degrees for sharp lines. Clean brushes immediately with soap and water. Store leftovers sealed.
Give the room a final vacuum. Enjoy your refreshed trim!
Find out how to clean, sand, and paint cabinets with eco friendly paint for a tough, new look. Get sustainable painting tips for a smooth finish in this step-by-step guide.
Avoid These Mistakes When You Paint Your Interior Trim:
Learn how to prep, prime, and paint baseboards with eco friendly paint for clean room edges. Find sustainable painting tricks for a neat finish in this step-by-step guide.
From Reddit users in r/HomeImprovement, thorough cleaning prevents most issues.
Ventilate, use low-VOC paint and test for lead.
Painting interior trim is a rewarding DIY that elevates any room. Follow these steps for pro results. Share your projects below!
4-8 hours per room, plus drying.
Semi-gloss latex for durability.
Yes, with primer.How to paint interior trim without brush marks?
Use quality brushes, thin coats.
Trim first.

Learn about eco-friendly painting, tips and tutorials on house interior and exterior surfaces, so you can get started with your project without any surprices during or after your painting.

Learn how interior house paint colors influence mood with expert tips on room preference so you can pick the best colors for a harmonious home environment.
We focus on the most popular shades for each interior colors, so you don't miss no matter what color you pick.

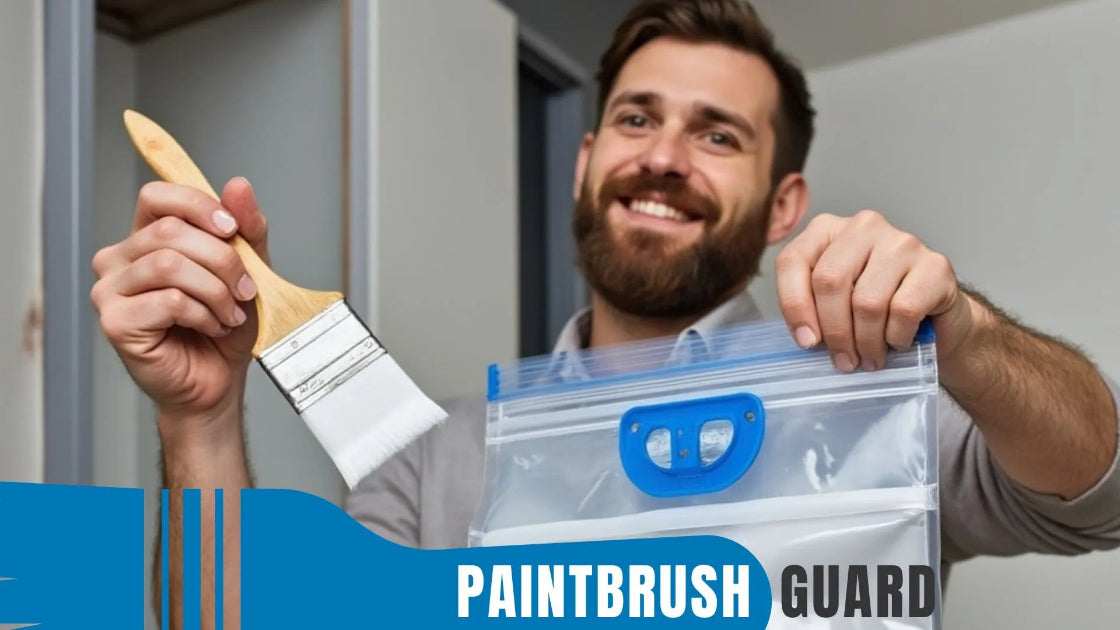
Learn how this innovative tool allows you to store paintbrushes without the need for immediate cleaning, offering significant advantages in time savings, water conservation, reduced chemical pollution, and lower costs for supplies.
