How to fix flaking rust before metal painting
|
Time to read 9 min
|
Time to read 9 min
This article explains how to fix flaking rust on metal painting with clear steps, tools and tips to make your metal surfaces strong and shiny again.
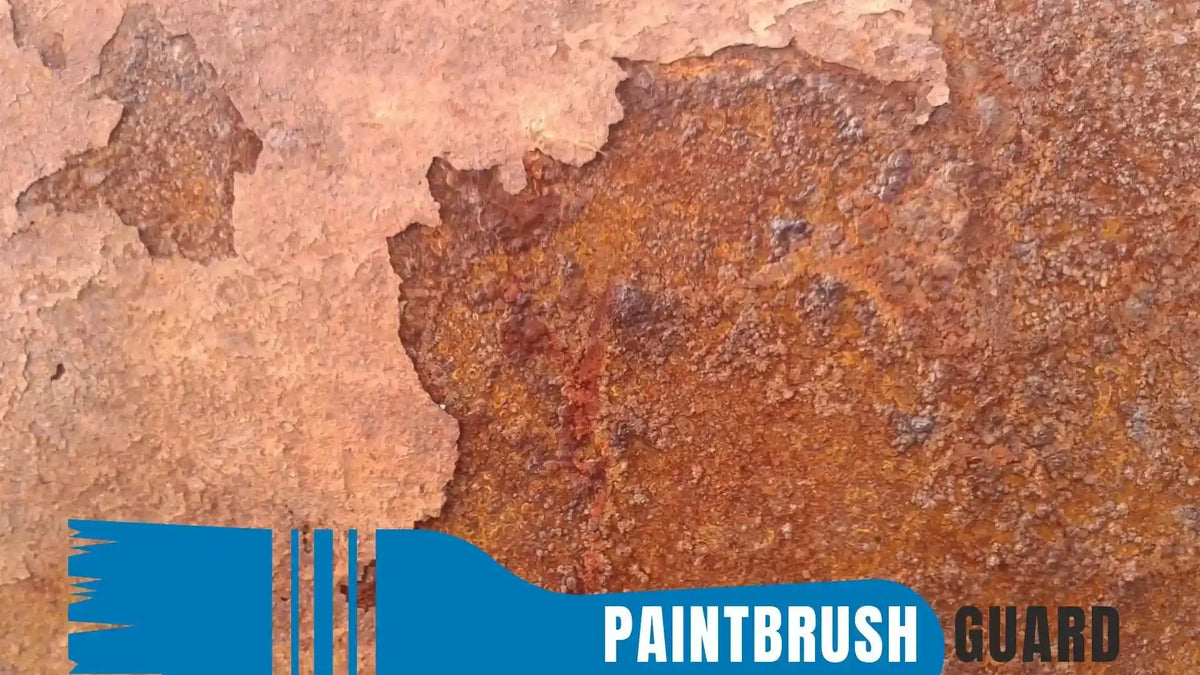
Flaking rust is a common problem on metal surfaces like fences, railings or outdoor furniture. It starts as small spots of corrosion where moisture and air eat away at the metal, causing paint to peel and rust to spread.
Left unchecked flaking rust weakens metal making it look old and damaged. Whether it’s a rusty gate or a weathered mailbox, fixing flaking rust is crucial to restore a smooth finish for metal painting.
Read our exterior metal painting guide: This guide helps you achieving a professional long lasting paint result on exterior metal, preventing issues like rust, peeling or uneven finishes.
Table of contents
Flaking rust happens when iron or steel reacts with oxygen and water, forming iron oxide (rust). Over time this rust lifts the paint and create flakes that expose more metal to corrosion.
Common causes include:
Flaking rust is most common on outdoor metal like fences, railings, gates or patio furniture, but it can also affect indoor metal if moisture is present.
Fixing it involves removing the rust, prepping the surface and applying protective coatings to stop future corrosion.
Knowing how to fix flaking rust on metal painting saves money and keeps your metal looking great.
Discover 6 expert tips for exterior metal painting in coastal regions. Learn to combat rust with durable paints and prep techniques. Transform your home today!
To fix flaking rust on metal painting, gather these tools and materials:
These items cost about $50–$150, depending on the surface size (e.g., a 50-foot fence). Having the right tools makes how to fix flaking rust on metal painting faster and more effective.
Follow these steps to fix flaking rust on metal painting and restore your metal surfaces:
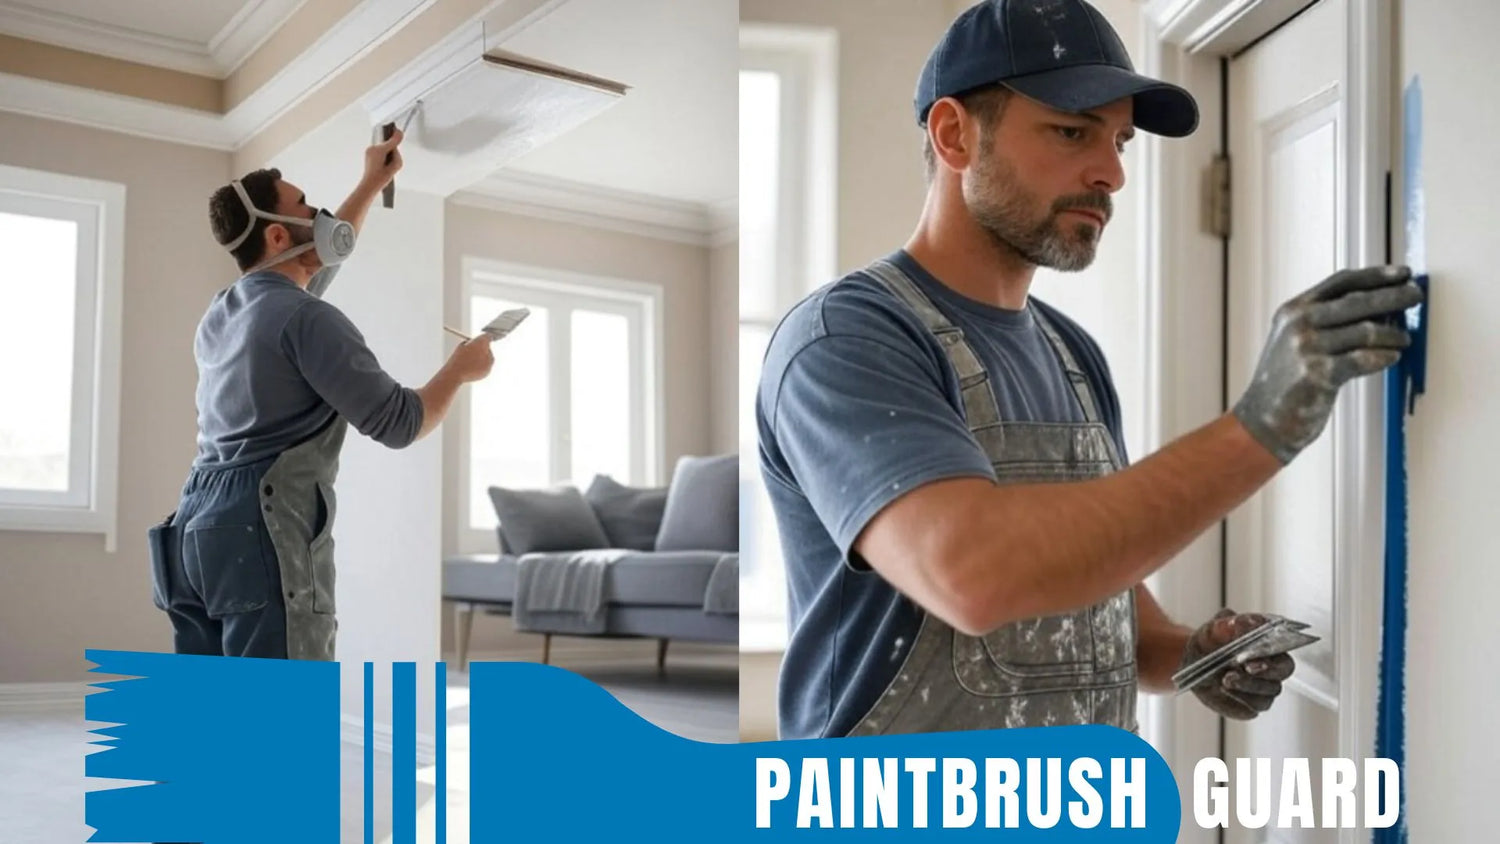
Check the metal for rust damage. Look for orange or brown flakes, bubbling paint, or pitted areas.
Focus on joints, seams, or low spots where water collects. For a 50-foot fence, this takes about 30 minutes.
Note heavily rusted areas that may need extra work. This step ensures you know the full scope of the flaking rust problem before starting.
Discover 6 tips for exterior metal painting on galvanized surfaces, including cleaning, priming and applying paint for a durable finish on fences or railings.
Lay down drop cloths to catch rust flakes and debris. Wear gloves, safety glasses, and a dust mask to avoid inhaling rust particles.
If working outdoors, choose a dry day (60–80°F) to prevent moisture from interfering. Protecting your area keeps the process safe and clean, making how to fix flaking rust on metal painting easier.
Use a wire brush or scraping tool to scrub off loose rust and flaking paint. Work in small sections (2–3 feet at a time) to be thorough.
For stubborn spots, use 80-grit sandpaper to scrape away flakes. This step takes 1–2 hours for a 50-foot fence. Removing loose material is key to creating a smooth surface for metal painting.
Sand the metal with 120–220-grit sandpaper to smooth rough areas and remove remaining rust. Sand until the surface feels even and you see bare metal in rusted spots.
Wipe away dust with a damp rag. Sanding takes about 1 hour for a small surface. A smooth surface helps primer stick, ensuring a lasting fix for flaking rust.
Wash the metal with a solution of dish soap and water or a degreaser to remove grease, dirt, or oil. Use a rag or sponge, then rinse with clean water. Let the surface dry completely (1–2 hours).
Cleaning prevents contaminants from interfering with primer, making how to fix flaking rust on metal painting more effective.
Avoid issues like peeling by sanding metal for exterior painting. Learn why skipping sanding fails and get tips for a pro finish on metal surfaces.
Brush or spray a rust converter (e.g., Rust-Oleum Rust Reformer) on any remaining rust spots. This liquid turns rust into a stable, paintable surface, stopping further corrosion.
Follow the product’s instructions, usually letting it dry for 24 hours. For a 50-foot fence, this takes 30–60 minutes. Rust converter is crucial for preventing flaking rust from returning.
Apply a rust-inhibiting primer with a brush or roller in thin, even coats. Use a primer designed for rusty metal (e.g., Rust-Oleum Rusty Metal Primer).
Cover all surfaces, including edges and seams. Let the first coat dry (4–6 hours) and then apply a second coat if needed. Priming takes 1–2 hours for a small surface. Primer seals the metal, preparing it for painting and preventing future flaking rust.
Check the primed surface for missed spots or uneven areas. Sand lightly with 220-grit sandpaper if needed, then touch up with primer.
This step takes about 30 minutes. A thorough inspection ensures the metal is ready for painting, completing how to fix flaking rust on metal painting.
Learn how long exterior paint lasts on metal, factors affecting durability, and expert tips for preparation and maintenance to extend its lifespan.
Dispose of rust flakes and debris in a sealed bag to prevent spreading. Clean tools with soap and water or according to product instructions.
Store primer for future touch-ups. Cleanup takes 15–30 minutes. Proper cleanup keeps your workspace tidy and tools ready for the next metal painting project.
Once you’ve fixed flaking rust, keep your metal surfaces rust-free with these tips:
These habits extend the life of your metal surfaces, making how to fix flaking rust on metal painting a rare task.
Fixing flaking rust can go wrong if you rush or skip steps. Here are some mistakes to avoid:
Taking time to do each step right ensures a lasting fix for flaking rust on metal painting.
Learn when to prime exterior metal paint for a durable finish. Explore primer types, preparation, and application tips for metal surfaces.
Fixing flaking rust on a small metal surface (e.g., a 50-foot fence) takes 2–3 days.
Larger surfaces or heavy rust may take longer. Dry weather speeds up drying times and making how to fix flaking rust on metal painting faster.
The cost to fix flaking rust on a 50-foot fence is $50–$150:
By doing it yourself you save $500–$2,000 compared to hiring pros, making how to fix flaking rust on metal painting affordable.
If rust damage is severe (e.g., holes in metal) or the surface is large (e.g., a barn roof), consider a pro.
They have sandblasters or power tools for heavy rust and can ensure safety on tall structures. For small projects, doing it yourself is cost effective and manageable with this guide on how to fix flaking rust on metal painting.
Learn about metal painting in the rain: This article explores the risks of painting metal in wet conditions, ideal weather for painting, and tips to achieve a professional finish on metal surfaces like fences or railings.
Fixing flaking rust on metal painting restores your fences, railings or furniture to a shiny, strong state.
By removing rust, sanding, cleaning and priming, you stop corrosion and create a smooth surface for painting.
With $50–$150 and 2–3 days, you can tackle flaking rust yourself. Follow these steps, avoid common mistakes and check your metal regularly to keep it rust free for years.
Flaking rust weakens metal and causes paint to peel, exposing more metal to corrosion. Removing rust, cleaning, and priming ensures a smooth, durable finish, preventing further damage and enhancing the longevity of metal painting projects.
Essential items include a wire brush, 80–220 grit sandpaper, scraping tool, rust converter, rust-inhibiting primer (e.g., Rust-Oleum Rusty Metal Primer), paint roller or brush, cleaning solution (soap or degreaser), rags, protective gear (gloves, glasses, mask), drop cloths, and a bucket.
Inspect the metal, protect the work area, remove loose rust and paint with a wire brush or sandpaper, clean with soap or degreaser, apply rust converter, prime with rust-inhibiting primer, inspect for missed spots, and clean up. This process takes 2–3 days for a 50-foot fence.
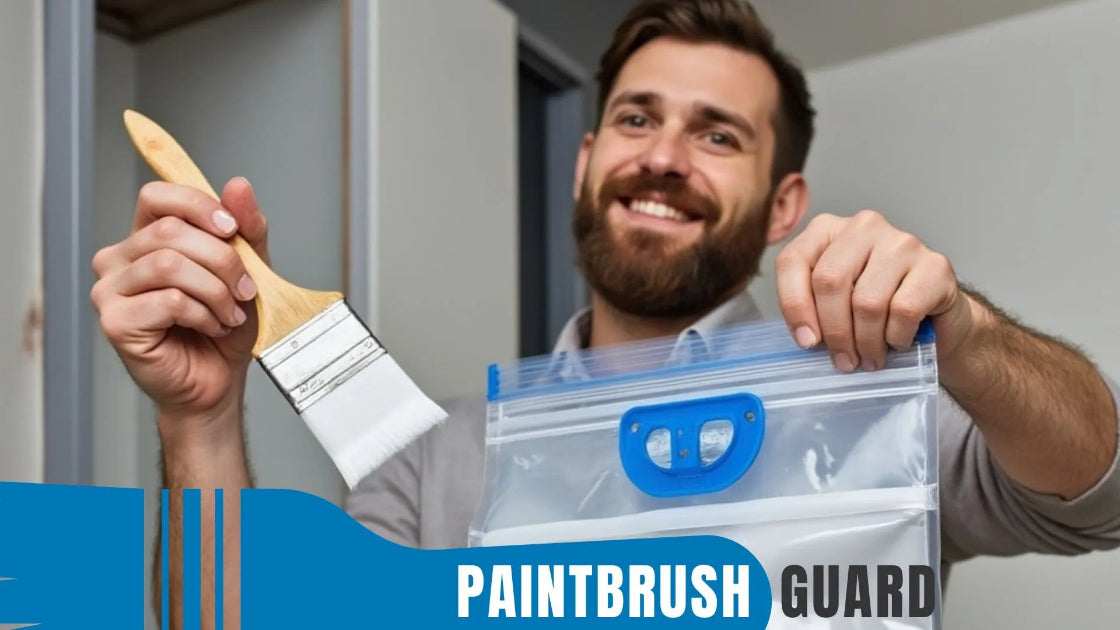
The Paintbrush Guard vacuum-seals brushes, keeping them wet during breaks, reducing cleanup time by 15–30 minutes per session and minimizing water waste. Its reusable bags support eco-friendly painting, ensuring brushes stay ready for precise primer application.
Avoid skipping rust removal, neglecting grease cleaning, using non-rust-inhibiting primers, painting wet metal, or ignoring safety gear. These errors can lead to paint flaking, poor adhesion, or health risks, undermining the effectiveness of metal painting.
Learn more about metal painting: This article explores the types of exterior metal paint, their applications and essential tips for a lasting finish.

Learn about eco-friendly painting, tips and tutorials on house interior and exterior surfaces, so you can get started with your project without any surprices during or after your painting.

Learn how interior house paint colors influence mood with expert tips on room preference so you can pick the best colors for a harmonious home environment.
We focus on the most popular shades for each interior colors, so you don't miss no matter what color you pick.

Learn how this innovative tool allows you to store paintbrushes without the need for immediate cleaning, offering significant advantages in time savings, water conservation, reduced chemical pollution, and lower costs for supplies.

