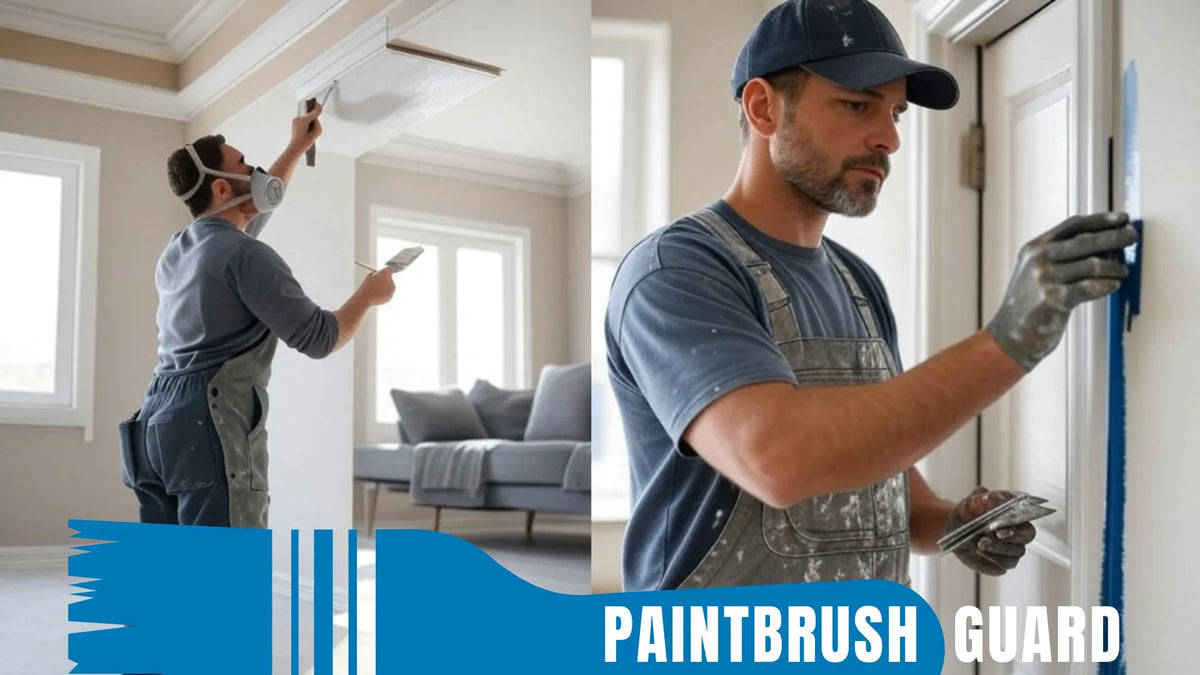
How to Master Cutting In Edges: Perfect Interior Wall Paint
|
Time to read 6 min
|
Time to read 6 min
I've been painting homes for nearly 15 years, from tiny apartments to big family houses, and if there's one skill that separates a decent paint job from a stunning one, it's mastering how to cut in edges.
Cutting in means using a brush to paint the borders where walls meet ceilings, trim, or other surfaces, creating crisp lines without tape messes. But before you even think about dipping that brush, you have to clean your interior walls thoroughly.
Skipping this can lead to dust or grease ruining your edges. In this guide, I'll share my tried-and-true methods, drawing from countless projects where perfect edges made all the difference. We'll cover why it matters, tools you need, step-by-step instructions, and more, so you can achieve pro-level results at home.
Painting interior walls? Our 10-step beginner guide with product recommendations ensures a flawless, professional finish for any room.
Cutting in isn't just a fancy term, it's the foundation for flawless walls. When you clean your interior walls first, you remove contaminants that could cause paint to bleed or feather out unevenly.
Imagine spending hours on a room only to see fuzzy lines; I've fixed that for clients too many times. Proper cutting in ensures sharp transitions, especially in corners or around windows, making the whole space look polished.
From my jobs, I've seen how cutting in saves time overall. You paint edges precisely, then roll the middle without worrying about overlaps. It's key for color changes or accent walls. Plus, with today's paints drying faster, good technique prevents lap marks.
Experts say well-cut edges can make paint last longer by reducing wear at junctions. But remember, to get those perfect lines, always clean your interior walls beforehand, it's non-negotiable for adhesion.
If you are planning to paint your house interior, in this article you will learn easy steps to make your home interior feel new again with step-by-step guides for all interior surfaces.
Gathering the right gear is half the battle when you plan to cut in edges. Start with a high-quality angled sash brush, 2-3 inches wide; I swear by synthetic bristles for latex paints as they hold shape better.
A steady ladder or step stool helps reach high spots safely. Don't forget a paint bucket or cup for easy dipping, and a brush comb to keep filaments clean.
Before using any tool, clean your interior walls to avoid transferring dirt. Painter's tape can help beginners, but pros often freehand for speed. Have damp rags handy for quick wipes. For textured walls, a thicker brush nap works best.
I've learned the hard way that cheap brushes shed hairs into wet paint, so invest wisely, about $20 gets you a reliable set. And yes, clean your interior walls first to ensure tools glide smoothly.
Here's how I do it on every job, refined over years. First, prep by moving furniture and covering floors. Then, clean your interior walls with soap and water, rinsing well to remove residue. Let them dry fully, damp surfaces ruin cuts.
This method takes practice and my first attempts were wobbly, but now I cut in a room in under an hour. Always clean your interior walls between coats too.
Rookies often rush, leading to wavy lines or paint on trim. One big error: not cleaning your interior walls, causing poor adhesion and bubbles. Another is overloading the brush, creating runs that dry unevenly.
Shaky hands from fatigue? Take breaks. Using the wrong brush angle flattens bristles, losing precision.
I've seen folks paint too far from edges, leaving gaps for roller misses. Or they cut in after rolling, which shows overlaps. Lighting matters, work in good light to spot flaws. And never skip cleaning your interior walls; it's the root of most issues I fix.
To elevate your game, try these hacks I've picked up:
These tips, plus consistent practice, turn anyone into an edge master. Clean your interior walls each time for consistency.
In summary, mastering cutting in edges boils down to preparation, technique, and patience. Start by always making sure to clean your interior walls, as this sets up success. Use the right tools, follow steps carefully, avoid pitfalls, and incorporate pro tips for that flawless look.
From my experience, this skill not only beautifies your home but saves money on touch-ups. Clean your interior walls, grab your brush, and transform your space, one precise stroke at a time. With these insights, your interior walls will boast perfect paint that's durable and eye-catching.
Want to master wall painting? Explore expert guides on prep, priming, cutting in, and fixing issues for a flawless finish!
Tape helps beginners, but pros often freehand for speed. Either way, clean your interior walls first to prevent bleed-through.
An angled sash brush with synthetic bristles works best. Clean your interior walls before use to keep it effective.
Practice steady strokes and rest your hand. Ensure you clean your interior walls for smooth application.
It's better to cut in first while walls are dry. Clean your interior walls beforehand for best adhesion.
With practice, a few projects. Start by always cleaning your interior walls to build confidence.