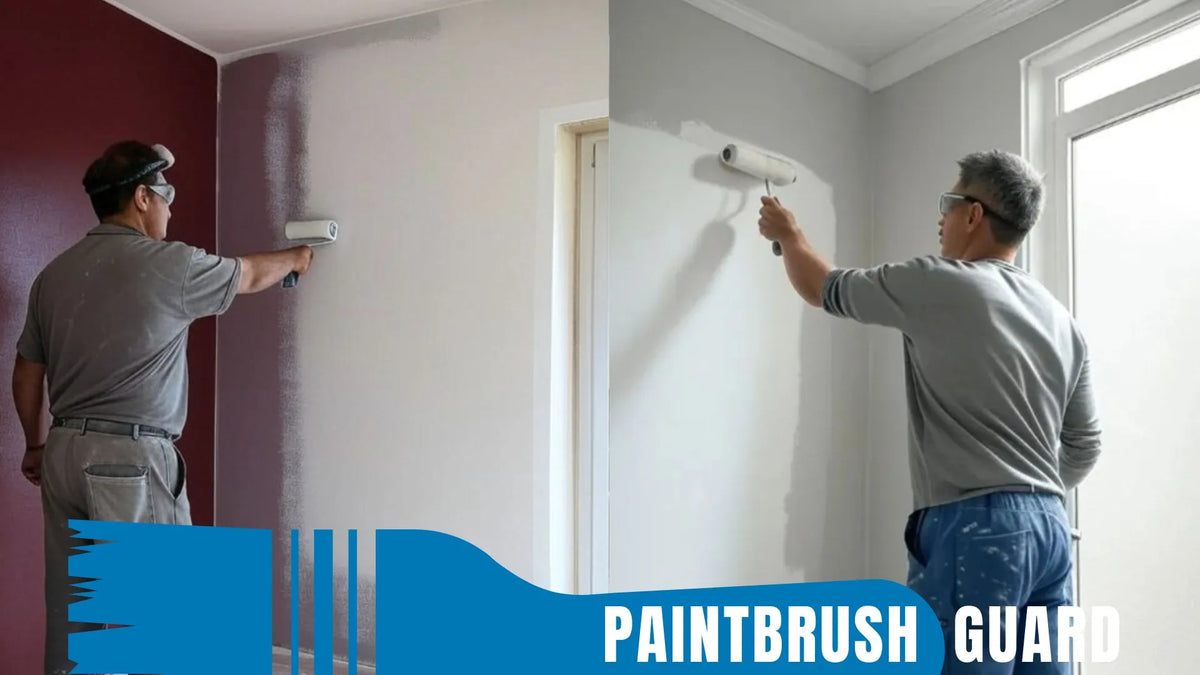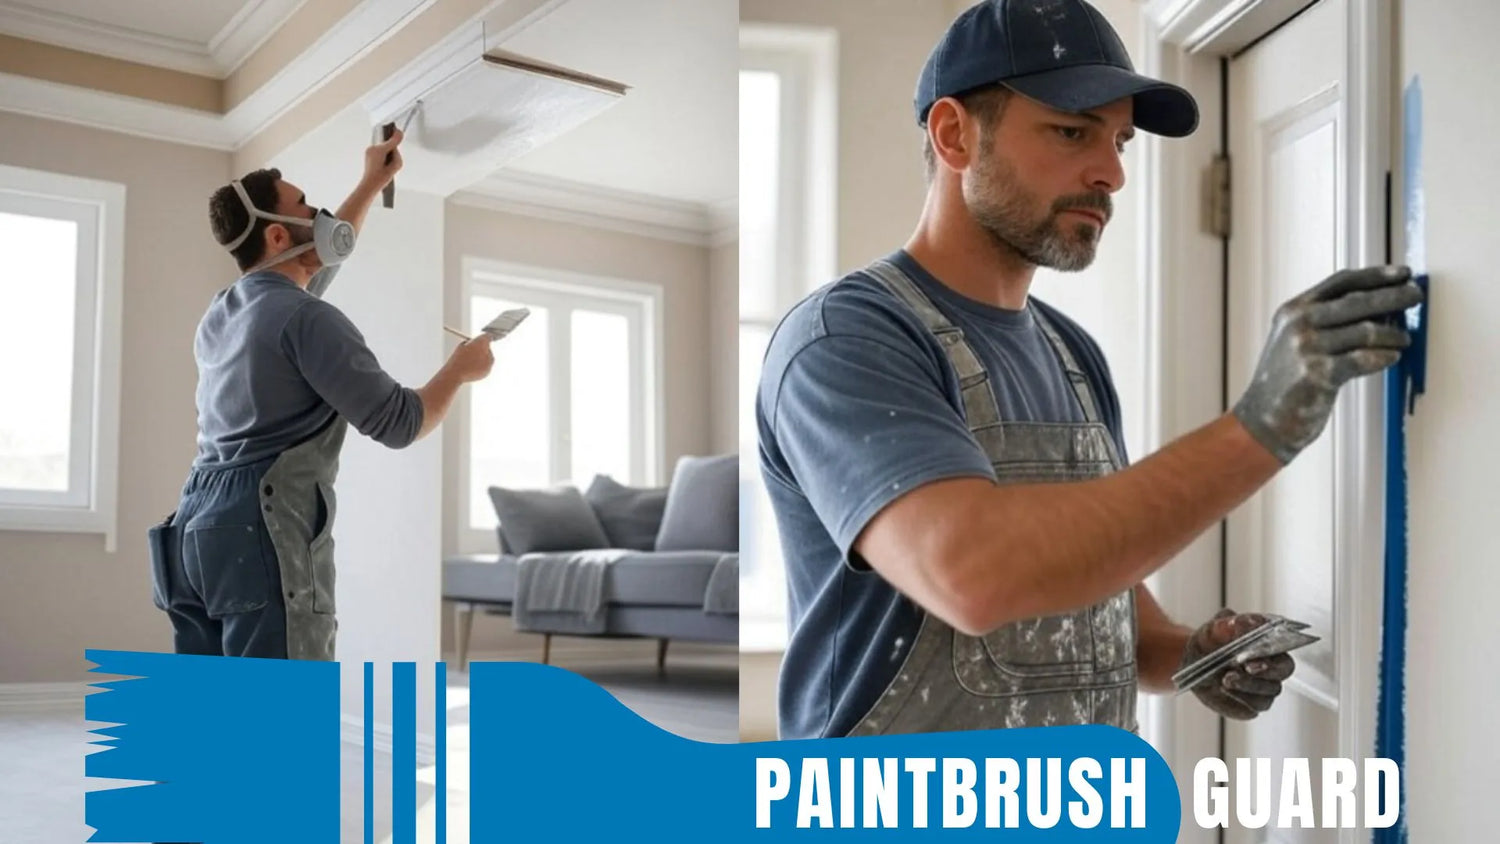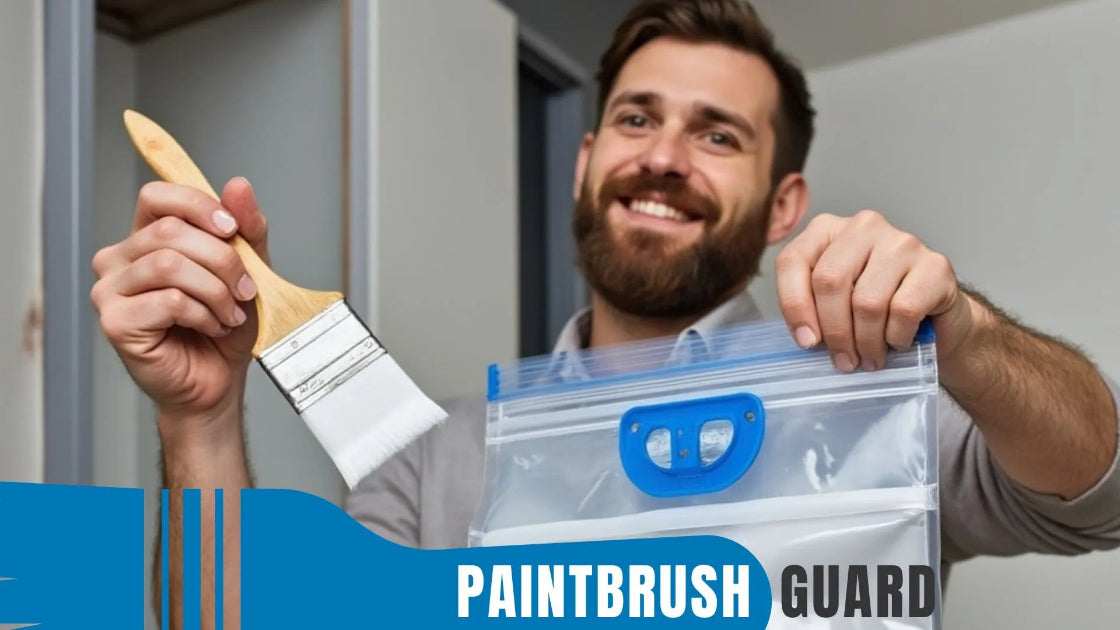
How to Prime Your Interior Walls for Perfect Paint Finish
|
Time to read 7 min
|
Time to read 7 min
Priming your interior walls might seem like an extra hassle in a painting project, but trust me, it's the unsung hero that can make or break your final results. I've been knee-deep in home improvement for over a decade, tackling everything from cozy apartments to sprawling family homes, and I've learned that skipping this step is a recipe for disappointment.
Uneven absorption, visible patches, and paint that chips away too soon? All avoidable with a good primer coat. In this guide, we'll walk through why priming matters, how to do it step by step, and some insider tips to ensure your walls look professionally painted.
Whether you're a DIY newbie or a seasoned renovator, these insights will help you achieve that flawless finish you've been dreaming of.
Painting interior walls? Our 10-step beginner guide with product recommendations ensures a flawless, professional finish for any room.
Before we get our hands dirty, let's talk about why priming is essential. Walls, especially those made of drywall, are porous like a sponge. When you slap paint directly on them, it soaks in unevenly, leading to a dull, patchy appearance.
Primer acts as a sealant, creating a uniform surface that allows paint to adhere better and spread more evenly. This not only enhances the color vibrancy but also extends the life of your paint job, potentially saving you from repaints down the line.
From my experience, priming is crucial in specific scenarios. New constructions or freshly repaired walls scream for it because the raw materials absorb moisture aggressively.
If you're covering dark colors with lighter ones, or dealing with stains from water damage, smoke, or crayons (thanks, kids!), a stain-blocking primer prevents those blemishes from bleeding through. Even on previously painted walls, if the existing coat is glossy or in poor condition, priming helps the new paint bond without flaking.
Economically, it's a smart move. A quality primer can reduce the number of paint coats needed from three to two, cutting down on material costs and labor time.
Environmentally, using less paint means fewer VOCs (volatile organic compounds) released into your home. Plus, modern primers are low-odor and quick-drying, making the process less disruptive to your daily life.
Research from home improvement experts backs this up. According to painting pros at major hardware chains, primed walls can hold paint up to 50% longer in high-traffic areas like kitchens and hallways. It's not just about aesthetics; it's about durability and efficiency.
If you are planning to paint your house interior, in this article you will learn easy steps to make your home interior feel new again with step-by-step guides for all interior surfaces.
Preparation is half the battle. You'll need a few basics to prime effectively. Start with a high-quality primer latex-based for most interior jobs, as it's easy to clean and low in fumes. If stains are an issue, opt for an oil-based or shellac primer. Don't skimp here; cheap primers often lack the binding agents needed for good coverage.
Tools-wise, grab a roller with a 3/8-inch nap for smooth walls or 1/2-inch for textured ones, extension pole for reach, angled brush for edges, painter's tape, drop cloths, and sandpaper (220-grit). A paint tray, stir sticks, and a ladder round out the list. For safety, ventilation fans or masks are wise, especially in enclosed spaces.
I always recommend tinted primers. Matching the primer tint to your final paint color, many stores do this for free and helps achieve better opacity, particularly with bold hues. It's a small step that pays off big in the end.
Now, let's break it down into actionable steps. I've refined this process over hundreds of projects, and it consistently delivers pro results.
Following these steps should take 4-6 hours for an average room, depending on size.
Even pros slip up sometimes. One biggie is not waiting for full dry time, leading to poor adhesion. Another is using old primer so check expiration dates. Over-thinning primer dilutes its effectiveness, so follow ratios if needed. Ignoring ventilation can cause headaches (literally), so open windows or use fans.
In older homes, test for lead paint before sanding. If positive, hire professionals to avoid health risks.
For that extra polish, consider these hacks. Use a primer with mildew resistance in bathrooms. For high-ceiling rooms, invest in a paint sprayer for even application, but mask everything first to contain overspray.
Color transitions? Gray-tinted primers work wonders under dark paints, reducing coats.
Eco-conscious? Look for zero-VOC options that perform just as well.
I've primed walls in historic homes where preserving texture was key and light sanding preserved character while ensuring smoothness.
If your project involves extensive repairs, like major drywall work or high ceilings, professionals might save time and frustration. They have industrial tools and experience with tricky surfaces.
Priming sets the stage for a paint finish that's not just good, but exceptional. It's an investment in your home's beauty and longevity. With practice, you'll see how this step elevates every project. Grab your tools, roll up your sleeves, and transform those walls. Your future self (and your walls) will thank you.
Want to master wall painting? Explore expert guides on prep, priming, cutting in, and fixing issues for a flawless finish!
Priming seals porous surfaces like drywall, prevents uneven paint absorption, and enhances adhesion. It blocks stains, reduces the number of paint coats needed, and ensures a vibrant, long-lasting finish.
If the existing paint is in good condition, clean, and similar in color, you might skip priming. However, for glossy surfaces, color changes, or stained walls, priming ensures better adhesion and coverage.
Latex-based primers work best for most interiors, especially drywall, due to low fumes and easy cleanup. Use oil-based or shellac primers for tough stains like smoke or water marks. Tint primers to match your paint for better results.
Most latex primers dry to the touch in 30-60 minutes but require 2-4 hours before painting. Check the product label, as drying times vary based on humidity and temperature.
One coat is usually enough for clean, even surfaces. Apply a second coat if stains bleed through, the wall is highly porous, or you're covering a dark color with a lighter one. Sand lightly between coats for smoothness.

Learn about eco-friendly painting, tips and tutorials on house interior and exterior surfaces, so you can get started with your project without any surprices during or after your painting.

Learn how interior house paint colors influence mood with expert tips on room preference so you can pick the best colors for a harmonious home environment.
We focus on the most popular shades for each interior colors, so you don't miss no matter what color you pick.

Learn how this innovative tool allows you to store paintbrushes without the need for immediate cleaning, offering significant advantages in time savings, water conservation, reduced chemical pollution, and lower costs for supplies.