great article!!!! great information and wonderful tips

How to Prepare Your Room Properly for Interior Wall Painting
|
Time to read 6 min
|
Time to read 6 min
Getting ready to paint your interior walls can feel overwhelming, but proper preparation is the key to a smooth, professional-looking finish. I've spent years in the home renovation world, transforming dingy spaces into vibrant homes, and I've learned that skimping on prep work leads to headaches later, like uneven coats or paint splatters everywhere.
This guide breaks down everything you need to know, from clearing the space to protecting surfaces, so your painting project goes off without a hitch. Whether you're refreshing a bedroom or revamping a living room, these steps will save time, money, and frustration.
Painting interior walls? Our 10-step beginner guide with product recommendations ensures a flawless, professional finish for any room.
Think about it: painting isn't just about the color you choose; it's about creating a clean canvas. Without thorough prep, dust and debris can mix into your paint, causing bumps or streaks.
Furniture left in place risks damage from drips, and unprotected floors might end up with permanent stains. From my experience tackling countless DIY disasters for clients, I've seen how good preparation prevents costly do-overs.
Preparation also ensures safety and efficiency. Moving items out reduces tripping hazards, while covering surfaces minimizes cleanup. Plus, it helps the paint adhere better, leading to a durable finish that resists peeling.
According to home improvement stats, well-prepped rooms can make paint jobs last up to twice as long, especially in high-humidity areas like bathrooms. It's not just about aesthetics, it's about protecting your investment in time and materials.
In today's fast-paced world, where quick fixes tempt us, taking the time to prepare sets pros apart from amateurs. I've painted rooms in historic houses where rushed prep led to chipping within months, versus meticulous setups that still look fresh years later. Trust me, the effort upfront pays dividends.
If you are planning to paint your house interior, in this article you will learn easy steps to make your home interior feel new again with step-by-step guides for all interior surfaces.
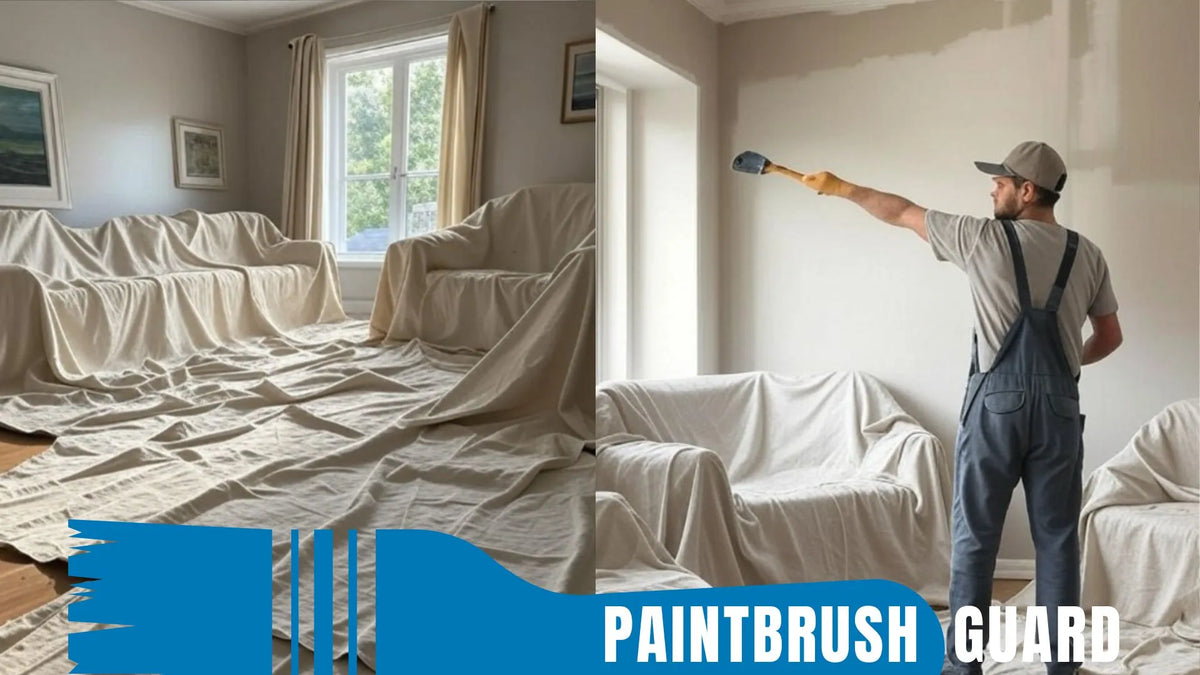
Before diving in, gather your supplies. You'll need drop cloths or plastic sheeting to cover floors and furniture, canvas cloths are my go-to because they're reusable and less slippery. Painter's tape (blue or green for delicate surfaces) is crucial for masking edges. Don't forget a sturdy ladder, screwdrivers for removing hardware, and cleaning supplies like mild soap, sponges, and a vacuum with attachments.
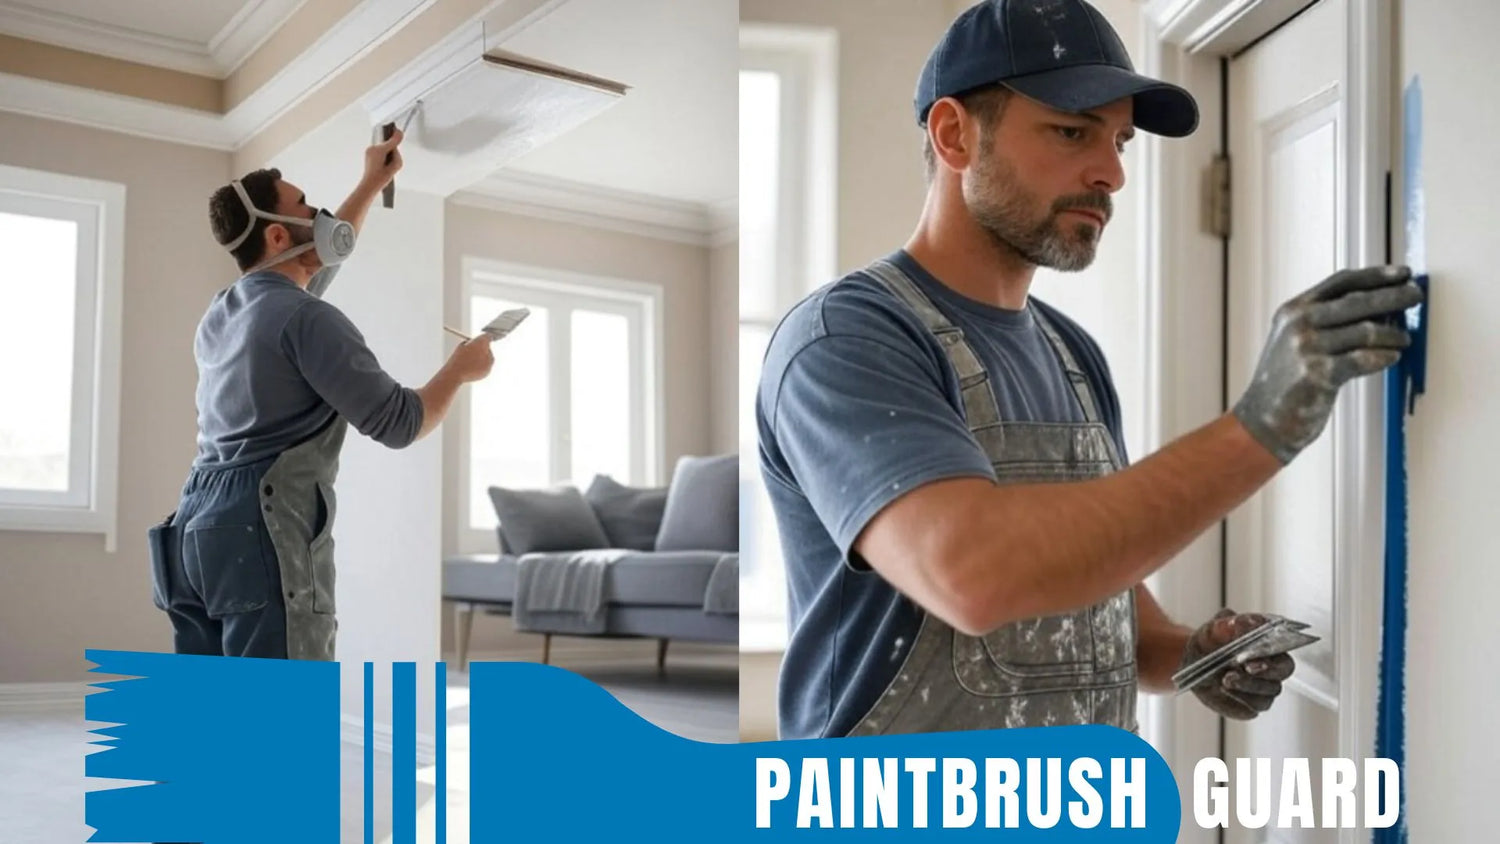
For repairs, stock up on spackle, putty knives, sandpaper (120-220 grit), and a sanding block. Trash bags for debris, extension cords if needed, and ventilation fans round out the list. I always keep a few old rags handy for wiping up surprises. If you're eco-minded, opt for low-VOC cleaners to keep indoor air quality high during the process.
Budget-wise, these items are affordable, under $50 at most hardware stores.
Pro tip: Invest in quality tape; cheap versions leave residue that ruins your edges.
Here's where the magic happens. Follow these steps in order for best results.
This process typically takes 2-4 hours per room, depending on size and condition. I've prepped tiny powder rooms in under an hour and full basements over a day, patience is key.
Even seasoned painters slip up. One frequent error is not cleaning walls properly, leading to poor adhesion. Another is using the wrong tape, which can pull off existing paint when removed. Rushing the drying time after washing walls invites moisture issues.
Overloading the room with uncovered items creates obstacles, increasing accident risks. Forgetting to label hardware bags? That's a puzzle you don't want post-painting. In humid climates, inadequate ventilation can trap moisture, causing mildew under fresh paint.
From my fieldwork, I've fixed many botched jobs where homeowners skipped drop cloths, resulting in stained carpets that needed professional cleaning, or replacement.
Elevate your prep with these insider secrets. Use rosin paper on hardwood floors under drop cloths for extra protection. For high-traffic homes, schedule prep on a low-humidity day to speed drying.
Eco-tip: Choose biodegradable plastic sheeting.
Mastering room prep turns a chore into a rewarding project. It ensures your interior wall painting shines with professionalism, boosting your home's value and appeal. Dive in with confidence, you've got this.
Want to master wall painting? Explore expert guides on prep, priming, cutting in, and fixing issues for a flawless finish!
Preparation typically takes 2-4 hours for an average room, depending on size, furniture, and wall condition. Larger spaces or those needing repairs may require a full day.
Ideally, yes, to avoid damage and ease access. If items are too heavy, move them to the center and cover securely with plastic sheeting or drop cloths.
Use a mild soap solution or TSP substitute with warm water. For greasy areas, add a degreaser. Always rinse and dry thoroughly to prevent adhesion issues.
Absolutely, it creates clean edges and protects trim. Choose blue or green tape for most surfaces, and press it down firmly to avoid paint bleed.
It's best to wait until walls are fully dry after cleaning, often overnight. Rushing can lead to poor paint adhesion or bubbles.
Comments
great article!!!! great information and wonderful tips

Learn about eco-friendly painting, tips and tutorials on house interior and exterior surfaces, so you can get started with your project without any surprices during or after your painting.

Learn how interior house paint colors influence mood with expert tips on room preference so you can pick the best colors for a harmonious home environment.
We focus on the most popular shades for each interior colors, so you don't miss no matter what color you pick.

Learn how this innovative tool allows you to store paintbrushes without the need for immediate cleaning, offering significant advantages in time savings, water conservation, reduced chemical pollution, and lower costs for supplies.