How to Thoroughly Clean Your Interior Walls Before You Paint
|
Time to read 6 min
|
Time to read 6 min
Painting a room can breathe new life into your home, but if you skip the crucial step to clean your interior walls, you might end up with a finish that's far from perfect. I've been in the painting game for over a decade, helping homeowners avoid common pitfalls, and time and again, I've seen how dirt, grease, and dust sabotage even the best paint jobs.
Thoroughly cleaning your walls ensures better adhesion, prevents bubbling, and gives you that smooth, professional look. In this guide, we'll cover everything from why it's essential to clean your interior walls to a detailed how-to, so you can tackle your project with confidence.
Painting interior walls? Our 10-step beginner guide with product recommendations ensures a flawless, professional finish for any room.
Before grabbing that roller, understand why you need to clean your interior walls. Walls accumulate grime over time, fingerprints in hallways, cooking splatters in kitchens, or just everyday dust.
If you paint over this, the new layer won't stick properly, leading to peeling or uneven color. From my experience fixing botched DIY jobs, unclean walls can cut the lifespan of your paint by half.
Cleaning also reveals hidden issues like cracks or mold that need fixing first. It's especially vital in high-moisture areas where mildew thrives. Experts in home improvement note that properly cleaned surfaces can improve paint durability by up to 30%, making your effort last longer.
Plus, it's a health thing, removing allergens and residues creates a fresher living space. When you clean your interior walls right, you're setting the stage for a flawless transformation.
If you are planning to paint your house interior, in this article you will learn easy steps to make your home interior feel new again with step-by-step guides for all interior surfaces.
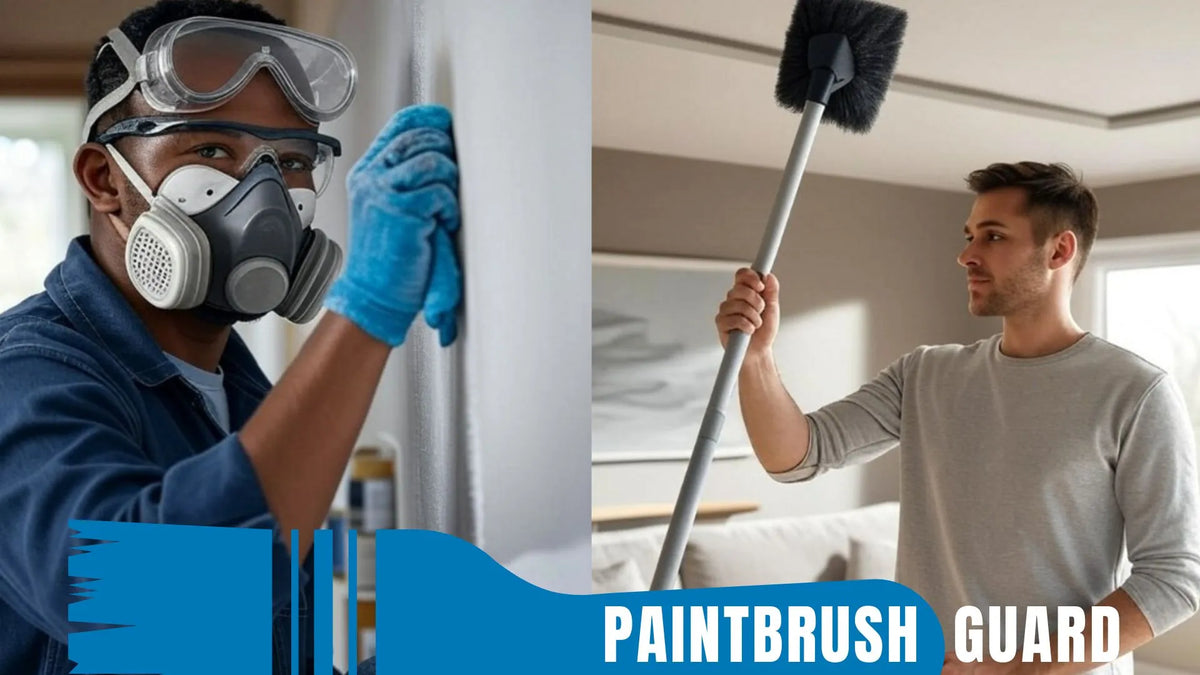
Gathering the right supplies makes it easier to clean your interior walls effectively. Start with basics: a sturdy ladder for high spots, drop cloths to protect floors, and rubber gloves to keep your hands safe.
For cleaning solutions, mild dish soap mixed with warm water works wonders for most walls, but for tougher grease, grab a TSP substitute (trisodium phosphate alternative) from your local hardware store, it's powerful yet safe for modern homes.
You'll also want sponges or microfiber cloths, avoid abrasive ones that could scratch painted surfaces. A vacuum with a brush attachment is great for initial dusting, and a squeegee helps with rinsing.
Don't forget a bucket, painter's tape for protecting trim, and perhaps some white vinegar for natural, eco-friendly cleaning. I've found that investing in a good extension pole for your sponge saves your back during big jobs.
All in, these items cost under $30, a small price for the peace of mind when you clean your interior walls.
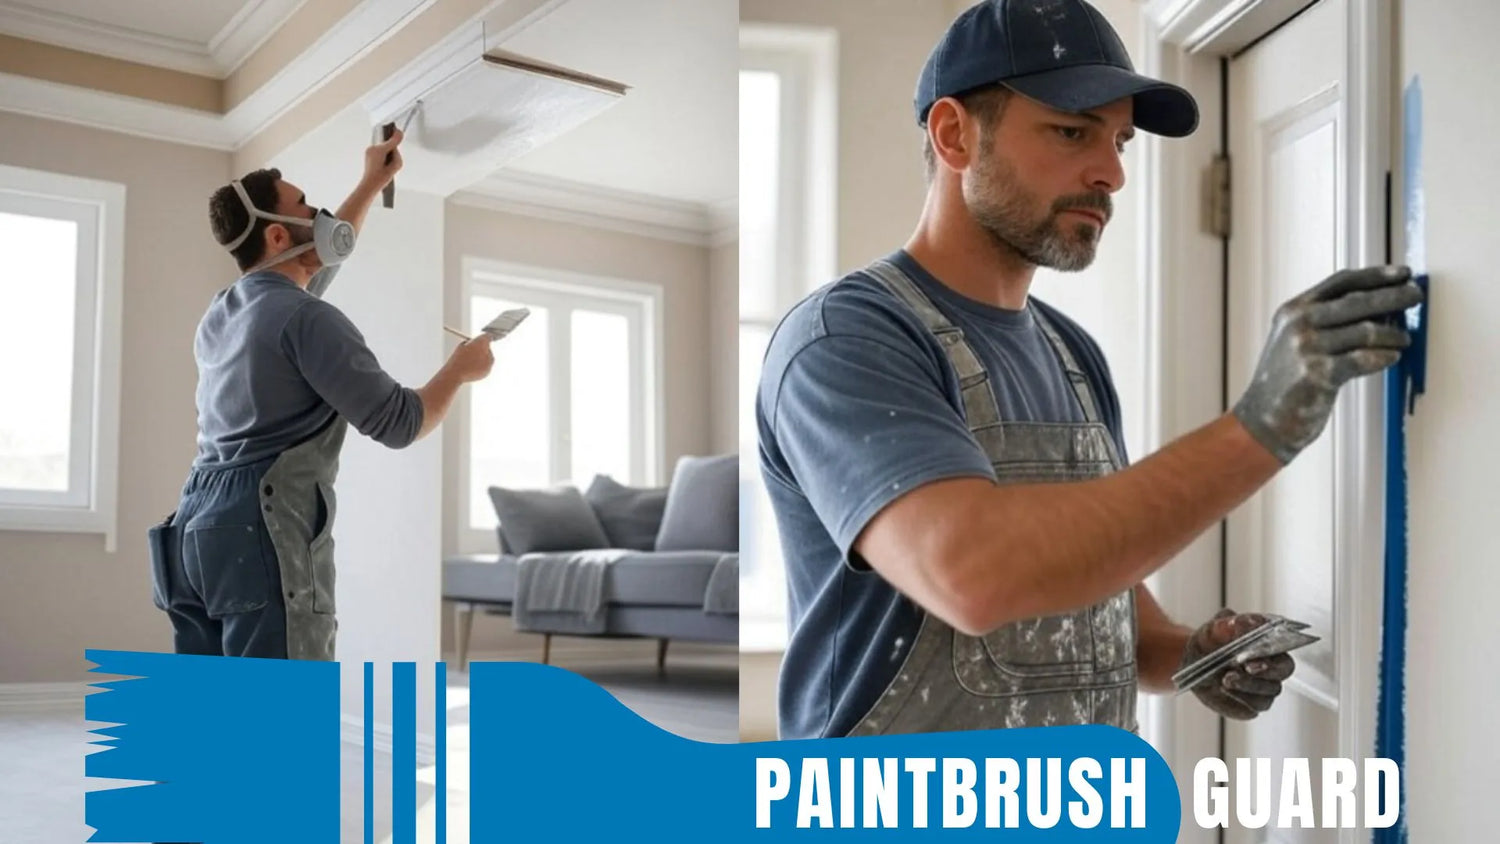
Ready to dive in? Follow these steps to thoroughly clean your interior walls before painting.
This process to clean your interior walls usually takes 2-4 hours per room, depending on size and grime level.
Even with good intentions, errors happen. One biggie is using too much water, which can seep into drywall and cause swelling. Another is skipping the rinse, leaving soap that repels paint. Harsh chemicals might strip old paint, creating more work.
From jobs I've redone, ignoring high spots leads to dust falling during painting, ruining wet coats. Always work methodically to clean your interior walls without shortcuts.
Here are three key tips to elevate how you clean your interior walls:
These tweaks, drawn from years of trial and error, make the job smoother and more effective.
In wrapping up, remember that to clean your interior walls thoroughly is the foundation of any great paint job. By dusting, washing, rinsing, and drying properly, you ensure adhesion and longevity.
Avoid common pitfalls, use the right tools, and incorporate pro tips for best results. This preparation not only saves time but enhances your home's overall appeal. With clean walls, your paint will shine.
Want to master wall painting? Explore expert guides on prep, priming, cutting in, and fixing issues for a flawless finish!
Clean your interior walls every time you paint, but for maintenance, wipe them down annually to prevent buildup that complicates future jobs.
Bleach is okay for mold on non-porous surfaces, but dilute it (1:10 with water) and rinse well. Avoid on painted walls as it can discolor or weaken the surface.
For washable wallpaper, use gentle soap solutions, but test first. Non-washable types may need professional removal before you clean your interior walls and paint.
After drying, run your hand over them, if no residue transfers and they feel smooth without tackiness, they're ready. Visually check for streaks too.
Yes, new drywall has dust and compounds that must be wiped off. Lightly sand and vacuum to properly clean your interior walls for optimal primer adhesion.

Learn about eco-friendly painting, tips and tutorials on house interior and exterior surfaces, so you can get started with your project without any surprices during or after your painting.

Learn how interior house paint colors influence mood with expert tips on room preference so you can pick the best colors for a harmonious home environment.
We focus on the most popular shades for each interior colors, so you don't miss no matter what color you pick.

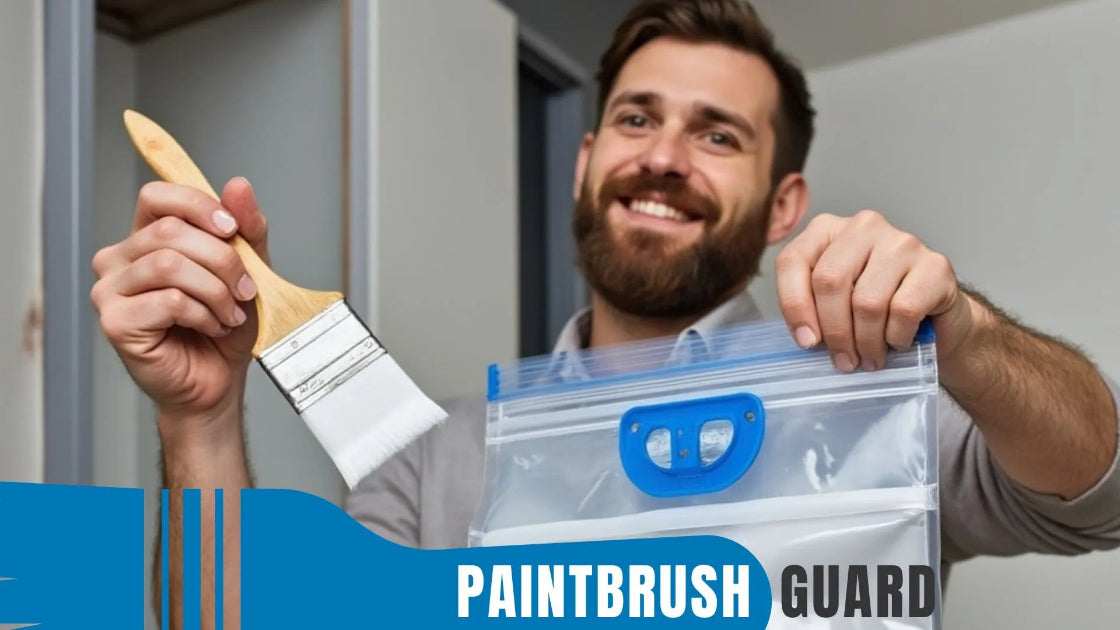
Learn how this innovative tool allows you to store paintbrushes without the need for immediate cleaning, offering significant advantages in time savings, water conservation, reduced chemical pollution, and lower costs for supplies.