6 Ways to Patch Holes Before Exterior Concrete Painting
|
Time to read 11 min
|
Time to read 11 min
This article equips you with six practical ways to patch holes in exterior concrete, from small cracks to deep voids, ensuring a flawless base for exterior concrete painting.
You’ll explore step by step application methods, pros and cons, and essential tools, including the time saving Paintbrush Guard for painting prep.
Additionally, you’ll find tips for selecting the right patching material, avoiding common mistakes, and answers to frequent questions to make your painting project a success.
Preparing exterior concrete for painting requires addressing holes and cracks to achieve a professional, long lasting finish.
Unpatched damage allows moisture to seep in, causing paint to peel, crack, or bubble, especially during harsh weather like rain or freeze thaw cycles.
For example, a small crack in a patio can widen over winter, ruining the paint job within months.
Patching creates a uniform surface, improving paint adhesion and extending the lifespan of your exterior concrete painting project to 7 to 10 years with quality acrylic latex or elastomeric paints.
These six DIY friendly methods ensure your concrete withstands traffic and environmental stress.
Vinyl patching compound is a versatile solution for small cracks or shallow holes up to a quarter inch wide or deep in exterior concrete.
This ready to use, polymer based product is flexible, adheres well, and resists weathering, making it ideal for low traffic areas like walkways or patio edges.
Its ease of application suits beginners aiming for a smooth base before exterior concrete painting.
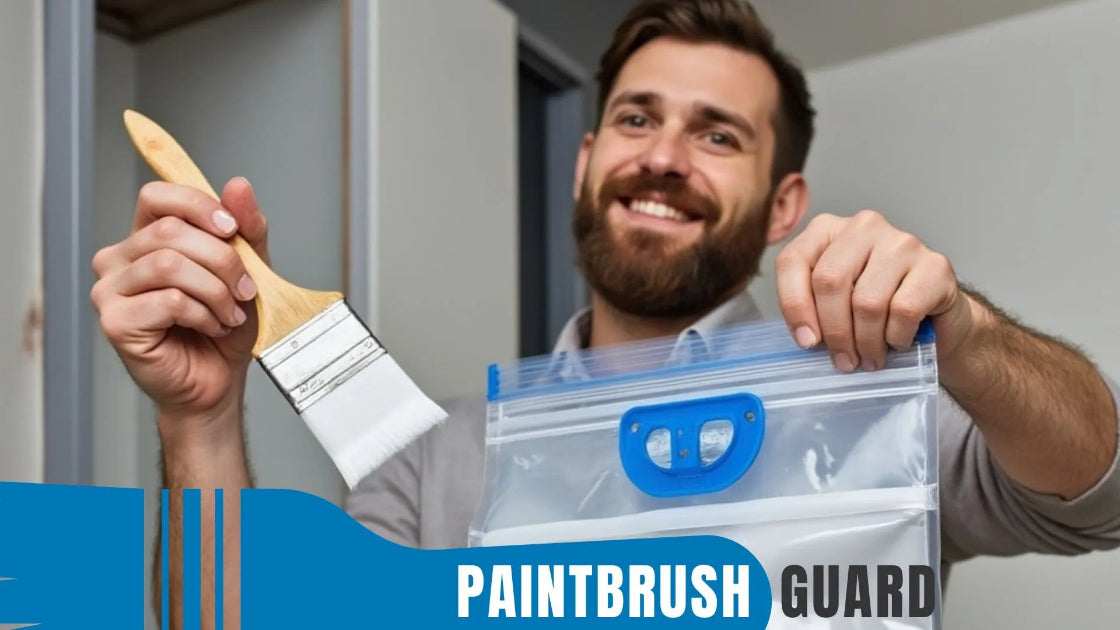
With no cleanup required after a painting session, you can take a short break mid-project or wrap up your painting for the day, your brush stays ready without the need to clean.
This method takes 1 to 2 hours, creating a paint ready surface.
This guide tackles the top 20 questions about storing paintbrushes, from quick breaks to long-term care, and even challenges like humid coastal areas.
Concrete patching compound is a strong choice for medium sized holes from a quarter inch to one inch deep, offering a cement based repair that blends with existing concrete.
Ideal for driveways or steps, this product, available in powder or pre mixed forms, supports moderate traffic and weather exposure, ensuring a durable base for exterior concrete painting.
This method requires 2 to 4 hours plus curing time.
In this exterior house painting guide you will learn how to prepare and paint all exterior surfaces step-by-step.
Hydraulic cement is designed for deep holes or voids one to four inches deep, particularly in moisture prone areas like low lying patios or near drainage.
This fast setting, waterproof material expands as it cures, creating a tight seal that’s perfect for challenging repairs before exterior concrete painting, ensuring a robust, paint ready surface.
This method takes 1 to 3 hours plus curing.
Discover the best paint types for exterior deck painting in high traffic areas. Learn about acrylic latex, oil-based, epoxy, and urethane-based paint.
Epoxy based fillers, using resin and hardener, provide exceptional strength for holes in high traffic areas like driveways or garage floors.
This two part system creates a hard, durable patch that withstands heavy wear, making it a top choice for patching holes before painting in demanding conditions.
This method takes 2 to 4 hours plus curing.
Polyurethane sealant is a flexible solution for cracks up to half an inch wide that experience movement, such as those in concrete slabs affected by temperature shifts.
This caulk like product suits patios or walkways with dynamic stress, sealing against moisture before exterior concrete painting.
This method takes 1 to 2 hours for flexible repairs.
This in depth guide covers every aspect from inspection to priming and brick painting for homeowners taking on a large house brick painting project.
Self leveling concrete resurfacer is ideal for large, shallow holes up to half an inch deep or uneven surfaces, creating a smooth, paint ready finish.
This flowable product suits expansive areas like patios or driveways, simplifying preparation for exterior concrete painting with a uniform surface.
This method takes 3 to 5 hours plus curing.
This exterior metal painting guide helps you achieving a professional long lasting paint result, preventing issues like rust, peeling or uneven finishes.
To effectively patch holes in exterior concrete before exterior concrete painting, you’ll need specific tools and materials for a professional finish.
These essentials streamline cleaning, application, and preparation, ensuring a smooth, durable surface ready for paint in 2025.
Method |
Cost Range ($) |
Time (Hours) |
Best Use |
Vinyl Patching Compound |
10 to 20 |
1 to 2 |
Small cracks, low traffic |
Concrete Patching Compound |
15 to 40 |
2 to 4 + curing |
Medium holes, moderate traffic |
Hydraulic Cement |
20 to 50 |
1 to 3 + curing |
Deep holes, wet areas |
Epoxy Based Filler |
30 to 80 |
2 to 4 + curing |
High traffic areas |
Polyurethane Sealant |
10 to 25 |
1 to 2 |
Flexible cracks, dynamic stress |
Self Leveling Resurfacer |
25 to 60 |
3 to 5 + curing |
Large, shallow areas |
This table summarizes patching options for concrete painting prep.
This in-depth guide covers every aspect of preparing for exterior deck painting, from inspection to priming, ensuring your project succeeds.
The time before painting depends on the patching method’s curing requirements. Vinyl patching compound and polyurethane sealant cure in 24 hours, allowing priming and painting within 1 to 2 days.
Concrete patching compound and self leveling resurfacer need 5 to 7 days, while hydraulic cement and epoxy fillers require 24 to 48 hours.
Check product labels for exact curing times and ensure patches are dry to avoid adhesion issues with exterior concrete painting.
Patching wet concrete is generally not advised, as moisture hinders adhesion and curing for most materials.
Hydraulic cement is an exception, setting effectively in damp conditions, ideal for areas near drainage or during light rain.
For other methods, like vinyl or epoxy, dry the concrete for 24 to 48 hours after cleaning, using a shop vacuum to remove water, ensuring a strong patch for painting.
A masonry primer is essential after patching to seal repairs and ensure paint adhesion for exterior concrete painting.
Primers create a uniform surface, preventing uneven absorption and enhancing durability.
Apply one coat with a roller or brush, allowing 4 to 24 hours to dry per the label. Choose a primer compatible with your patching material and concrete paint for optimal results.
This in-depth guide covers every aspect of preparing and painting exterior trim, ensuring your project succeeds.
Patching holes before exterior concrete painting is crucial for a smooth, durable finish. These six methods, vinyl patching, concrete compound, hydraulic cement, epoxy filler, polyurethane sealant, and self leveling resurfacer address all damage types, from small cracks to large voids.
By selecting the right technique, cleaning thoroughly, and using tools like the Paintbrush Guard, your project will transform patios, driveways or walkways.
Patching holes prevents moisture infiltration, which can cause paint to peel, crack, or bubble, ensuring a smooth, durable surface for exterior concrete painting. Proper repairs enhance paint adhesion, protect against weather, and extend the finish’s lifespan to 7–10 years, avoiding costly rework.
The six methods are: vinyl patching compound for small cracks, concrete patching compound for medium holes, hydraulic cement for deep voids in wet areas, epoxy-based filler for high-traffic zones, polyurethane sealant for flexible cracks, and self-leveling concrete resurfacer for large, shallow areas, each tailored for specific damage before exterior concrete painting.
Clean holes with a wire brush or pressure washer, dry for 24–48 hours (except for hydraulic cement), and apply materials like vinyl, concrete, or epoxy with a putty knife or trowel, smoothing to match the surface. Cure for 24 hours to 7 days, sand lightly, and prime with a masonry primer for exterior concrete painting.
Use a wire brush, pressure washer, and shop vacuum for cleaning; putty knife, trowel, caulk gun, and cold chisel for application; and sandpaper and masonry primer for finishing. Materials include vinyl patching, concrete compound, hydraulic cement, epoxy filler, polyurethane sealant, and self-leveling resurfacer. Paintbrush Guard saves time by keeping brushes wet during exterior concrete painting prep.
Wait 24 hours for vinyl patching or polyurethane sealant, 24–48 hours for hydraulic cement or epoxy, and 5–7 days for concrete patching or self-leveling resurfacer before priming and painting. Most methods require dry concrete, but hydraulic cement can be applied to damp surfaces, ideal for wet conditions in exterior concrete painting.
Check our exterior house painting guide for more tips, or other releated house painting articles here:
How Long Does Exterior Paint Last on Metal?
Learn how long exterior paint lasts on metal, factors affecting durability, and expert tips for preparation and maintenance to extend its lifespan.
8 Maintenance Tips for Exterior Brick Painting
Learn 8 maintenance tips for exterior brick painting durability. Discover how cleaning, inspections, and touch ups ensure your painted brick lasts for years.
What Type of Paintbrush Is Best for Home Exterior Painting
What type of paintbrush is best for painting your home’s exterior with tips on bristles, sizes, and prep for a professional finish. Home exterior painting tips.
Duration Exterior Painting: Prep Guide for Efficiency
Master duration exterior painting with this prep guide. Learn to inspect, clean, repair, and prime for a quick, lasting finish on your home’s exterior.
6 Fixes for Peeling Before Exterior Wood Painting
Discover 6 fixes for peeling before exterior wood painting. Learn how to scrape, sand, and prime wood for a smooth, durable painted finish.
Can You Paint Old Exterior Wood and How to Do It Right
Learn if you can paint old exterior wood. Discover why preparation prevents peeling, risks of skipping it, and tips for a durable, professional finish.
6 Tips for Exterior Concrete Painting in Wet Conditions
Learn 6 tips for exterior concrete painting in wet conditions. Discover how to choose paints, time applications, and ensure durability despite rain or humidity.
Can You Paint Straight Onto Exterior Brick? Risks and Best Practices
Painting directly on exterior brick is possible but risky without preparation. Learn why preparation is crucial, risks of skipping it, and tips for pro finish.

Learn about eco-friendly painting, tips and tutorials on house interior and exterior surfaces, so you can get started with your project without any surprices during or after your painting.

Learn how interior house paint colors influence mood with expert tips on room preference so you can pick the best colors for a harmonious home environment.
We focus on the most popular shades for each interior colors, so you don't miss no matter what color you pick.

Learn how this innovative tool allows you to store paintbrushes without the need for immediate cleaning, offering significant advantages in time savings, water conservation, reduced chemical pollution, and lower costs for supplies.
