6 Fixes for Peeling Before Exterior Wood Painting
|
Time to read 7 min
|
Time to read 7 min
This article provides six effective ways to fix peeling paint on exterior wood, creating a flawless base for exterior wood painting.
Addressing peeling paint is crucial for a successful exterior wood painting project, making your paint for years on siding, trim, or fences. These six methods to fix peeling prepare wood surfaces against weather and wear. Transform your wood exteriors with these practical solutions.
This in-depth guide explores every aspect of preparing for exterior wood painting for homeowners.
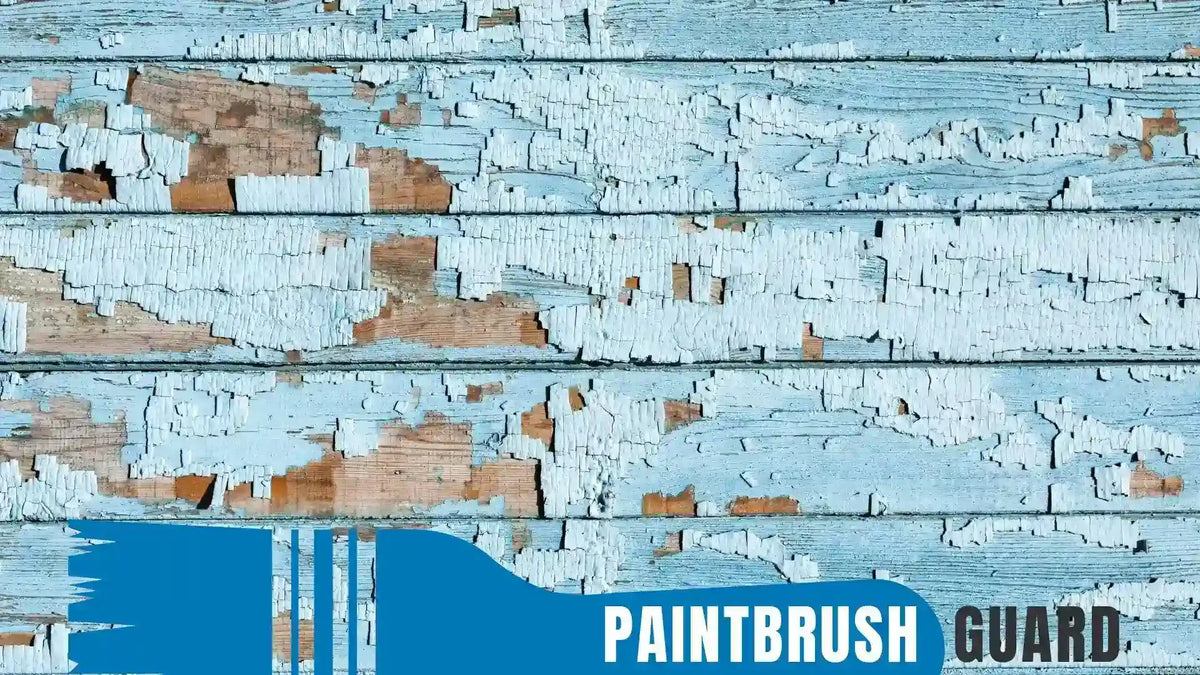
Peeling paint on exterior wood surfaces signals issues that must be resolved before repainting to achieve exterior wood painting durability.
Moisture infiltration, inadequate surface prep, or incompatible paint types often cause paint to lift, forming flakes that spoil the finish.
For instance, water seeping into a wood fence can trigger bubbling and peeling within months. Using proven methods to Fix peeling paint is essential to establish a stable surface for new coatings, avoiding costly rework.
These six fixes tackle common causes, ensuring your wood is primed for a long-lasting paint job.
Learn how long paint lasts on wood outside and factors like paint type, prep, and climate, plus tips to extend durability on exterior wood.
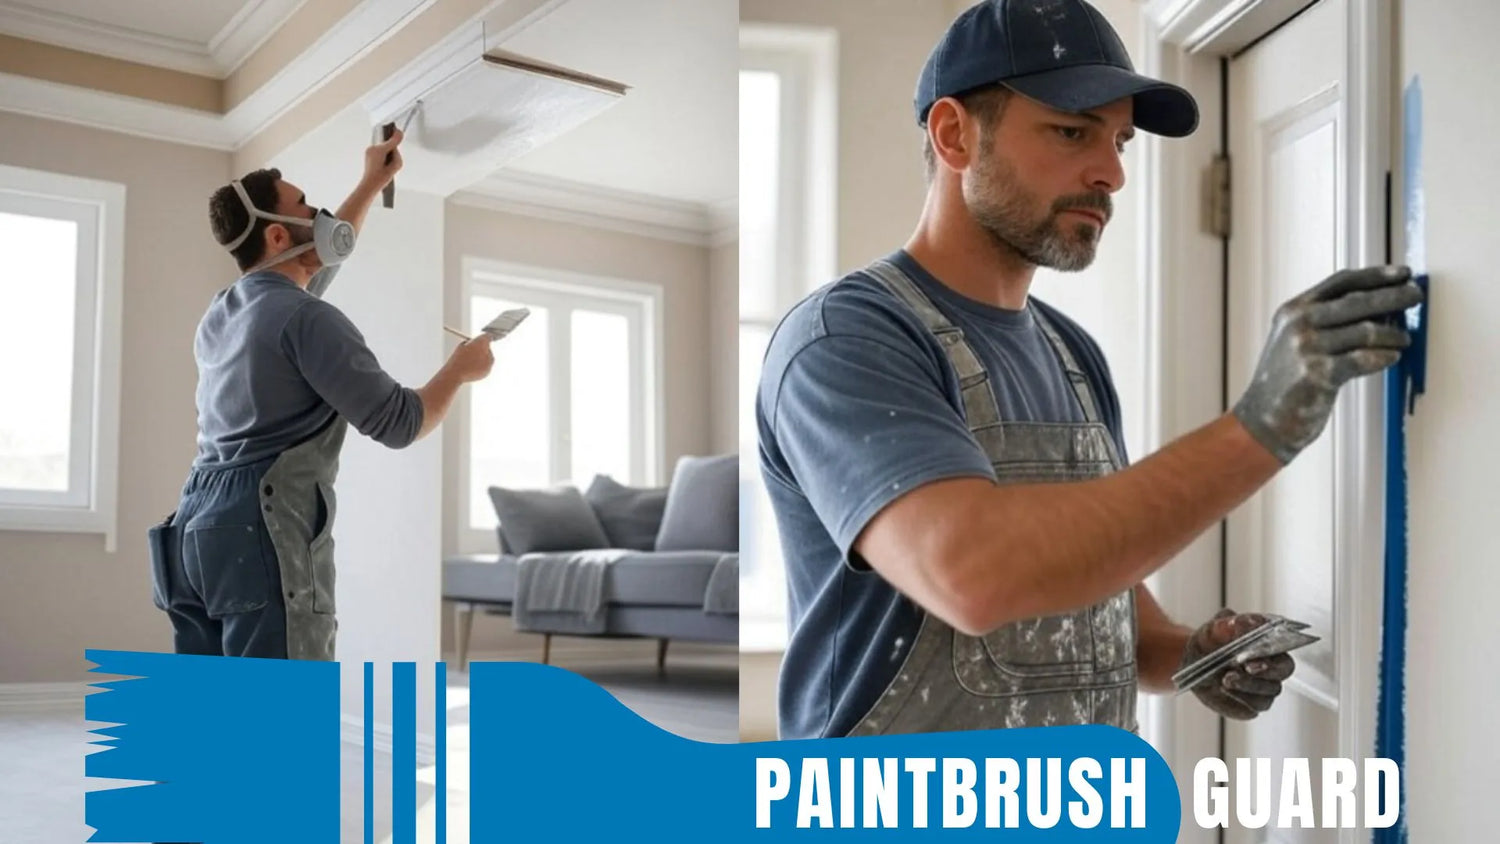
Scraping away loose, peeling paint is the first critical step to fix peeling issues on exterior wood, creating a clean surface for repainting.
Thorough removal ensures new paint adheres properly, preventing lifting over unstable layers and setting a strong foundation for exterior wood painting.
This 2 to 4 hour task for a 2,000 square foot surface is foundational for success.
Learn how to paint old exterior wood and how to do It right. Discover why preparation prevents peeling, risks of skipping it, and tips for a professional finish.
Sanding smooths rough edges and removes residual paint, enhancing adhesion and preventing future peeling. This essential step to Fix peeling ensures a uniform surface for exterior wood painting, reducing the risk of new paint cracking or lifting over time.
This 2 to 3 hour task prepares wood for subsequent priming.
Cleaning wood removes dirt, mildew, and oils that compromise paint adhesion, addressing a key cause of peeling. Proper cleaning is vital, ensuring a pristine surface for exterior wood painting that withstands environmental challenges.
This 2 to 4 hour task creates a paint ready surface.
Learn how to prep exterior wood painting during rainy seasons with these 5 essential tips. Ensure a durable, professional finish despite wet weather challenges.
Applying a stain blocking primer seals wood, preventing moisture or tannins from causing new paint to peel. This crucial step to fix peeling enhances exterior wood painting adhesion, providing a stable base for topcoats, especially on weathered or bare wood.
This 2 to 3 hour task ensures a durable foundation.
Filling cracks and holes in wood prevents moisture entry, a major contributor to peeling paint. Repairing damage is a key way to Fix peeling, creating a smooth, sealed surface for exterior wood painting that resists weather and maintains integrity.
This 1 to 2 hour task protects wood from moisture damage.
Discover the best outdoor paint for wood in our ultimate guide! Explore top brands, application tips, and expert advice to protect and beautify your wood .
Choosing premium acrylic latex paint prevents future peeling with its flexibility, UV resistance, and moisture protection. This final step ensures exterior wood painting quality, delivering a professional, long lasting finish for wood surfaces.
This 4 to 6 hour task completes your peeling repair and painting project.
Fix |
Time Required |
Best For |
Scrape Loose Paint |
2 to 4 hours |
Removing unstable paint |
Sand Surfaces |
2 to 3 hours |
Smoothing for adhesion |
Clean Wood |
2 to 4 hours |
Eliminating dirt, mildew |
Apply High Quality Primer |
2 to 3 hours |
Sealing wood, preventing stains |
Fill Cracks and Holes |
1 to 2 hours |
Sealing moisture entry points |
Use Premium Acrylic Latex Paint |
4 to 6 hours |
Ensuring durable finish |
To confirm all peeling paint is removed before exterior wood painting, scrape until you reach stable paint or bare wood, testing with a putty knife for flaking.
Sand edges to blend with surrounding areas and inspect under bright light for missed spots. This 2 to 4 hour process ensures a stable base to fix peeling issues.
Painting over minor peeling areas is risky, as it can lead to further lifting, undermining exterior wood painting durability.
To Fix peeling, scrape and sand loose paint, clean thoroughly, and apply a stain blocking primer before repainting. This 4 to 6 hour prep for small areas ensures a lasting finish.
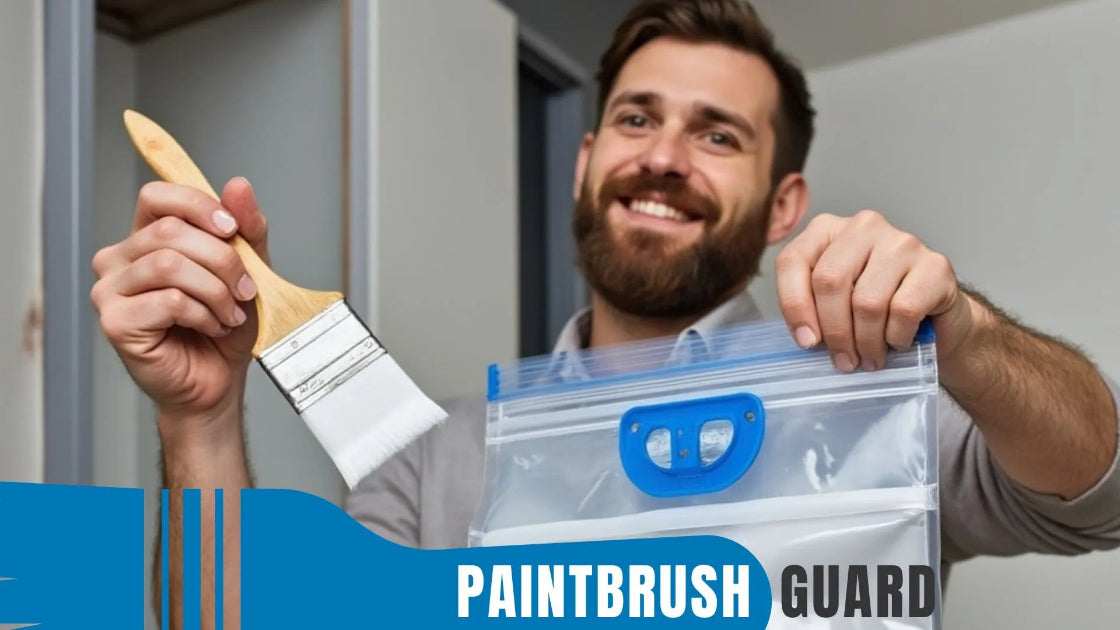
With no cleanup required after a painting session, you can take a short break mid-project or wrap up your painting for the day, your brush stays ready without the need to clean.
Most exterior wood surfaces need a stain blocking primer to Fix peeling issues and boost exterior wood painting adhesion, especially bare or weathered wood.
Primers seal moisture and tannins, preventing peeling. Apply one coat, drying 4 to 24 hours, unless using a self priming paint, which may suffice for well prepared surfaces.
Tackling peeling paint is essential for a successful exterior wood painting project, ensuring a durable, attractive finish. These six fixes on scraping, sanding, cleaning, priming, filling, and using premium paint, address peeling effectively.
Peeling paint on exterior wood results from moisture infiltration, inadequate preparation, or incompatible paint types, causing lifting and flaking. Fixing peeling is crucial for exterior wood painting to ensure a stable surface, proper adhesion, and a durable, professional finish that resists weather and prevents costly rework.
Scrape loose paint with a paint scraper or putty knife until reaching stable paint or bare wood, collecting debris on a drop cloth. Sand with 80–120 grit sandpaper for rough spots, then 220 grit for a smooth finish, wiping away dust with a damp cloth. This 4–7-hour process ensures a clean base for exterior wood painting.
Clean wood with a pressure washer or a bleach-water solution (1:3 for mildew), rinse, and dry for 24–48 hours to remove dirt and mildew. Fill cracks and holes with exterior-grade wood filler, smooth with a putty knife, and sand lightly after curing (2–4 hours), preparing a stable surface for exterior wood painting.
Priming seals wood, prevents moisture and tannin bleed, and enhances adhesion, critical to fix peeling issues. Use a stain-blocking primer, apply with a 2–3-inch angled brush for edges and a roller for large areas, drying 4–24 hours. This 2–3-hour step ensures a durable exterior wood painting foundation.
Premium acrylic latex paint with mildew inhibitors and UV resistance prevents peeling by offering flexibility and moisture protection. Apply two thin coats in 50–85°F, low-humidity weather, drying 2–4 hours between coats, to achieve a long-lasting exterior wood painting finish, with Paintbrush Guard aiding eco-friendly brush maintenance.

Learn about eco-friendly painting, tips and tutorials on house interior and exterior surfaces, so you can get started with your project without any surprices during or after your painting.

Learn how interior house paint colors influence mood with expert tips on room preference so you can pick the best colors for a harmonious home environment.
We focus on the most popular shades for each interior colors, so you don't miss no matter what color you pick.

Learn how this innovative tool allows you to store paintbrushes without the need for immediate cleaning, offering significant advantages in time savings, water conservation, reduced chemical pollution, and lower costs for supplies.

