5 Ways to Prep for Exterior Wood Painting in Rainy Seasons
|
Time to read 8 min
|
Time to read 8 min
Painting exterior wood surfaces like siding, trim, or decks is a great way to enhance your home’s appearance and protect it from the elements. However, prep exterior wood painting during rainy seasons presents unique challenges due to moisture, humidity, and unpredictable weather.
Proper preparation is critical to ensure a long-lasting, professional finish. This article outlines five essential ways to prep exterior wood painting in rainy seasons, covering surface cleaning, moisture management, paint selection, timing, and protective measures to help DIYers and professionals achieve optimal results.
This in-depth guide explores every aspect of preparing for exterior wood painting for homeowners.
The first step in prep exterior wood painting in rainy seasons is ensuring the wood surface is clean and dry. Moisture trapped in wood can cause paint to blister, peel, or fail prematurely, especially during wet weather. Here’s how to do it:
Remove Dirt and Debris: Use a pressure washer or a stiff brush with a mild detergent (e.g., TSP or a biodegradable cleaner) to remove dirt, mildew, and old paint. Mildew is common in rainy seasons, so apply a mildew-resistant cleaner or a bleach-water solution (1:10 ratio) to affected areas.
Scrape and Sand: Scrape off loose or peeling paint with a putty knife or wire brush. Sand rough surfaces with 80–120-grit sandpaper to create a smooth base for paint adhesion. For weathered wood, sanding is crucial to remove grayed or damaged fibers.
Ensure Dryness: Wood must be completely dry before painting, as moisture content above 15% can cause paint failure. Use a moisture meter to check levels, and wait 2–3 dry days after cleaning to ensure the wood is ready. In rainy seasons, this may require planning around weather forecasts to avoid sudden showers.
Prep exterior wood painting in rainy seasons hinges on starting with a clean, dry surface to prevent adhesion issues and ensure a durable finish.
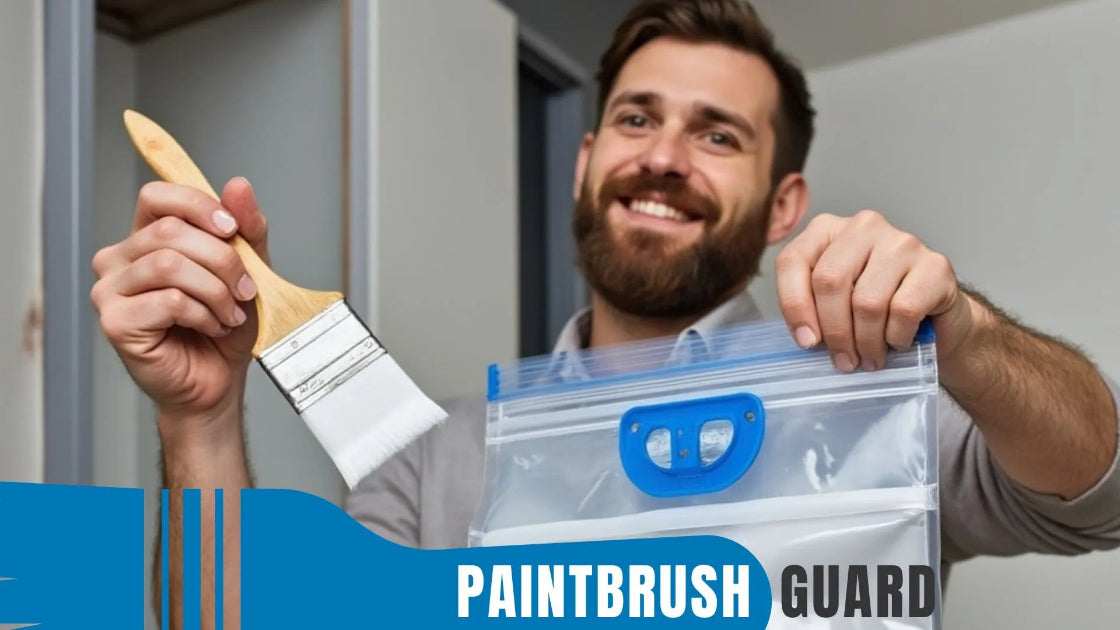
With no cleanup required after a painting session, you can take a short break mid-project or wrap up your painting for the day, your brush stays ready without the need to clean.
Selecting the appropriate paint and primer is critical when you prep exterior wood painting in rainy seasons. Humidity and moisture can affect paint application and drying, so choose products designed for challenging conditions:
Latex (Water-Based) Paints: High-quality 100% acrylic latex paints are ideal for rainy seasons because they resist moisture, dry faster than oil-based paints, and are less prone to mildew. Look for paints labeled “mildew-resistant” or “exterior-grade,” such as Behr Premium Plus or Sherwin-Williams Duration.
Oil-Based Primers: For bare or weathered wood, an oil-based or stain-blocking primer (e.g., Zinsser Cover Stain) seals the wood and prevents moisture penetration. These primers are especially effective in rainy seasons for protecting against water damage.
Mildew-Resistant Formulations: In humid, wet climates, choose paints and primers with mildew inhibitors to combat mold growth, which is prevalent during rainy seasons.
Prep exterior wood painting in rainy seasons by selecting high-quality, moisture-resistant products to ensure long-term durability and protection.
Timing is everything when you prep exterior wood painting in rainy seasons. Wet weather can delay drying times and compromise paint adhesion, so careful planning is essential:
Monitor Weather Forecasts: Check for a 48–72-hour window of dry weather with temperatures between 50°F and 85°F and humidity below 70%. Most latex paints require at least 4–6 hours of dry conditions to cure properly.
Avoid Early Morning Dew: In rainy seasons, morning dew can keep surfaces damp. Wait until mid-morning or early afternoon when surfaces are dry, and avoid painting late in the day when dew may return.
Work in Sections: If rain is imminent, paint smaller sections that can dry before moisture hits. For example, focus on one side of the house or a single piece of trim to minimize exposure to sudden showers.
Prep exterior wood painting in rainy seasons by strategically timing your work to align with dry, stable weather windows, ensuring proper curing and adhesion.
Click on this link to find house painting guides and innovative tools to help you with your home improvement painting project.
Protecting your painting area from rain and humidity is a key part of prep exterior wood painting in rainy seasons. Unexpected showers can ruin a fresh coat of paint, so take these precautions:
Use Tarps and Canopies: Set up temporary tarps, canopies, or plastic sheeting over your work area to shield it from rain. Secure them to avoid flapping, which could damage wet paint. For small projects like trim or railings, portable pop-up canopies are ideal.
Cover Adjacent Surfaces: Protect nearby surfaces (e.g., windows, concrete, or plants) with drop cloths or plastic sheeting to prevent paint splatter and water runoff during rainy seasons.
Seal Gaps and Cracks: Before painting, apply exterior-grade caulk to seal gaps, cracks, or joints in wood siding or trim. This prevents water infiltration, which is critical in rainy seasons to avoid wood rot or paint peeling.
Prep exterior wood painting in rainy seasons by creating a weather-resistant workspace to protect your project from moisture-related issues.
Proper maintenance of tools and freshly painted surfaces is the final step in prep exterior wood painting in rainy seasons. Wet weather can affect both your brushes and the painted wood, so follow these tips:
Clean Brushes Promptly: Use high-quality synthetic brushes (e.g., Purdy XL or Wooster Ultra/Pro) for latex paints, as they resist water damage. Clean brushes immediately with warm water and mild soap to prevent paint buildup. Store them in a dry place to avoid mildew growth, which is common in rainy seasons.
Inspect Painted Surfaces: After painting, check surfaces regularly for signs of moisture damage, such as bubbling or peeling. In rainy seasons, touch up any issues promptly to prevent further deterioration.
Ensure Ventilation: If painting exterior wood in covered areas (e.g., porches), ensure good airflow to aid drying. Use fans if necessary to reduce humidity trapped around the painted surface.
Prep exterior wood painting in rainy seasons by maintaining your tools and monitoring painted surfaces to ensure a lasting, professional finish.
To further enhance your preparation for prep exterior wood painting in rainy seasons, consider these practical tips:
Test Wood Condition: Use a moisture meter to confirm wood is below 15% moisture content before painting. If the wood feels damp or rain is frequent, wait for a longer dry spell.
Apply Thin Coats: Apply multiple thin coats of paint rather than one thick coat to improve adhesion and drying in humid conditions. Allow 4–6 hours between coats, depending on the paint’s instructions.
Choose the Right Tools: Opt for angled sash brushes (2–2.5 inches) for cutting-in and flat brushes (3–4 inches) for larger surfaces. High-quality brushes reduce streaks and improve precision, especially in challenging rainy seasons.
Professionals and DIYers on platforms like Reddit’s r/HomeImprovement emphasize the importance of thorough preparation in rainy seasons. Painters recommend investing in mildew-resistant paints and primers, as well as using moisture meters to avoid painting damp wood.
One contractor shared that skipping proper drying time during a wet season led to peeling paint within months, underscoring the need to prep exterior wood painting carefully. DIYers also suggest portable canopies as a game-changer for protecting projects from sudden rain.
This guide showcases the top 8 gray paint colors, available on Amazon, selected based on current popularity, including favorites like Agreeable Gray.
Prep exterior wood painting in rainy seasons requires careful planning and execution to overcome moisture and humidity challenges.
By thoroughly cleaning and drying the wood, choosing moisture-resistant paints and primers, timing your work around dry weather, protecting the work area, and maintaining tools and surfaces, you can achieve a durable, professional finish.
These five strategies ensure that your exterior wood painting project withstands the elements, even in the wettest conditions.
With the right preparation, prep exterior wood painting in rainy seasons becomes manageable, allowing you to transform your home’s exterior with confidence and lasting results.
Cleaning and drying wood surfaces prevent moisture-related issues like blistering or peeling, especially for a cedar deck project in rainy conditions. Using a pressure washer and mildew-resistant cleaner ensures a smooth, dry base, enhancing paint adhesion and preserving the wood’s integrity for a lasting finish.
Choosing 100% acrylic latex paints with mildew inhibitors, like those suited for a coastal cottage’s siding, ensures resistance to humidity and mold. These breathable, durable formulas dry quickly, reducing the risk of weather-related damage and maintaining a vibrant, protective coat on exterior wood.
Monitoring weather forecasts for a 48–72-hour dry window with low humidity is key for painting a barn’s exterior. Starting mid-morning to avoid dew and working in smaller sections ensures proper curing, preventing rain from ruining fresh paint and achieving a professional result.
For a porch railing project, the Paintbrush Guard’s vacuum-seal technology keeps brushes wet, saving 15 minutes per break by eliminating cleanup. This prevents paint from hardening in humid conditions, reducing water and solvent use while ensuring brushes stay ready for precise application.
Setting up tarps or canopies over a garden pergola painting area shields wet paint from sudden showers. Sealing gaps with exterior-grade caulk and covering adjacent surfaces with drop cloths prevent water infiltration, ensuring a durable finish despite challenging rainy season weather.

Learn about eco-friendly painting, tips and tutorials on house interior and exterior surfaces, so you can get started with your project without any surprices during or after your painting.

Learn how interior house paint colors influence mood with expert tips on room preference so you can pick the best colors for a harmonious home environment.
We focus on the most popular shades for each interior colors, so you don't miss no matter what color you pick.

Learn how this innovative tool allows you to store paintbrushes without the need for immediate cleaning, offering significant advantages in time savings, water conservation, reduced chemical pollution, and lower costs for supplies.

