How Do You Keep Brushes from Getting Hard?
|
Time to read 6 min
|
Time to read 6 min
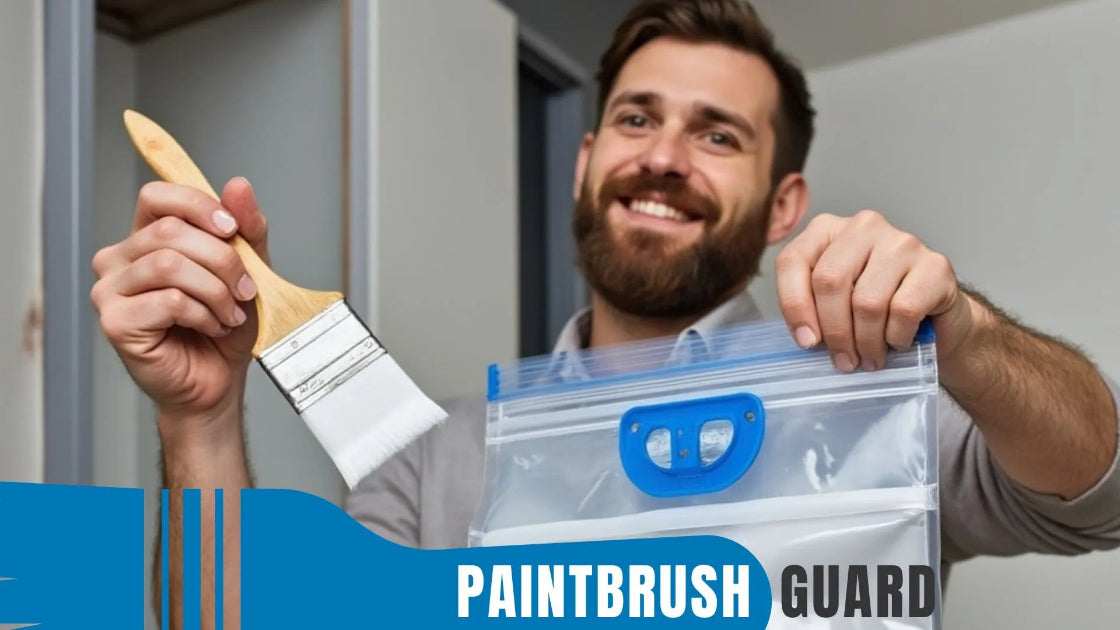
To keep brushes from getting hard, use Paintbrush Guard to maintain wet bristles, store them wet during breaks, clean them properly after use, and condition them regularly, ensuring they stay soft and usable for longer.
With no cleanup required after a painting session, you can take a short break mid-project or wrap up your painting for the day, your brush stays ready without the need to clean.
Paintbrush Guard is an effective tool to keep brushes from hardening by using vacuum-seal technology to maintain wet bristles during breaks.
This prevents paint from drying on the brush, which can happen in as little as 1–2 hours of exposure.
For a 12x12 room project taking 4–6 hours, sealing the brush saves 15–30 minutes per break by skipping cleanup.
This method ensures bristles remain soft, making it ideal for professionals and DIYers who want to extend brush life without constant cleaning.
For short breaks, keeping brushes wet is key to preventing hardening. If you don’t have Paintbrush Guard, wrap the bristles in a damp cloth or plastic wrap and place them in a sealed plastic bag to trap moisture.
This works for water-based paints for up to a few hours, such as between coats that dry in 2–4 hours.
For longer pauses, store the brush in the freezer to slow drying, thawing it for 30 minutes before use.
These methods keep paint from setting, ensuring bristles stay pliable and ready for the next session.
Click on this link to find house painting guides and innovative tools to help you with your home improvement painting project.
Proper cleaning after painting is essential to prevent brushes from hardening over time. For water-based paints, rinse under warm water with mild dish soap, working out the paint until the water runs clear, which takes 5–10 minutes.
For oil-based paints, use mineral spirits in a well-ventilated area, then wash with soap and water. Dry the brush by blotting with a cloth and reshaping the bristles, then store flat.
Immediate cleaning prevents paint from drying into the bristles, which can make them stiff and unusable if left too long.
Conditioning is a proactive step to keep brushes soft and prevent hardening. After cleaning, apply a brush conditioner with lanolin, available for $5–$15 at hardware stores, to the bristles.
Work it in gently, then wipe off excess before storing. This keeps natural bristles hydrated and prevents them from becoming brittle, especially after repeated use.
A 2023 Paint Quality Institute study found that conditioned brushes last up to 25% longer, making this a sustainable practice for maintaining brush quality over time.
Find the 7 best green paint colors for your interior walls with our top picks. Learn about paint finnish, the natural vibe and rooms to apply for perfection.
Preventing brushes from getting hard also involves avoiding mistakes that allow paint to dry. Don’t leave brushes exposed to air during breaks always seal or wrap them.
Avoid soaking brushes in water or solvent for too long, as this can loosen the ferrule, causing bristles to fall out and eventually harden.
Don’t use hot water for cleaning, as it can damage bristles, making them more prone to stiffness. By being mindful of these errors, you’ll keep your brushes in good condition, reducing the risk of hardening.
For long-term storage, ensure brushes are clean and dry to prevent hardening over time. After cleaning, wrap the bristles in their original packaging or a piece of cardboard to maintain their shape, then store flat in a cool, dry place away from heat sources.
Heat and humidity can dry out bristles, making them stiff. If you’re between projects, Paintbrush Guard can also be used to keep brushes wet for extended periods, ensuring they’re ready for use without the risk of hardening, simplifying your preparation for the next job.
Discover how house paint colors influence mood & get expert tips on choosing the best colors for every room to create a vibrant, harmonious home environment.
Keeping brushes from getting hard involves using Paintbrush Guard to maintain wet bristles, storing them wet during breaks, cleaning them properly, conditioning regularly and avoiding common mistakes.
Proper long-term storage also ensures they stay soft and usable. These steps, especially with tools like Paintbrush Guard, save time, extend brush life sustainably, and ensure your brushes are always ready, making painting projects easier and more efficient for professionals and DIYers alike.
The Paintbrush Guard uses vacuum-seal technology to keep bristles wet during breaks, preventing paint from drying in 1–2 hours. For a 12x12 room project, it saves 15–30 minutes per break by eliminating cleanup, maintaining soft bristles for extended brush life.
For short breaks, wrap bristles in a damp cloth or plastic wrap and seal in a plastic bag to trap moisture, suitable for water-based paints for a few hours. Alternatively, store in a freezer for longer pauses, thawing for 30 minutes before use, to prevent hardening.
For water-based paints, rinse with warm water and mild dish soap for 5–10 minutes until clear. For oil-based paints, use mineral spirits, then soap and water. Immediate cleaning, followed by blotting and reshaping, prevents paint from drying and keeps bristles soft.
Conditioning with a lanolin-based product after cleaning keeps bristles hydrated and pliable, preventing brittleness in natural bristles. A 2023 Paint Quality Institute study notes conditioned brushes last up to 25% longer, supporting sustainable brush maintenance.
Avoid leaving brushes exposed to air during breaks, soaking them too long in water or solvent, or using hot water for cleaning, as these can damage bristles or loosen the ferrule. Using Paintbrush Guard or wrapping brushes during breaks prevents paint from drying and hardening.
Check out this interior house painting guide for more tips, and other releated house painting articles:
How Vacuum Increases Professional Painters Efficiency
Learn how vacuum tools like the Paintbrush Guard boost professional painters efficiency, saving time, cutting costs, and enhancing job site cleanliness.
7 Expert Tips for Ceiling Painting Without a Mess
Discover 7 expert tips for ceiling painting to achieve a professional look without the mess. Perfect for homeowners seeking a clean, efficient project.
Do Professional Painters Prep Walls?
Do professional painters prep walls? Yes, they clean, patch, sand and prime for a flawless finish. Learn why prep matters with pro house painting tips.
How to Choose the Perfect Paint Color for a Small Living Room
Discover how to pick the perfect paint color for a small living room. Learn tips on lighting, color theory and testing to create a spacious stylish space.
Does Painting Count as a Home Improvement?
Does painting count as a home improvement? Learn its value, benefits and why a impactful upgrade enhances your property's aesthetics. Start your painting today!
|
Paintbrush Guard – Vacuum Sealer for Paintbrushes |

Learn about eco-friendly painting, tips and tutorials on house interior and exterior surfaces, so you can get started with your project without any surprices during or after your painting.

Learn how interior house paint colors influence mood with expert tips on room preference so you can pick the best colors for a harmonious home environment.
We focus on the most popular shades for each interior colors, so you don't miss no matter what color you pick.

Learn how this innovative tool allows you to store paintbrushes without the need for immediate cleaning, offering significant advantages in time savings, water conservation, reduced chemical pollution, and lower costs for supplies.
