Do Professional Painters Prep Walls? What you need to know..
|
Time to read 6 min
|
Time to read 6 min
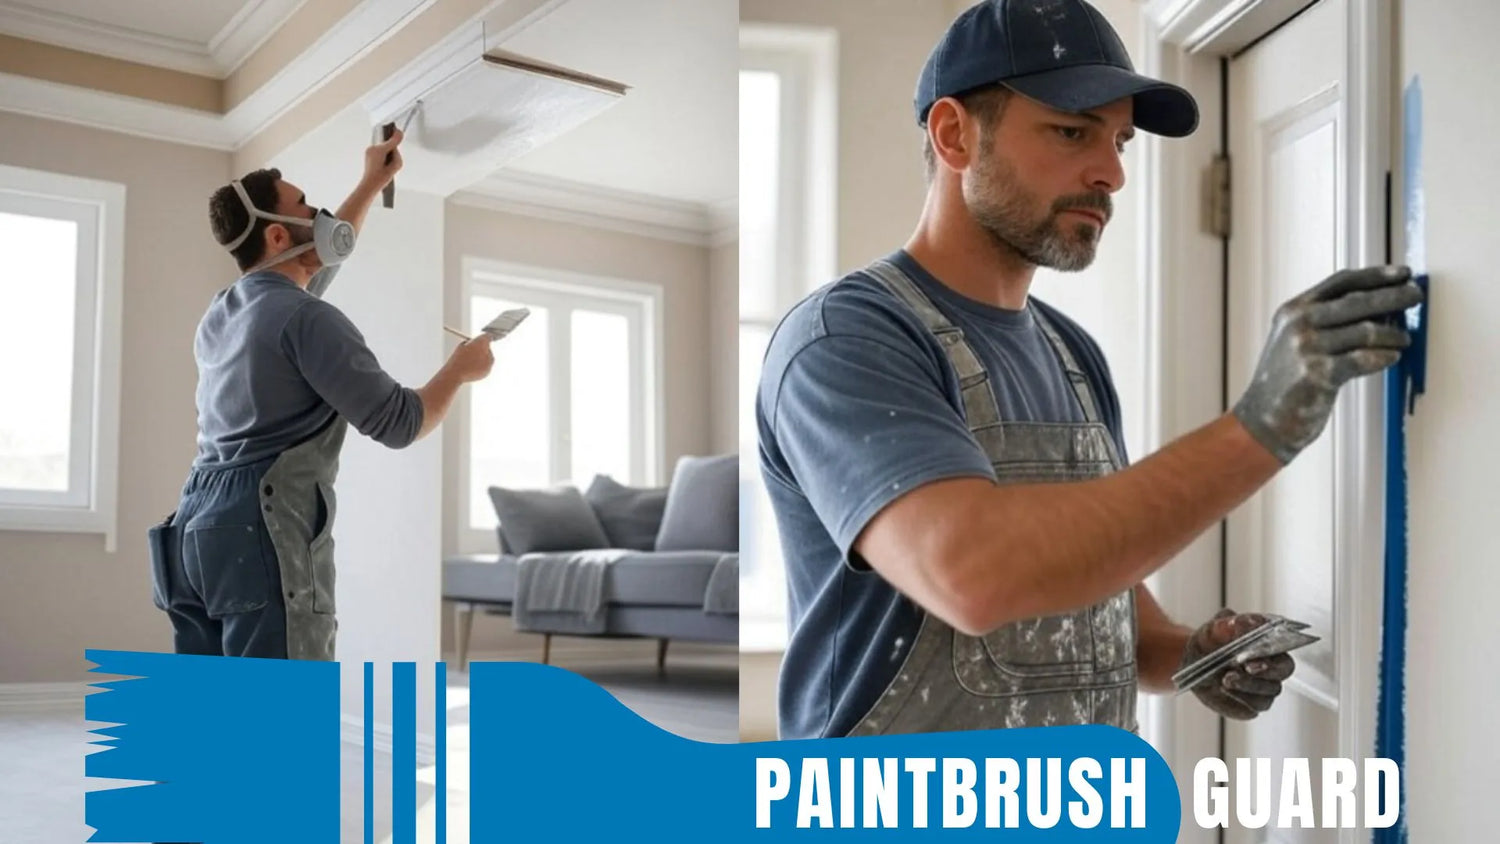
Yes, professional painters prep walls before painting. They clean, patch, sand, and prime to ensure a smooth, long-lasting finish, making prep a critical part of their process.
Professional painters understand that a flawless paint job starts with a well-prepared surface. Without proper prep, paint can peel, crack, or look uneven, leading to dissatisfied clients and costly touch-ups. Prepping walls ensures better adhesion, hides imperfections, and enhances the durability of the paint.
A 2024 survey by the Painting Contractors Association found that 95% of professional painters consider wall prep the most important step, as it directly impacts the quality and longevity of the final result, setting their work apart from amateur efforts.
Painting interior walls? Our 10-step beginner guide with product recommendations ensures a flawless, professional finish for any room.
Before any paint touches the wall, pros start by cleaning the surface. Dust, grease, or grime can prevent paint from sticking properly, especially in kitchens or bathrooms where oils and moisture accumulate.
Painters typically use a mild detergent mixed with water and a sponge to wipe down walls, focusing on high-traffic areas.
For tougher spots, like crayon marks or smoke stains, they might use a stronger cleaner like TSP (trisodium phosphate).
This step, which can take 1–2 hours for a medium-sized room, ensures the paint bonds well, reducing the risk of peeling or bubbling over time.
Discover the best budget interior paint sprayers for 2025! Our detailed guide reviews the top 3 affordable interior paint sprayers for house interior painting.
Walls often have imperfections—nail holes, cracks, or dents—that need addressing before painting.
Professionals use spackle or drywall compound to fill these flaws, applying it with a putty knife and letting it dry for a few hours.
Larger cracks might require mesh tape and multiple layers of compound, adding a bit more time. Once dry, they sand the patched areas to create a smooth surface.
This process can take 2–4 hours per room, depending on the extent of the damage, but it’s crucial for a seamless finish that doesn’t show blemishes through the new paint.
One of the biggest perks of painting yourself is the creative freedom it offers. You get to pick every detail—colors, finishes, and techniques—without relying on someone else’s interpretation of your vision.
This hands-on approach can be deeply satisfying; a 2024 survey by the Home Improvement Research Institute found that 68% of DIY painters felt a strong sense of accomplishment after finishing.
Painting your own space also lets you work at your own pace, experimenting with ideas like bold accent walls. If you value this control and enjoy DIY projects, painting yourself can be a fulfilling experience.
Discover the average cost to paint the interior of a house, key factors that affect pricing, and expert tips to save money on your painting project.
Sanding is another key step in a pro’s prep routine. It smooths out rough patches, removes old paint flakes, and creates a slightly textured surface for better paint adhesion.
Painters use medium-grit sandpaper (120–150 grit) for most walls, either by hand or with a pole sander for larger areas.
For glossy surfaces, like previously painted walls with a semi-gloss finish, sanding is especially important to “degloss” the surface, ensuring the new paint sticks.
Sanding a room might take 1–2 hours, and pros often vacuum or wipe down the walls afterward to remove dust, preventing it from mixing with the paint.
After cleaning, patching, and sanding, professionals often apply a primer coat, especially if the walls have stains, dark colors, or raw drywall.
Primer seals the surface, prevents bleed-through, and ensures the topcoat looks even. For example, covering a dark red wall with a light color might require two coats of primer to avoid patchiness.
Priming a room can take 1–3 hours, plus 2–4 hours of drying time, but it’s a step pros rarely skip. A 2023 study by the Paint Quality Institute found that primed walls last up to 30% longer before needing a repaint, making it a worthwhile investment for both painters and clients.
If you are planning to paint your house interior, in this article you will learn easy steps to make your home interior feel new again with step-by-step guides for all interior surfaces.
Professionals use specialized tools to make prep more efficient. A shop vacuum with a HEPA filter quickly removes sanding dust, keeping the workspace clean and ensuring paint applies smoothly.
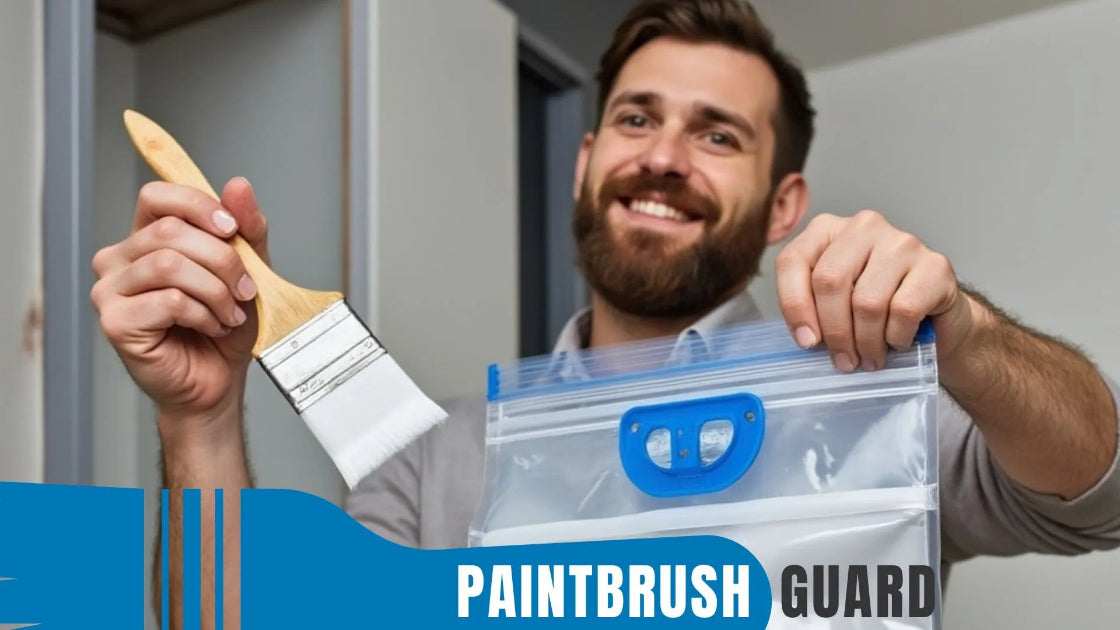
For patching, they might use quick-drying compounds to speed up repairs. While prepping, tools like the Paintbrush Guard come in handy during breaks painters can vacuum-seal brushes, keeping them wet and ready for the next phase without cleaning, saving 15–30 minutes per session.
These tools help pros maintain a streamlined workflow, ensuring prep doesn’t drag on longer than necessary.
Find the 7 best green paint colors for your interior walls with our top picks. Learn about paint finnish, the natural vibe and rooms to apply for perfection.
In rare cases, professional painters might minimize prep, but only under specific conditions. If the walls are in excellent shape, clean, smooth, and already painted with a similar color they might skip priming or extensive sanding.
However, this is the exception, not the rule. Skipping prep can lead to poor results, and most pros prioritize quality over shortcuts.
For example, if a client requests a quick refresh of a lightly used room, a painter might do a light cleaning and move straight to painting, but they’ll still ensure the surface is ready to avoid issues like peeling or uneven coverage.
Professional painters always prep walls, recognizing that cleaning, patching, sanding, and priming are non-negotiable for a high-quality finish.
These steps, while time-consuming, ensure the paint adheres properly, looks flawless, and lasts longer, meeting client expectations.
By using efficient tools like the Paintbrush Guard to manage their workflow, pros make prep a seamless part of the process.
Whether you’re hiring a painter or tackling a DIY project, understanding the importance of wall prep can help you appreciate the effort behind a beautifully painted space.
Wall preparation is critical to ensure paint adheres properly, hides imperfections, and lasts longer. Cleaning, patching, sanding, and priming prevent peeling, cracking, or uneven finishes, with 95% of pros in a 2024 Painting Contractors Association survey emphasizing its importance for quality results.
Pros clean walls with mild detergent and water using a sponge, focusing on high-traffic areas like kitchens or bathrooms. For tough stains like crayon or smoke, they may use TSP (trisodium phosphate). This 1–2-hour process ensures paint sticks well, avoiding peeling or bubbling.
Sanding smooths rough patches, removes old paint flakes, and deglosses glossy surfaces for better paint adhesion. Using 120–150 grit sandpaper, pros spend 1–2 hours sanding a room, then vacuum or wipe down dust to ensure a smooth, professional finish.
The Paintbrush Guard vacuum-seals brushes during breaks, keeping them wet and ready without cleaning, saving 15–30 minutes per session. This efficient tool streamlines the prep workflow, allowing pros to focus on cleaning, patching, and priming for a flawless paint job.
Pros may skip priming or extensive sanding only if walls are clean, smooth, and painted with a similar color. However, this is rare, as skipping prep risks poor results like uneven coverage or peeling. Most pros prioritize thorough prep to ensure quality and durability.

Learn about eco-friendly painting, tips and tutorials on house interior and exterior surfaces, so you can get started with your project without any surprices during or after your painting.

Learn how interior house paint colors influence mood with expert tips on room preference so you can pick the best colors for a harmonious home environment.
We focus on the most popular shades for each interior colors, so you don't miss no matter what color you pick.

Learn how this innovative tool allows you to store paintbrushes without the need for immediate cleaning, offering significant advantages in time savings, water conservation, reduced chemical pollution, and lower costs for supplies.

