

In What Order Should You Paint a House for Best Results?
|
Time to read 5 min
|
Time to read 5 min
To paint a house effectively follow this order: start with the ceiling, then move to the walls, followed by the trim, doors and windows. This sequence avoid paint drips on already painted surfaces.
If you are planning to paint your house interior, in this article you will learn easy steps to make your home interior feel new again with step-by-step guides for all interior surfaces.
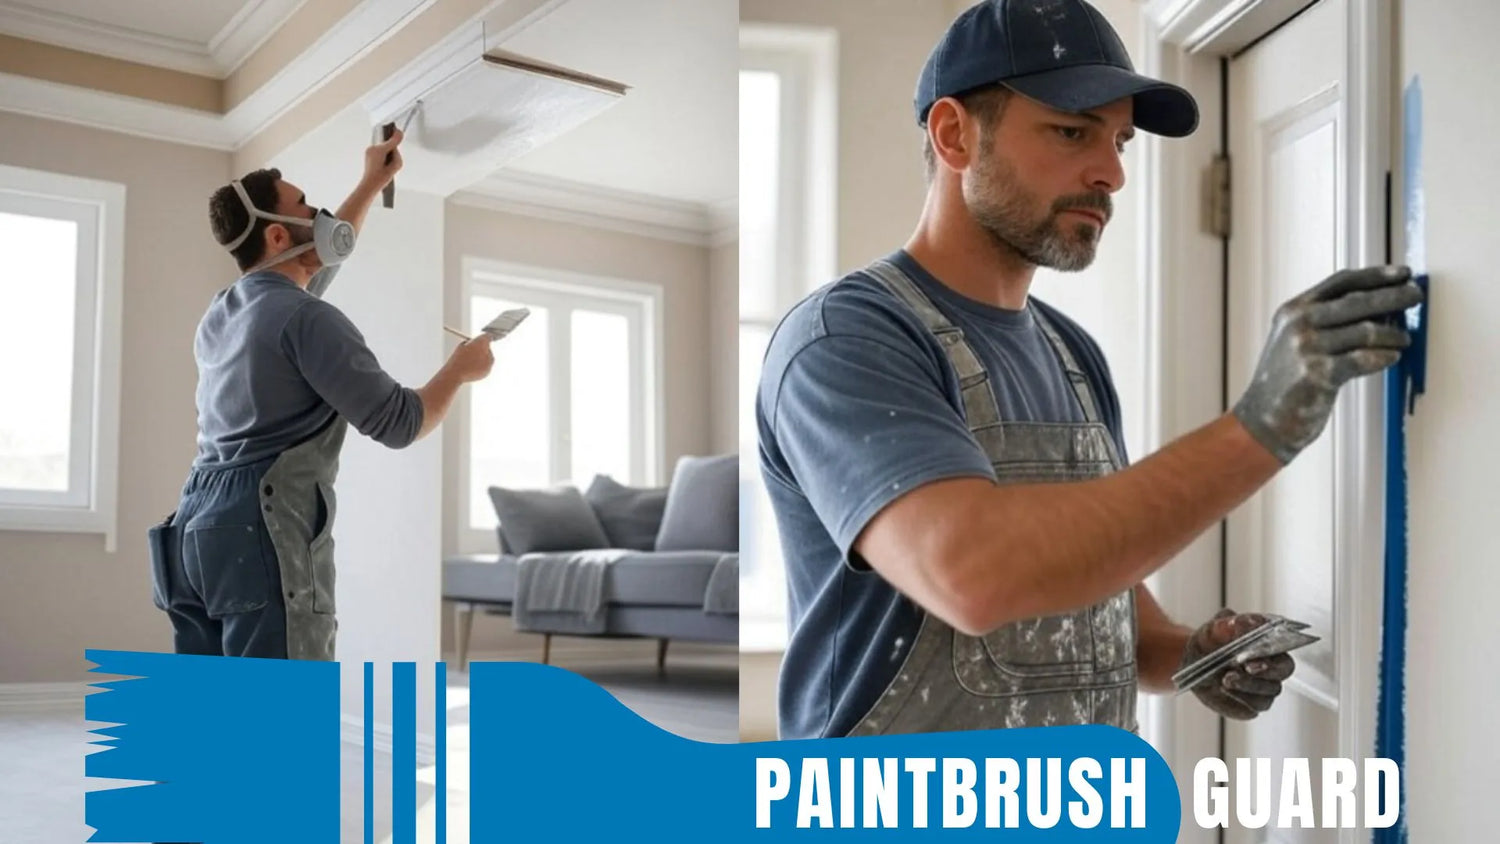
Painting a house in the correct order prevents mistakes like drips or smudges on freshly painted surfaces. Starting from the top and working downward, ceiling to walls to trim allows gravity to work in your favor.
If paint drips from the ceiling it won’t ruin a finished wall. This methodical approach also ensures better coverage and a cohesive look, as each section can be painted without interference from adjacent areas.
Proper sequencing can save time and reduce the need for touch-ups.
Begin with the ceiling to avoid splattering paint on walls or trim. Ceilings are often the most challenging part due to their height and the need for even coverage.
Use a roller with an extension pole for efficiency, and choose a flat or matte finish to hide imperfections. Apply at least two coats, allowing drying time between each, typically 2 to 4 hours, depending on the paint.
If you’re using a bold color, a primer coat can prevent bleed through onto the walls. Cover furniture and floors with drop cloths to catch drips.
Learn how to do house interior painting for ceilings. Use eco friendly paints and sustainable painting tips to brighten rooms with this step-by-step guide.
Once the ceiling is dry, paint the walls. This order ensures that any roller marks or drips from the ceiling can be covered as you paint downward.
Start with a primer if the walls have stains or you’re making a drastic color change. Use a roller for large areas and a brush for edges near the ceiling and trim.
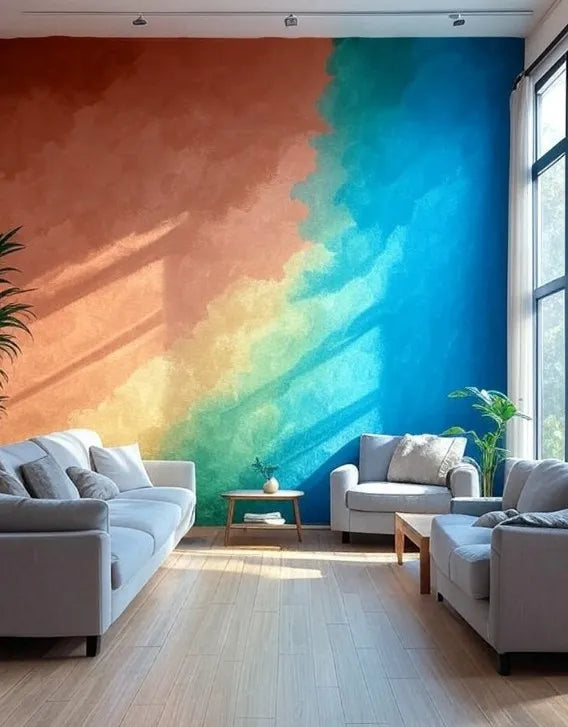
Apply two coats for even coverage, working in small sections to avoid lap marks. If you’re painting an accent wall, do it after the main walls to ensure clean lines where colors meet.
Painting interior walls? Our 10-step beginner guide with product recommendations ensures a flawless, professional finish for any room.
After the walls are dry, move to the trim and baseboards. These areas require precision, so use a high-quality angled brush for clean lines.
Painter’s tape can help protect the walls, though experienced painters may skip this step for faster work. Choose a semi-gloss or satin finish for trim, as these are durable and easy to clean.
Painting trim after walls ensures that any accidental brush marks on the wall can be touched up later without affecting the trim’s crisp finish.
Learn to clean, prime, and paint trim with eco friendly paint for neat, crisp lines. Get sustainable painting tips to make window and door frames pop with this step-by-step guide.
Next, paint the doors and windows. These elements are often focal points, so they benefit from being painted after the larger surfaces are complete.
Remove or tape off hardware to avoid paint splatter, and use a small brush for detailed areas like window frames.
For doors, a foam roller can create a smooth finish on flat panels, while a brush handles edges and corners. Semi-gloss or gloss finishes work well here for durability and to highlight architectural details.
Learn how to prep, prime, and paint doors with eco friendly paint for a strong, pretty finish. Discover sustainable painting tricks for smooth, drip-free doors in this step-by-step guide.
Finish with any touch-ups, such as fixing drips or uneven spots. Inspect your work in natural light to catch imperfections.
Tools like the Paintbrush Guard can simplify cleanup by vacuum sealing brushes between sessions, keeping them ready for touch-ups without drying out.
Remove painter’s tape slowly to avoid peeling paint, and clean rollers and brushes thoroughly or store them sealed if you plan to continue the next day.
Finally, reassemble the room by moving furniture back and reattaching hardware.
With no cleanup required after a painting session, you can take a short break mid-project or wrap up your painting for the day, your brush stays ready without the need to clean.
Preparation is key: clean surfaces, patch holes, and sand rough spots before starting. Work in a well ventilated area and use a primer for better adhesion, especially on new drywall or exterior surfaces.
For exterior painting, the order is similar, start with the highest point (like the roofline) and work down to the siding, then trim, and finally doors and windows.
Always check the weather forecast, as rain or high humidity can ruin a fresh exterior paint job.
Painting a house in the right order, ceiling, walls, trim, doors, and windows ensures a professional result with minimal rework.
This sequence leverages gravity, protects finished surfaces, and streamlines the process. With proper preparation and tools you can achieve a flawless finish, whether you’re tackling an interior room or the entire interior of your home.
The sequence affects the look and durability of your exterior painting project. Painting trim first or last impacts masking, cleanup, and edge precision, preventing issues like messy lines or overspray on siding or brick.
Painting trim first allows easier masking of unpainted siding or brick, covers drips later, and lets trim paint cure fully before wall painting. It simplifies cutting in and takes 2–4 hours for a 2,000 square foot home’s trim.
Painting trim last requires precise masking of freshly painted walls (adding 2–3 hours), risks drips damaging cured wall paint, and demands steady hands for cutting in, which can be challenging for beginners.
The Paintbrush Guard vacuum-seals brushes, keeping them wet during breaks, saving cleanup time, and supporting eco-friendly painting. This ensures brushes are ready for precise application, whether painting trim first or last.
Consider surface complexity (paint intricate trim first), skill level (beginners may prefer trim last), weather (trim first in dry conditions), and color contrast (high-contrast trim is easier last). A 30-minute evaluation helps choose the best approach. learn about lead paint exterior siding painting.
Mark Walsh
Written by Mark Walsh, a home improvement specialist with over 15 years of hands-on experience in interior painting. Mark has completed hundreds of DIY and professional projects, from basic wall refreshes to complex textured applications, and is passionate about sharing practical, beginner-friendly advice to help homeowners achieve lasting, professional-quality results.
Learn about eco-friendly painting, tips and tutorials on house interior and exterior surfaces, so you can get started with your project without any surprices during or after your painting.
Learn how interior house paint colors influence mood with expert tips on room preference so you can pick the best colors for a harmonious home environment.
We focus on the most popular shades for each interior colors, so you don't miss no matter what color you pick.
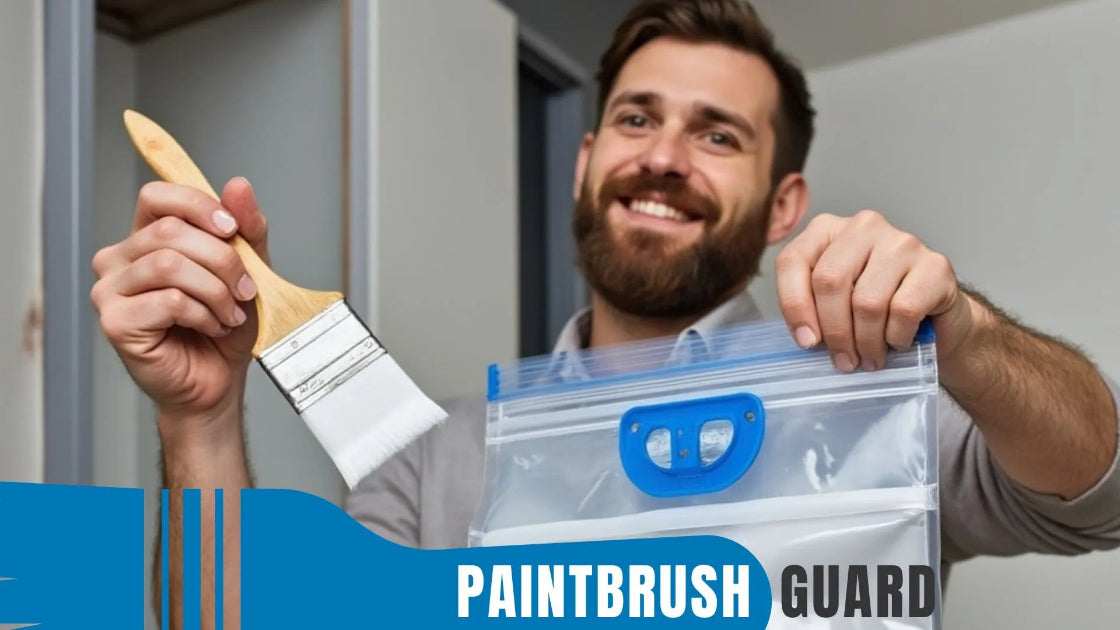
Learn how this innovative tool allows you to store paintbrushes without the need for immediate cleaning, offering significant advantages in time savings, water conservation, reduced chemical pollution, and lower costs for supplies.


