How Do You Keep Paint from Drying on a Paintbrush?
|
Time to read 7 min
|
Time to read 7 min
To keep paint from drying on a paintbrush, seal it with the Paintbrush Guard, wrap it in plastic wrap, or freeze it during breaks, ensuring the bristles stay wet and ready for use.
With no cleanup required after a painting session, you can take a short break mid-project or wrap up your painting for the day, your brush stays ready without the need to clean.
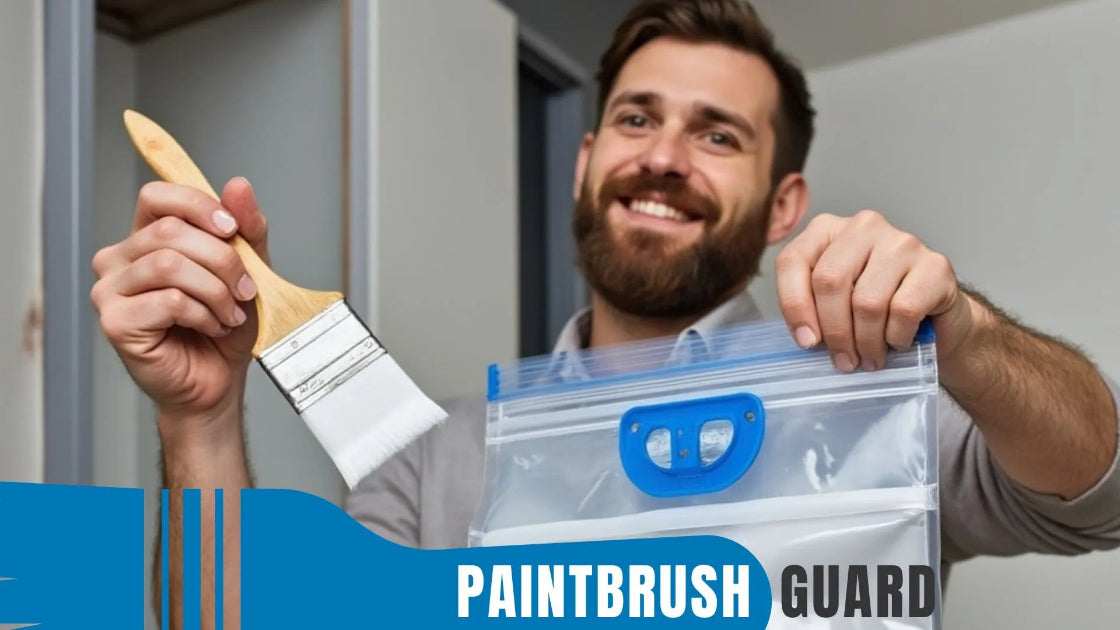
One of the most effective ways to prevent paint from drying on your brush is the Paintbrush Guard.
This innovative tool vacuum-seals your paintbrush, locking in moisture and keeping the paint wet for days without any cleaning.
After a painting session, simply place the brush in the guard, seal it, and store it safely.
When you’re ready to paint again, the bristles will be as wet as when you left them, saving you 15–30 minutes of cleanup time per break.
It’s an ideal solution for multi-day projects, ensuring your brush stays usable without the risk of drying out.
Learn more about Paintbrush Guard: This guide tackles the top 20 questions about storing paintbrushes, from quick breaks to long-term care, and even challenges like humid coastal areas.
If you don’t have a Paintbrush Guard, wrapping your brush in plastic wrap is a simple alternative to keep paint from drying.
After painting, cover the bristles tightly with plastic wrap or aluminum foil to trap moisture, then place the brush in a sealed plastic bag.
This method works well for short breaks, like a few hours or overnight, keeping the paint wet and the bristles soft.
Be cautious not to leave it wrapped for more than 48 hours, as prolonged moisture can lead to mold growth.
While effective, this approach isn’t as secure as the Paintbrush Guard, which offers a more reliable seal.
This article explores how Paintbrush Guard’s paintbrush vacuum storage saves money, promotes eco-friendly house painting practices and enhances efficiency.
Another clever trick to prevent paint from drying is to freeze your brush during longer breaks.
After painting, wrap the bristles in plastic wrap or a plastic bag to minimize air exposure, then place the brush in the freezer.
The cold temperature slows the drying process, keeping the paint wet for up to a week.
When you’re ready to paint again, let the brush thaw for about 30 minutes, it’ll be ready to use without any hardening.
This method is great for water-based paints but less effective for oil-based ones, which can still thicken in cold temperatures. It’s a handy backup if you don’t have a sealing tool on hand.
Paintbrush Guard Benefits: Learn more about the benefits of Paintbrush Guard vacuum storage. Save time, reduce water waste, prevent chemical pollution and cut costs on supplies for house painting projects.
Another clever trick to prevent paint from drying is to freeze your brush during longer breaks. After painting, wrap the bristles in plastic wrap or a plastic bag to minimize air exposure, then place the brush in the freezer.
The cold temperature slows the drying process, keeping the paint wet for up to a week. When you’re ready to paint again, let the brush thaw for about 30 minutes, it’ll be ready to use without any hardening.
This method is great for water-based paints but less effective for oil-based ones, which can still thicken in cold temperatures.
Save time with Paintbrush Guard vacuum storage: Transforms your painting experience by eliminating the time-consuming task of cleaning brushes, offering a fast, efficient solution for both DIY painters and professionals.
For very short breaks, like during a lunch pause, you can keep the paint from drying by wrapping the brush in a damp cloth.
Soak a clean cloth in water (for water-based paints) or the appropriate solvent (for oil-based paints), wring it out slightly, and wrap it around the bristles.
Then, place the brush in a bag to retain moisture. This method keeps the paint wet for a few hours, but it’s not ideal for longer periods as the cloth can dry out, allowing the paint to harden.
It’s a quick fix, though less effective than the Paintbrush Guard’s vacuum-seal technology for extended breaks.
Preventing paint from drying also means avoiding habits that speed up the process.
Don’t leave your brush exposed to air for long periods during breaks, as even a few hours can cause the paint to start drying.
Avoid placing the brush near heat sources, like radiators or sunny windows, which accelerate drying.
Also, don’t overload the brush with paint, excess paint on the bristles can dry faster and form a crust, making it harder to keep wet.
Being mindful of these pitfalls ensures your brush stays usable throughout your project, especially when paired with a sealing method.
If you are planning to paint your house interior, in this article you will learn easy steps to make your home interior feel new again with step-by-step guides for all interior surfaces.
If you notice paint beginning to dry on your brush, act quickly to save it, though tools like the Paintbrush Guard can prevent this issue entirely.
For water-based paints, rinse the brush under warm water with a bit of dish soap, gently working out the paint with your fingers.
For oil-based paints, soak the brush in paint thinner or a cleaner like Krud Kutter for a few hours, then scrub with a wire brush.
If the paint has fully hardened, the brush might be beyond saving, and using it could ruin your paint job with streaks.
Prevention is always better, so use sealing methods to avoid this scenario altogether.
Discover how house paint colors influence mood & get expert tips on choosing the best colors for every room to create a vibrant, harmonious home environment.
Keeping paint from drying on a paintbrush is easy with the right techniques, use the Paintbrush Guard for a vacuum-seal solution, wrap in plastic or freeze if you dont have a Paintbrush Guard, or use a damp cloth for short pauses.
Avoiding common mistakes like exposing the brush to air or heat also helps.
By adopting these methods, especially the Paintbrush Guard to skip cleaning entirely, you’ll ensure your paintbrush stays wet and ready, making your painting projects smoother and more efficient.
For short breaks, wrap the brush tightly in plastic wrap or aluminum foil to trap moisture, then place it in a sealed plastic bag. This keeps the paint wet for a few hours or overnight, maintaining bristle softness. Be cautious not to exceed 48 hours to avoid mold growth.
Freezing the brush is a great way to prevent paint from drying during overnight or extended breaks. Wrap the bristles in plastic wrap or a plastic bag to reduce air exposure, then store in the freezer. Thaw for about 30 minutes before resuming painting, ideal for water-based paints but less effective for oil-based ones.
For very short pauses, like a lunch break, wrap the brush in a damp cloth soaked in water for water-based paints or solvent for oil-based paints. Wring out the cloth slightly and cover the bristles to retain moisture for a few hours, though it’s less reliable for longer periods as the cloth can dry out.
Don’t leave the brush exposed to air for long periods, as this causes paint to dry quickly. Avoid placing it near heat sources like radiators or sunny windows, which speed up drying. Also, don’t overload the brush with paint, as excess can form a crust, making it harder to keep wet.
Act quickly: for water-based paints, rinse the brush under warm water with dish soap, working out the paint with your fingers. For oil-based paints, soak in paint thinner or a cleaner like Krud Kutter for a few hours, then scrub with a wire brush. If the paint has fully hardened, the brush may be unusable, leading to streaky results.

Learn about eco-friendly painting, tips and tutorials on house interior and exterior surfaces, so you can get started with your project without any surprices during or after your painting.

Learn how interior house paint colors influence mood with expert tips on room preference so you can pick the best colors for a harmonious home environment.
We focus on the most popular shades for each interior colors, so you don't miss no matter what color you pick.

Learn how this innovative tool allows you to store paintbrushes without the need for immediate cleaning, offering significant advantages in time savings, water conservation, reduced chemical pollution, and lower costs for supplies.

