Best Way To Paint Interior Doors: Step By Step

How to paint interior doors from start to perfection

Written by Mark W.

  |  Last updated on

|

Time to read 3 min

Painting interior doors gives them a fresh, strong look, boosting house interior painting. Best practices use high-gloss interior paint for durability and careful prep to avoid drips on flat or paneled doors.

If you are planning to paint your house interior, in this article you will learn easy steps to make your home interior feel new again with step-by-step guides for all interior surfaces.


If you are planning to paint your house interior, in this article you will learn easy steps to make your home interior feel new again with step-by-step guides for all interior surfaces.
How to do house interior painting for beginners

Materials Needed When Painting Interior Doors

  • Low VOC high-gloss interior paint (e.g., Sherwin-Williams Emerald, ECOS Paints Gloss)
  • Primer (low VOC, bonding)
  • Paintbrush Guard 
  • 1–2-inch angled brushes
  • Small foam rollers
  • Canvas drop cloths
  • Painter’s tape
  • Sandpaper (220 grit)
  • Cleaning soap, rags, paint trays, stir sticks
  • Screwdriver (for removing hardware)

Paint Interior Doors: Best Practice Steps

  1. Remove Door: Unscrew hinges with a screwdriver to take the door off, or tape hinges if leaving on. Lay flat on sawhorses or cover floors with drop cloths.

  2. Clean Door: Wash with safe soap and water to remove dirt or fingerprints. Dry with rags for a clean surface.

  3. Sand Surface: Lightly sand with 220-grit sandpaper to smooth glossy spots or rough areas. Wipe dust with a damp rag.

  4. Prime Door: Apply a low VOC bonding primer with a 1–2-inch angled brush for edges and a small foam roller for flat areas. Cover both sides and edges. Let dry (4 hours).

  5. Mix Paint: Stir low VOC high-gloss interior paint, pour into a tray, supporting sustainable painting.

  6. Paint Edges and Panels: Use a 1–2-inch angled brush for edges, corners, and panel details, working slowly to avoid drips. Paint one side at a time.

  7. Roll Flat Areas: Use a small foam roller for smooth, flat door sections, applying thin coats to prevent runs. Apply two coats per side, drying 4–6 hours between.

  8. Reattach Door: After drying (24 hours), rehang the door or remove tape. Fix any hardware marks with a tiny brush.

  9. Clean Up: Wash tools with soap or seal brushes in Paintbrush Guard bags. Reuse drop cloths and store paint.

This guide tackles the top 20 questions about storing paintbrushes, from quick breaks to long-term care, and even challenges like humid coastal areas.

Master paintbrush storage in 2025 with Paintbrush Guard, expert tips for homeowners to store brushes, prevent drying and maintain bristles sustainably.
The Ultimate Guide to Storing Paintbrushes

Tips for Success: Painting Interior Doors

  • Paint doors flat to avoid drips on vertical surfaces.
  • Remove knobs and locks for a clean finish.
  • Sand between coats for a glossy, professional look.
  • Paint in a dust-free area to keep surfaces smooth.

Time Estimate: 1–2 days per door (prep: 0.5 day, priming/painting: 0.5–1 day).

Cost Estimate: $30–$100 per door (0.5 gallon interior paint at $50–$100/gallon, primer, brushes, tape, etc.).

What materials are needed to paint interior doors effectively?

You’ll need low-VOC high-gloss interior paint (e.g., Sherwin-Williams Emerald or ECOS Paints Gloss), low-VOC bonding primer, a Paintbrush Guard, 1–2-inch angled brushes, small foam rollers, canvas drop cloths, painter’s tape, 220-grit sandpaper, cleaning soap, rags, paint trays, stir sticks, and a screwdriver for hardware removal.

Why is it recommended to remove the door before painting?

Removing the door and laying it flat on sawhorses prevents drips on vertical surfaces, ensures even paint application, and makes it easier to access all areas, resulting in a smoother, more professional finish for house interior painting.

How does the Paintbrush Guard help with painting interior doors?

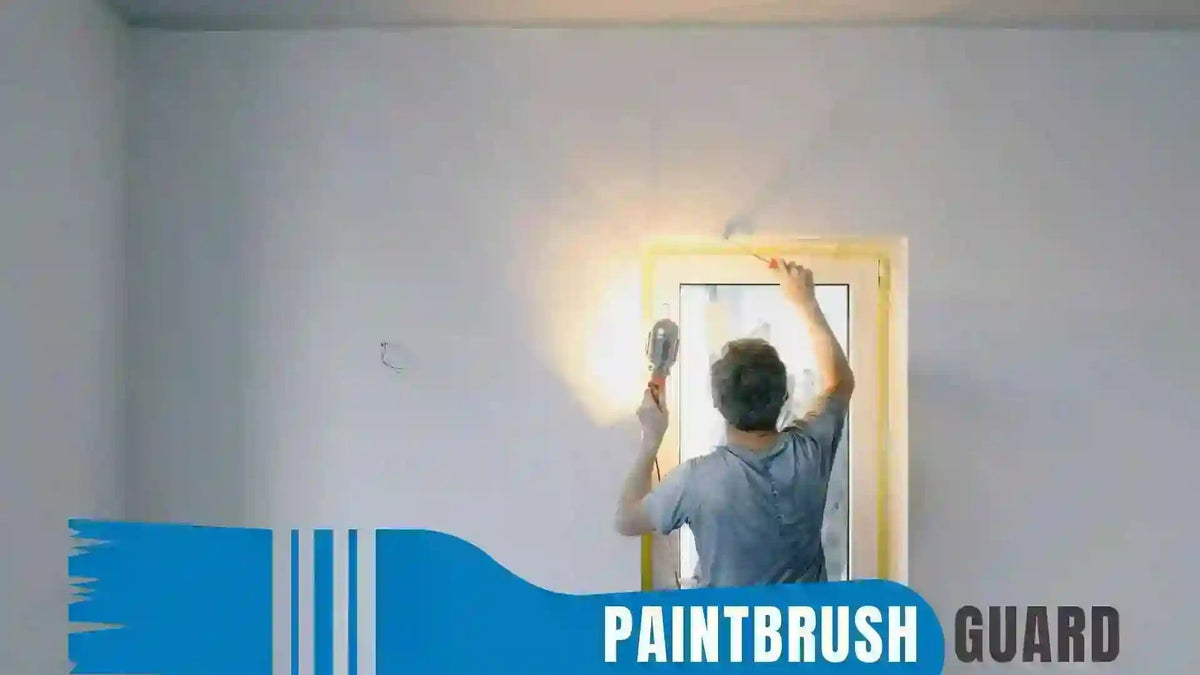
The Paintbrush Guard vacuum-seals brushes, keeping them wet between coats without cleaning, saving time and water. This eco-friendly tool supports sustainable painting by reducing cleanup waste and ensuring brushes are ready for use.

What are the key steps to achieve a drip-free, professional finish on interior doors?

Remove or tape hinges, clean and sand the door, apply a low-VOC primer, paint edges with an angled brush, roll flat areas with a foam roller, and apply two thin coats of high-gloss paint, drying 4–6 hours between coats. Sand lightly between coats for a glossy finish.

How long and how much does it cost to paint an interior door?

Painting an interior door takes 1–2 days (0.5 day for prep, 0.5–1 day for priming/painting). Costs range from $30–$100 per door, including 0.5 gallon of interior paint ($50–$100/gallon), primer, brushes, tape, and other supplies. 

Mark Winter:  Writer and owner of Paintbursh Guard

Mark Walsh

Written by Mark Walsh, a home improvement specialist with over 15 years of hands-on experience in interior painting. Mark has completed hundreds of DIY and professional projects, from basic wall refreshes to complex textured applications, and is passionate about sharing practical, beginner-friendly advice to help homeowners achieve lasting, professional-quality results.

Read more

Leave a comment