
Exterior Deck Painting: The Ultimate Step-by-Step Guide
|
Time to read 7 min
|
Time to read 7 min
This guide is your ticket to mastering the art of exterior deck painting. Packed with expert tips, the latest trends and a foolproof step-by-step process, we’ll help you create an outdoor space that steals the show. Let’s embark on this journey together!
Discover 4 best paint sprayers for exterior deck and large surfaces. Learn key features, tips, and maintenance for a durable, professional finish on your deck.
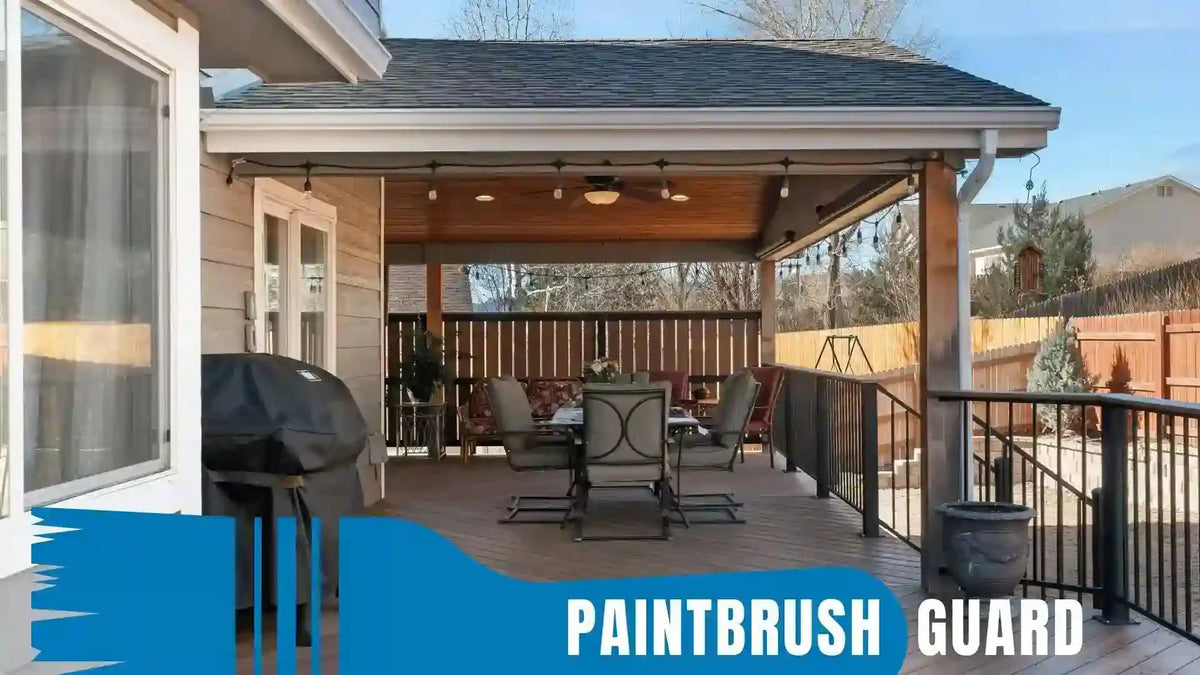
A well-maintained deck adds value and charm to any property, but exposure to rain, snow, and sunlight can cause wood to deteriorate.
Painting your deck serves as a protective shield, preventing rot, splintering, and fading while allowing you to customize its look.
Unlike staining, which penetrates the wood, paint creates a durable surface layer, offering robust defense against the elements.
Discover the best paint types for exterior deck painting in high traffic areas. Learn about acrylic latex, oil-based, epoxy, and urethane-based paint.
Longevity: High-quality exterior paint can extend your deck’s life by 5-10 years.
Aesthetic Flexibility: Choose from a vast array of colors to match your home’s style.
Weather Protection: Shields against moisture, UV damage, and temperature swings.
Slip Resistance: Textured paints reduce the risk of slips, especially when wet.
Ideal painting seasons are spring and early fall when temperatures range between 50°F and 85°F, with low humidity and no rain forecast for at least 48 hours.
Check local weather patterns to plan your project effectively.
Before starting, gather the right tools and materials to ensure a smooth process. Investing in quality supplies pays off with a better finish and less rework.
With no cleanup required after a painting session, you can take a short break mid-project or wrap up your painting for the day, your brush stays ready without the need to clean.
Follow this detailed process to paint your deck like a pro. Each step is designed to ensure durability and a flawless result.
Start by inspecting your deck for damage. Look for rot, loose boards, or extensive peeling paint. Replace or repair damaged sections before painting.
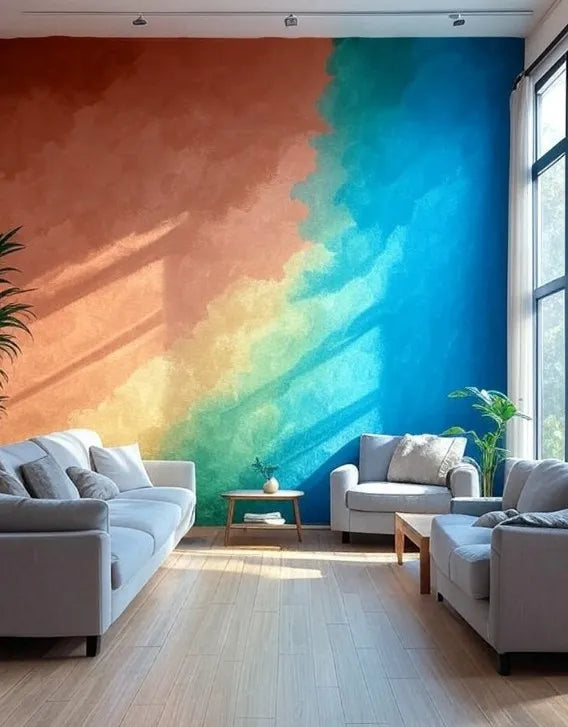
Decide on your color scheme, popular 2025 trends include earthy tones like sage green and slate gray.
Measure your deck’s square footage (length × width) to calculate paint needs (typically 300-400 sq ft per gallon).
Dirt and mildew prevent paint adhesion. Use a pressure washer (set to 1500-2000 PSI) with a deck cleaner or a mixture of water and mild detergent.
Scrub stubborn spots with a brush, then rinse and let the deck dry completely, usually 24-48 hours, depending on weather conditions.
Scrape off peeling or flaking paint with a scraper. Sand the entire surface with medium-grit sandpaper to remove rough spots, then finish with fine-grit sandpaper for a smooth base.
Vacuum or sweep away dust to ensure a clean canvas for painting.
Fill cracks, knots, or holes with wood filler, smoothing it with a putty knife. Once dry, sand the filled areas.
Apply caulk to gaps between boards or around railings. If the deck is bare or heavily weathered, apply a high-quality exterior primer and let it dry per the manufacturer’s instructions (typically 4-6 hours).
Lay drop cloths or plastic sheeting around the deck to shield plants, furniture, and siding. Use painter’s tape to mask off railings, posts, or areas you don’t want painted.
This step prevents accidental paint splatter and saves cleanup time.
Select a paint suited for exterior decks, acrylic latex is water-based, easy to clean, and durable, while oil-based offers a harder finish but requires more maintenance.
Stir the paint thoroughly. Start with edges and railings using a brush, then use a roller with an extension pole for large areas.
Apply the first coat evenly, working in the direction of the wood grain.
Read our exterior house painting guide: This mega guide gives you clear tips, tools and methods on how to paint all exterior surfaces on your home.
Let the first coat dry (check the paint can for timing, usually 4-6 hours). Lightly sand with fine-grit sandpaper to remove imperfections, then wipe away dust.
Apply a second coat for full coverage and enhanced protection. Two coats are typically recommended for durability.
After the final coat, inspect for missed spots or uneven areas. Touch up as needed. Allow the paint to cure fully, 7-10 days, before placing furniture or walking on the deck. Avoid rain or heavy use during this period.
In this guide, we’ll explore why sage green is a top choice, how to select the perfect shade, application tips, and complementary color pairings to achieve a stunning exterior.
Avoid these pitfalls to ensure a successful deck painting project:
Keep your deck looking great with these maintenance practices:
For an environmentally conscious approach, consider:
Painting your exterior deck is a rewarding project that enhances both beauty and durability.
By following this step-by-step guide, using quality materials, and avoiding common mistakes, you’ll achieve a stunning result that lasts.
Whether you’re refreshing a weathered deck or adding a bold new color, the effort pays off with a vibrant outdoor space.
Start planning your project today and enjoy your transformed deck throughout 2025 and beyond!
Proper preparation is critical for exterior deck painting because decks face heavy foot traffic, UV rays, rain, and temperature swings. Thorough prep, including inspection, cleaning, sanding, and priming, ensures paint adheres well, prevents peeling or cracking, and delivers a durable, professional finish that withstands the elements.
Inspect for loose or splintered boards, warped wood, cracked surfaces, peeling paint, mildew, or rust on metal railings. Secure loose boards, replace damaged sections, and test for lead paint if the deck was painted before 1978. Clean with a pressure washer and deck cleaner, sand with 60-80 grit followed by 120-150 grit sandpaper, and repair cracks or rot with wood filler or replacements to create a stable surface for exterior deck painting.
Choose acrylic latex paint for flexibility and crack resistance, oil-based paint for high-traffic areas, or deck-specific paint with slip-resistant additives. Use a satin or low-gloss finish for durability and easy cleaning. For priming, select a latex-based or oil-based deck primer for exterior wood, or a stain-blocking primer for cedar/redwood and treated lumber to ensure proper adhesion and longevity.
Apply multiple thin coats (two to three) with a 4-inch synthetic brush for edges and a 9-inch roller with a 3/8-inch nap or airless sprayer for flat surfaces. Paint in ideal weather (50–85°F, low humidity, no rain), work in small sections, and allow 4–24 hours drying between coats. Inspect for drips or uneven areas and touch up with a small brush for a polished exterior deck painting result.
Use a sturdy ladder or scaffolding for safe access to raised areas, wear safety gear like gloves, goggles, and a mask (especially when sanding or handling chemicals), and use non-slip shoes. Protect surrounding areas by masking off siding or windows with painter’s tape and covering plants, furniture, or patios with durable canvas drop cloths to keep the exterior deck painting process tidy and safe.
Mark W.
Hey, I'm Mark. What started as a personal solution to my own frustration has grown into a movement towards more sustainable, efficient painting practices.

Learn about eco-friendly painting, tips and tutorials on house interior and exterior surfaces, so you can get started with your project without any surprices during or after your painting.
Learn how interior house paint colors influence mood with expert tips on room preference so you can pick the best colors for a harmonious home environment.
We focus on the most popular shades for each interior colors, so you don't miss no matter what color you pick.
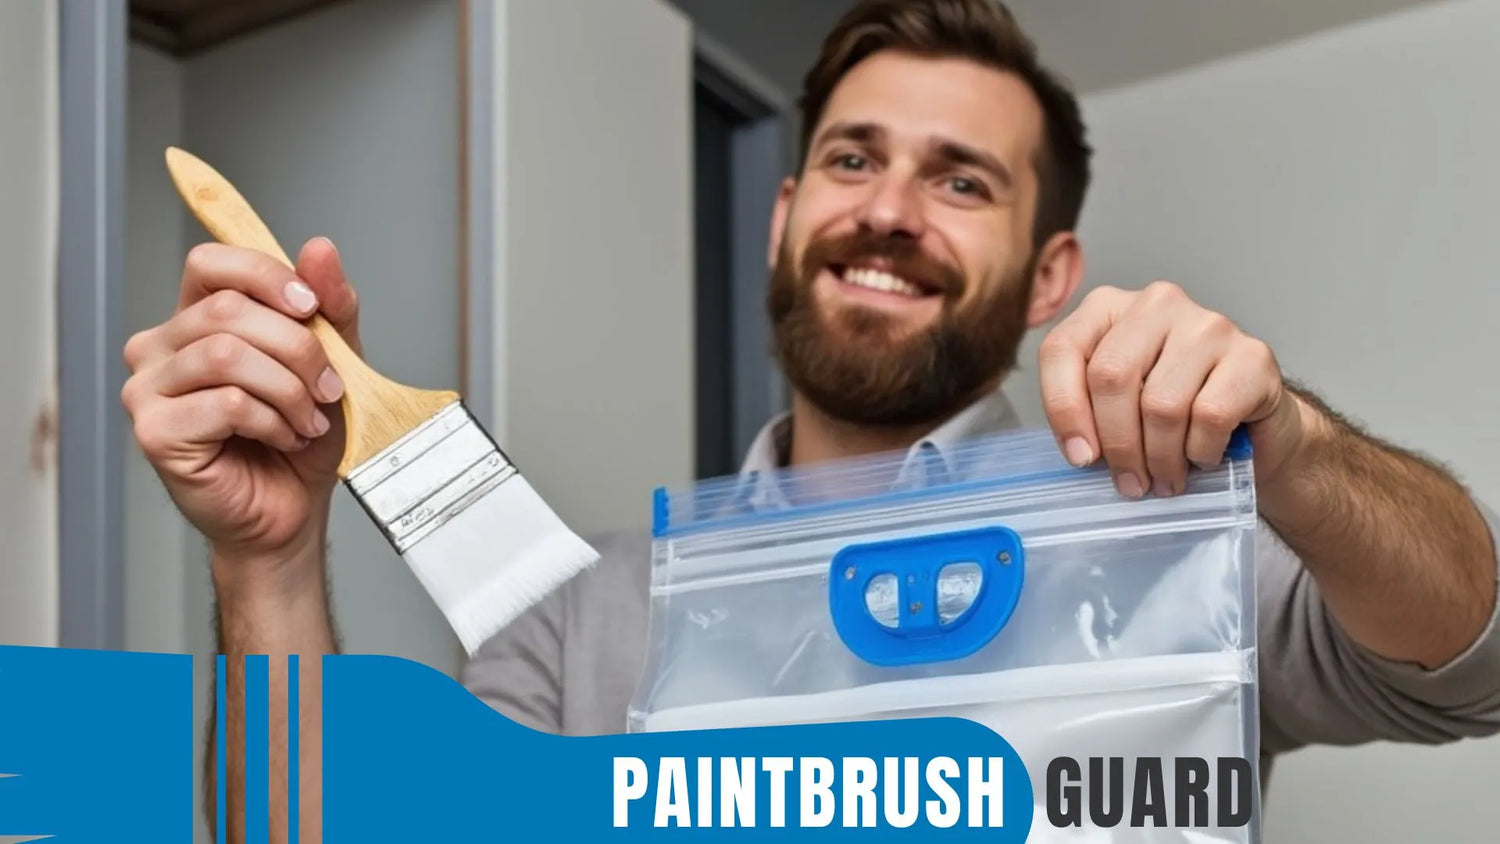
Learn how this innovative tool allows you to store paintbrushes without the need for immediate cleaning, offering significant advantages in time savings, water conservation, reduced chemical pollution, and lower costs for supplies.


